
July 18, 2026
How I Turn One Product Photo Into Try-On, Lifestyle, And Ad Assets
A practical workflow for turning one Shopify product photo into try-on, lifestyle, and ad-ready assets with Supra AI Photo Studio.
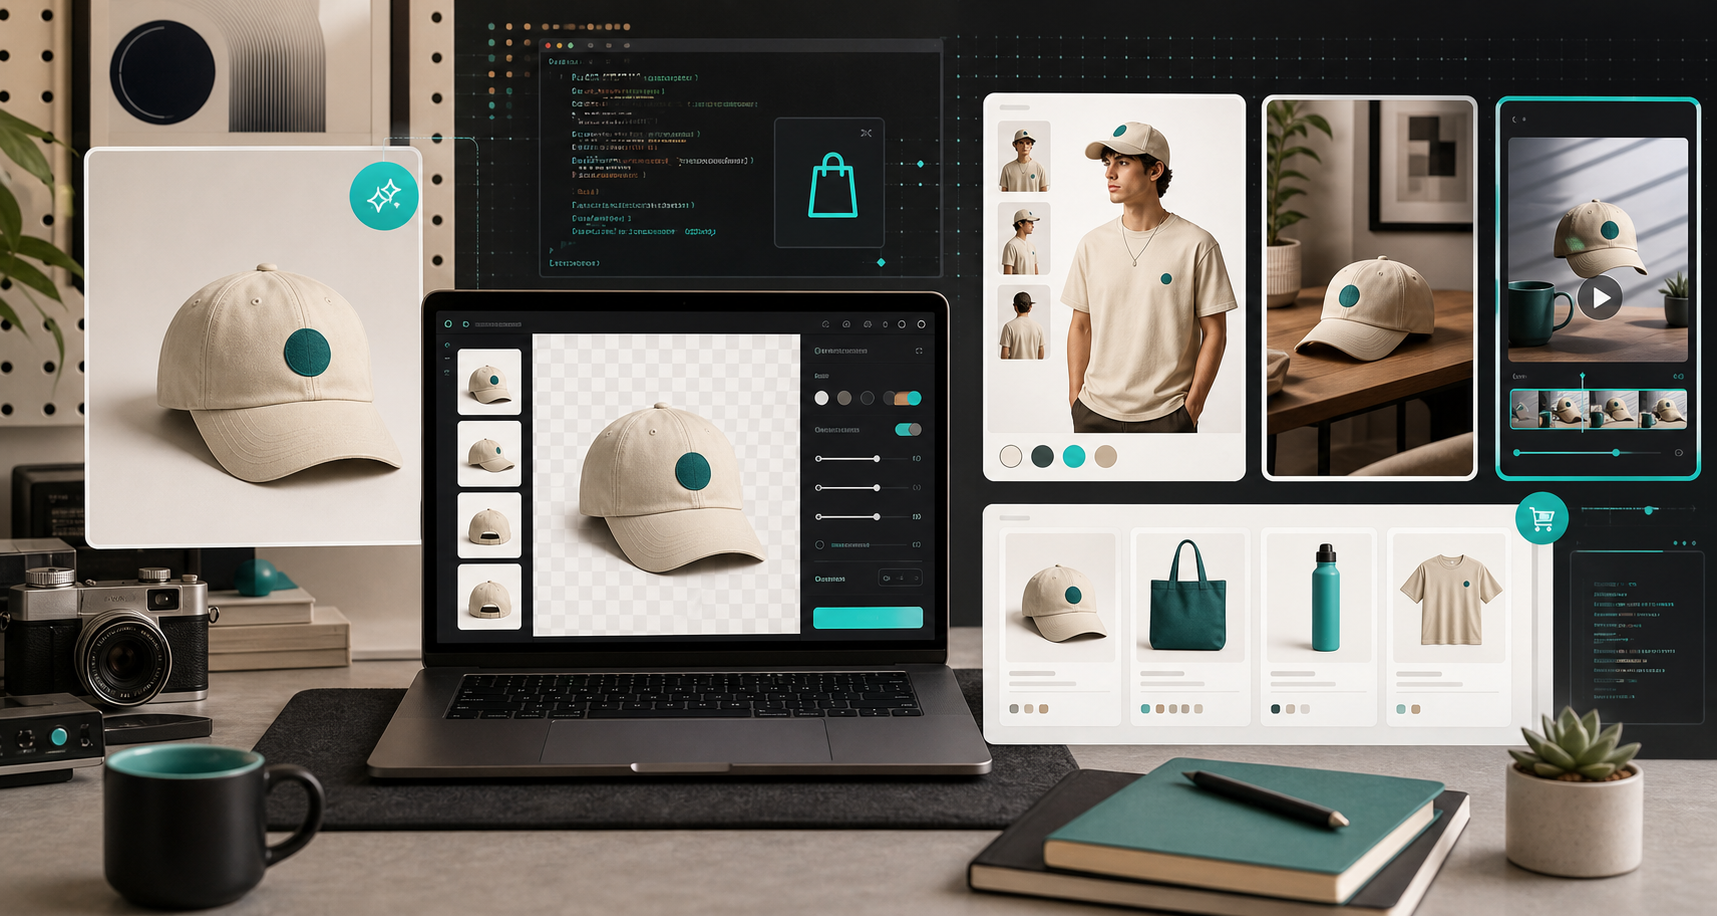
I keep seeing the same mistake in Shopify stores: someone uploads a decent product photo, then expects it to carry the product page, the collection grid, the ad set, and the social cutdowns all by itself.
That is how you end up with flat listings and a pile of assets that never quite match. What I want instead is a repeatable way to turn one source image into a set of useful outputs: a clean product shot, a lifestyle version, an on-model try-on, and a short clip that can do real work in ads.
That is the lane Supra AI Photo Studio fits into. It is built for Shopify merchants who want to edit product photos into realistic scenes, do background removal, upscale and enhance images, create try-ons, place products into new environments, and generate UGC or b-roll videos. If you want the platform listing, it is here too: Supra AI Photo Studio on the Shopify App Store.
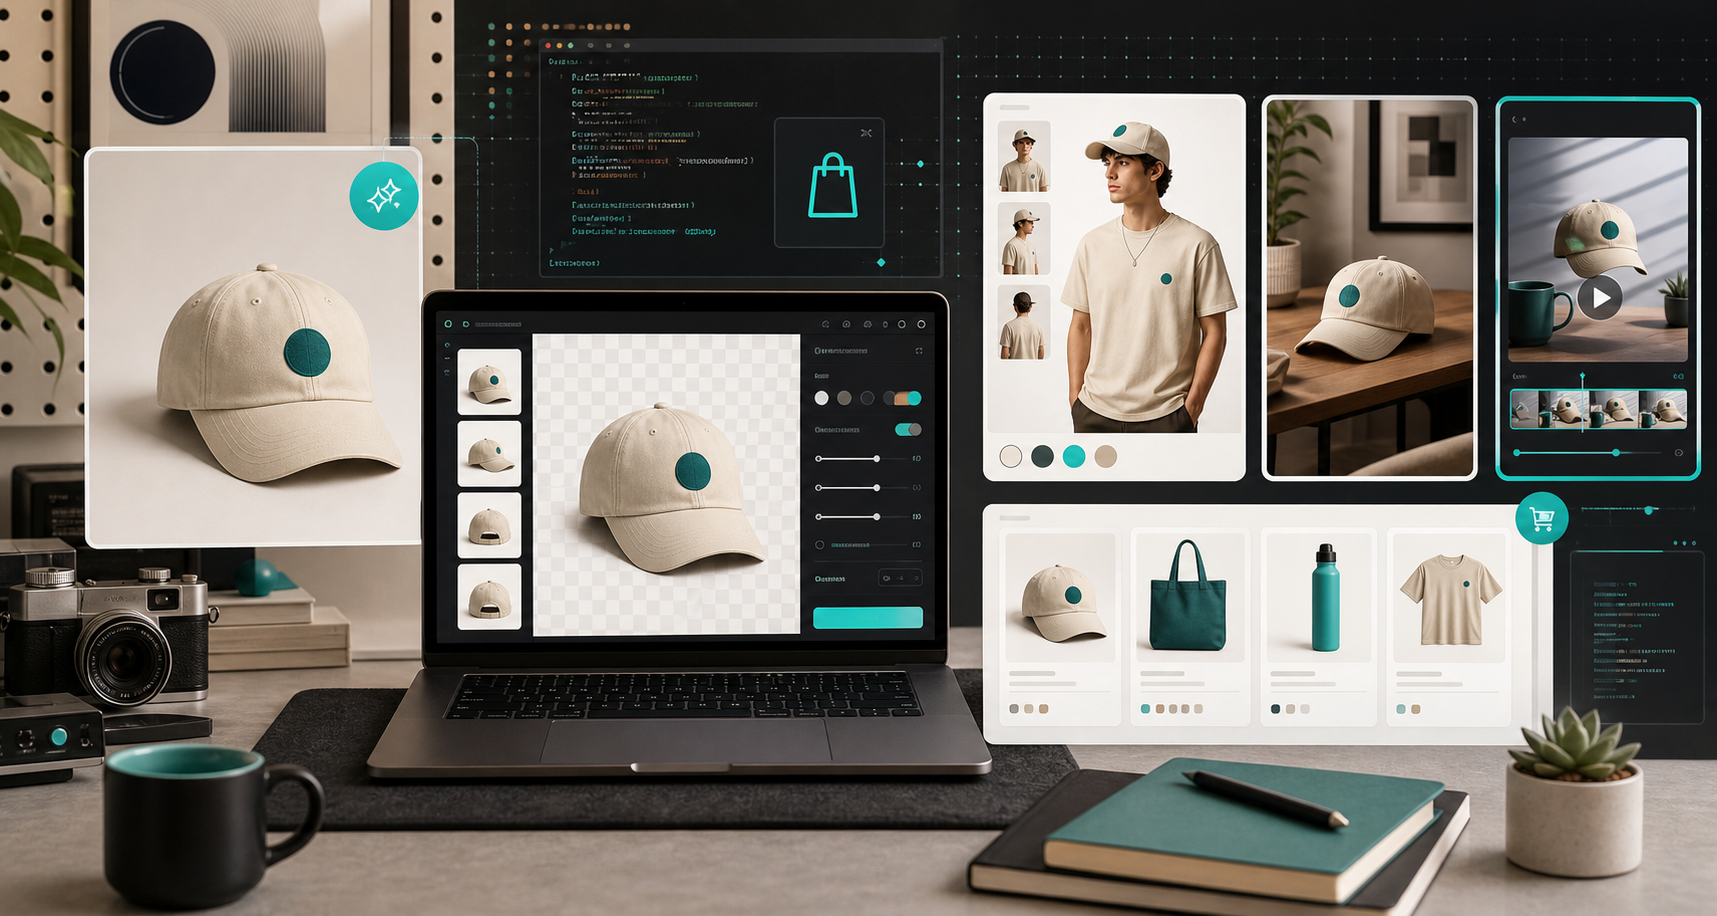
If you want the broader workflow first, I would pair this with How to Build a Shopify Product Photo Workflow Without a New Shoot. That is the right mindset: do not start from a blank page, start from one image and a clear set of outputs.
Start With The Source Image
The app can do a lot, but it does not excuse a bad starting point. I still want the source image to be as clean as possible before I ask the AI to do anything clever.
My usual order is:
- Remove the background if the shot is busy.
- Upscale or sharpen if the image is soft.
- Adjust color and lighting before I ask for any scene changes.
- Keep the product shape and details intact.
That last part matters more than people expect. If the source image is muddy, the generated result usually needs extra cleanup later. A little discipline up front saves time at the end.
The editor in the help docs makes that workflow pretty obvious. You can see the product canvas, the tool rail, and the image gallery all in one place:
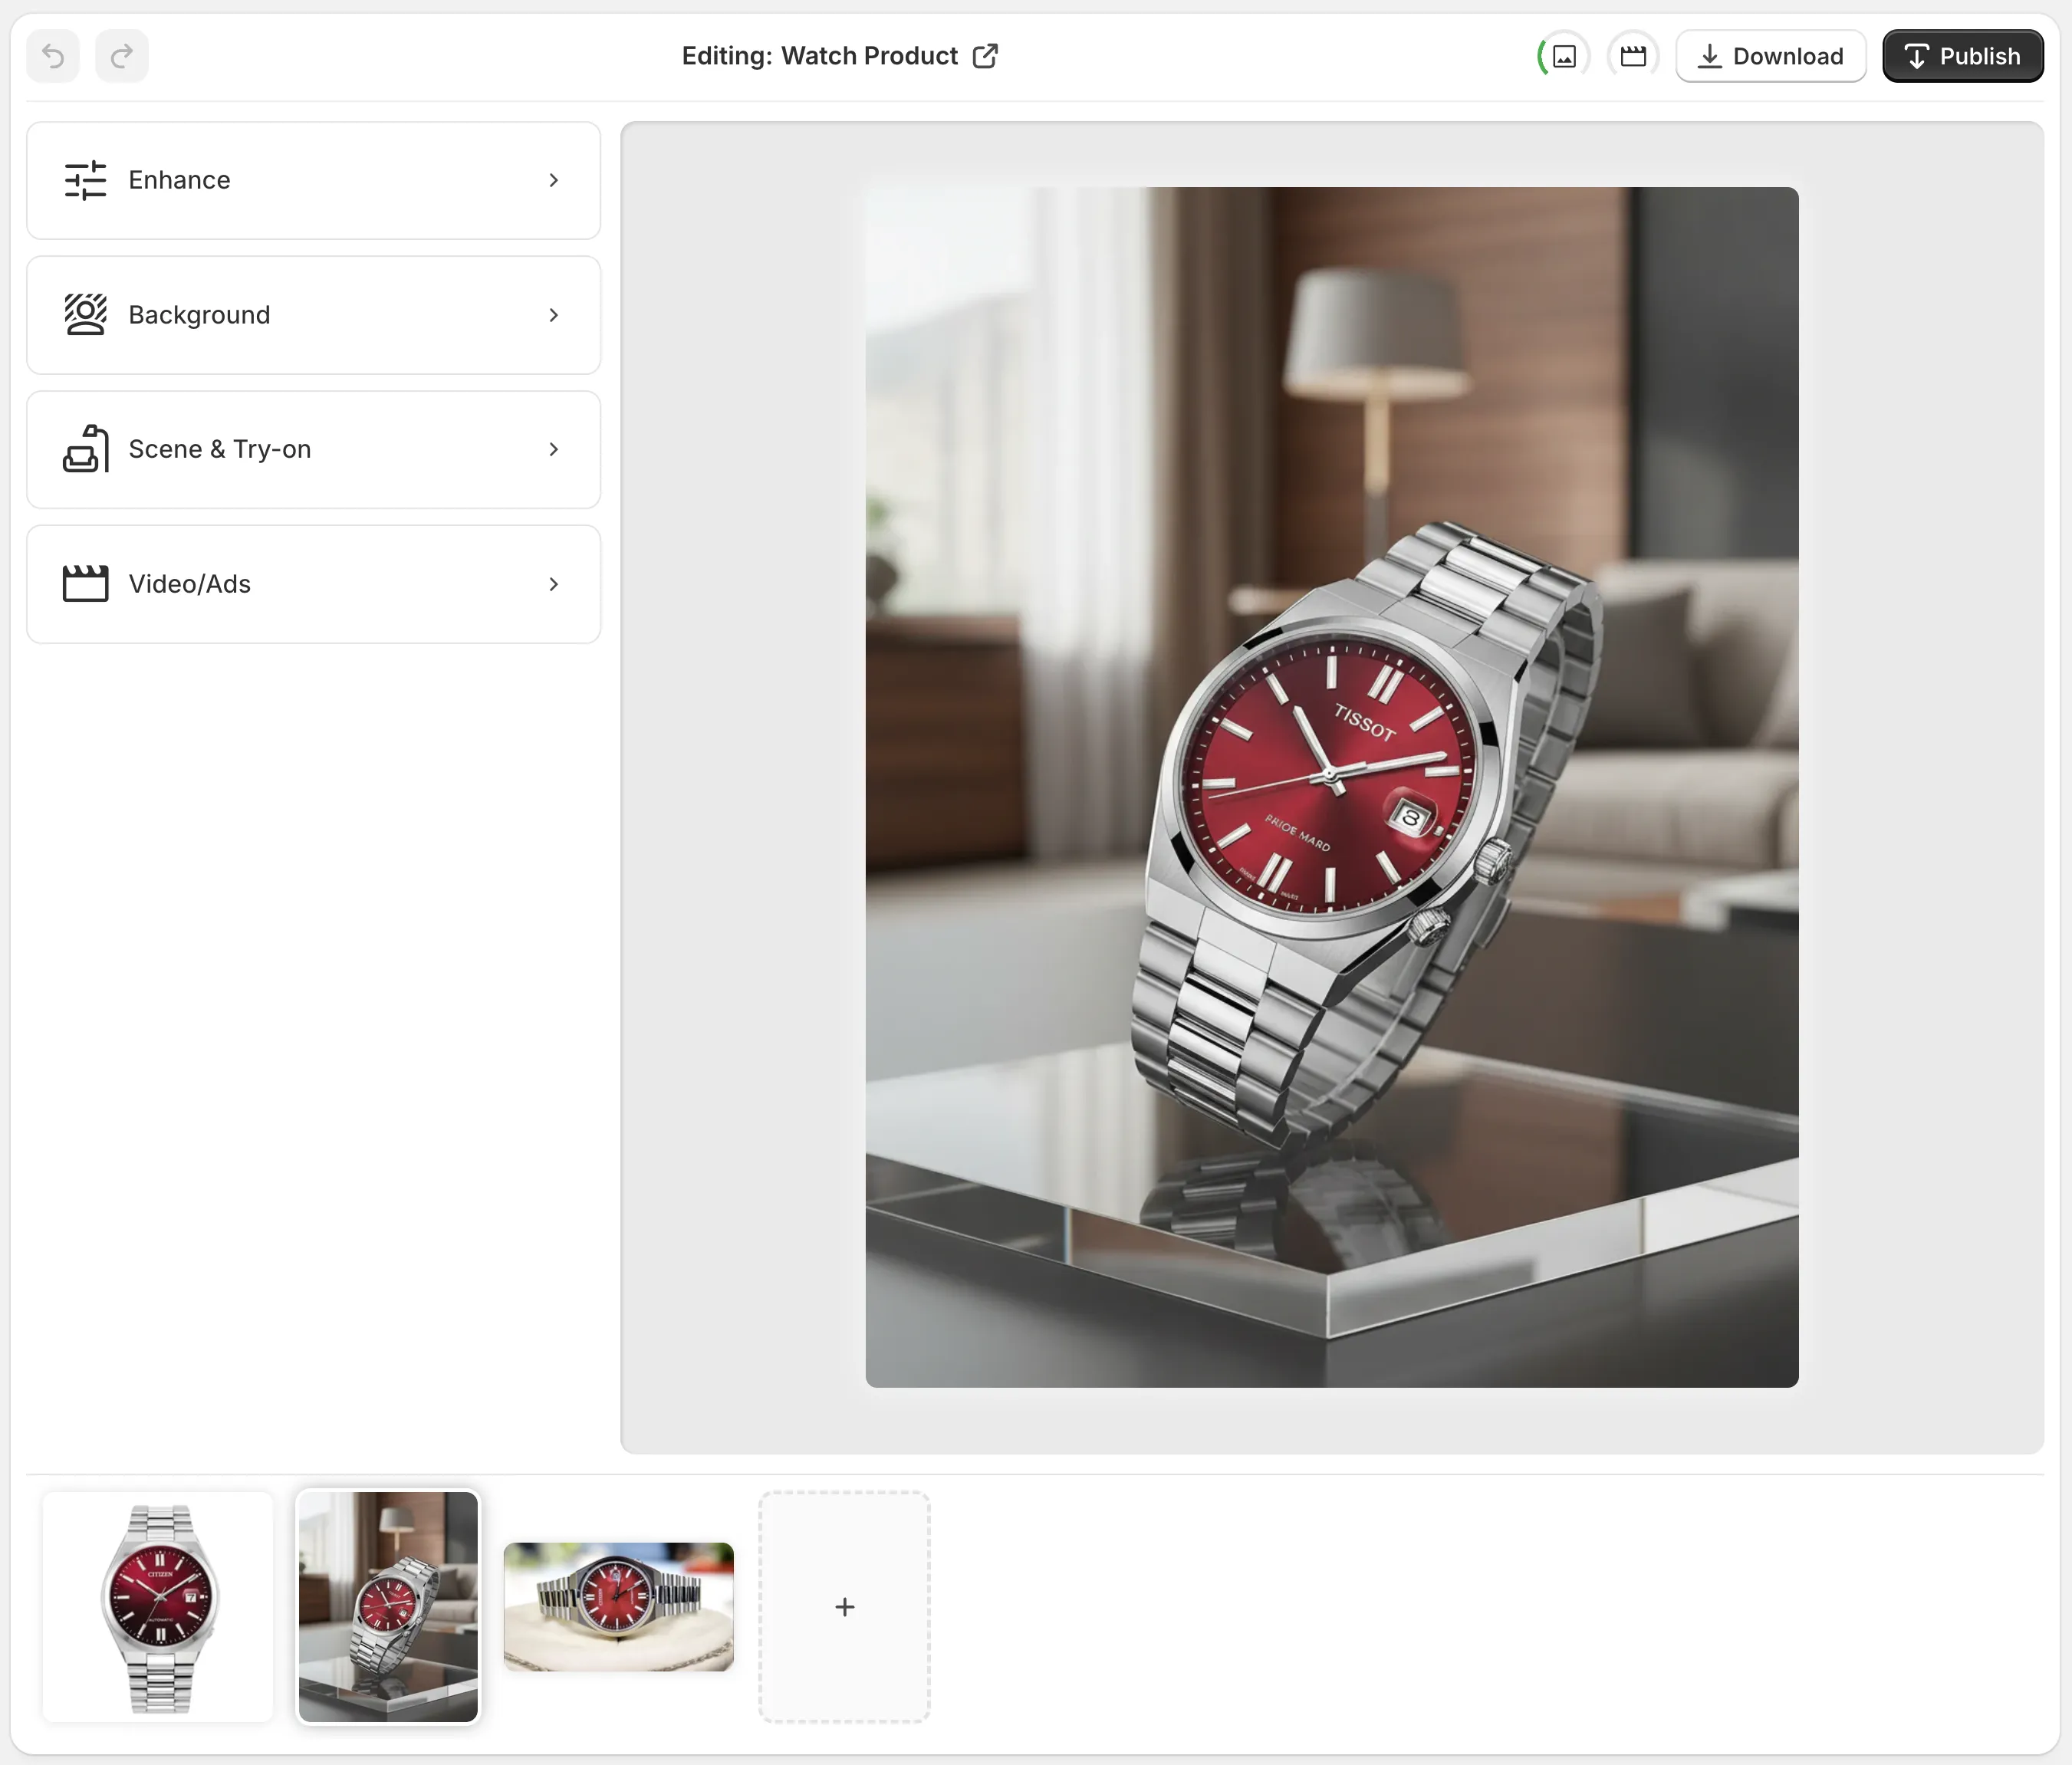
The visual result I want from this step is not “AI-looking.” I want the image to feel like a better version of the original product, not a completely different artifact.
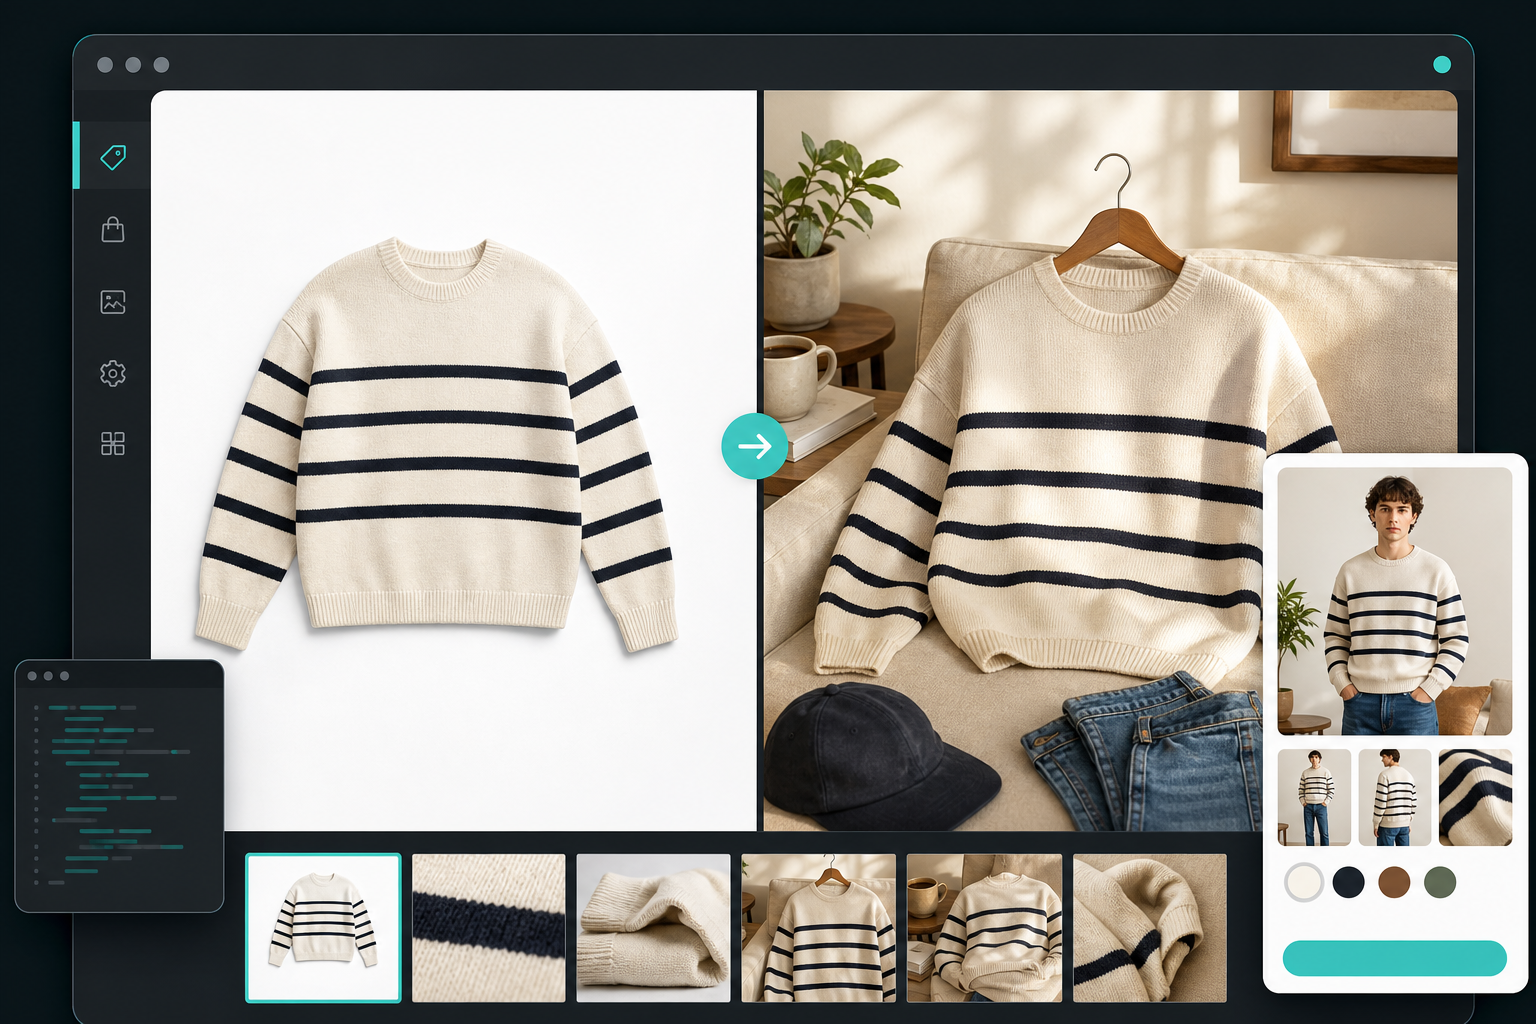
If you are trying to decide whether you need a new shoot at all, How I Build a Shopify Product Photo Pipeline That Feeds Every Channel is the other post I would keep open. The pattern is the same: turn one asset into a reusable system.
Decide What The Product Actually Needs
Not every product should go through the same transformation.
For fashion, I usually care most about try-on output. For home goods or accessories, object placement often matters more. For ad creative, I want a short video or b-roll clip that gives me motion without a separate production day.
That is why I do not treat the app as a single button that “makes a better photo.” I treat it like a small production stack.
The useful split is:
- Try-on when the customer needs fit, shape, or on-model context.
- Object placement when the product needs a believable environment.
- Enhancement when the real problem is clarity, lighting, or resolution.
- UGC or b-roll video when the product page is fine but the ad inventory is thin.
Here is the try-on side of that workflow in the app listing:
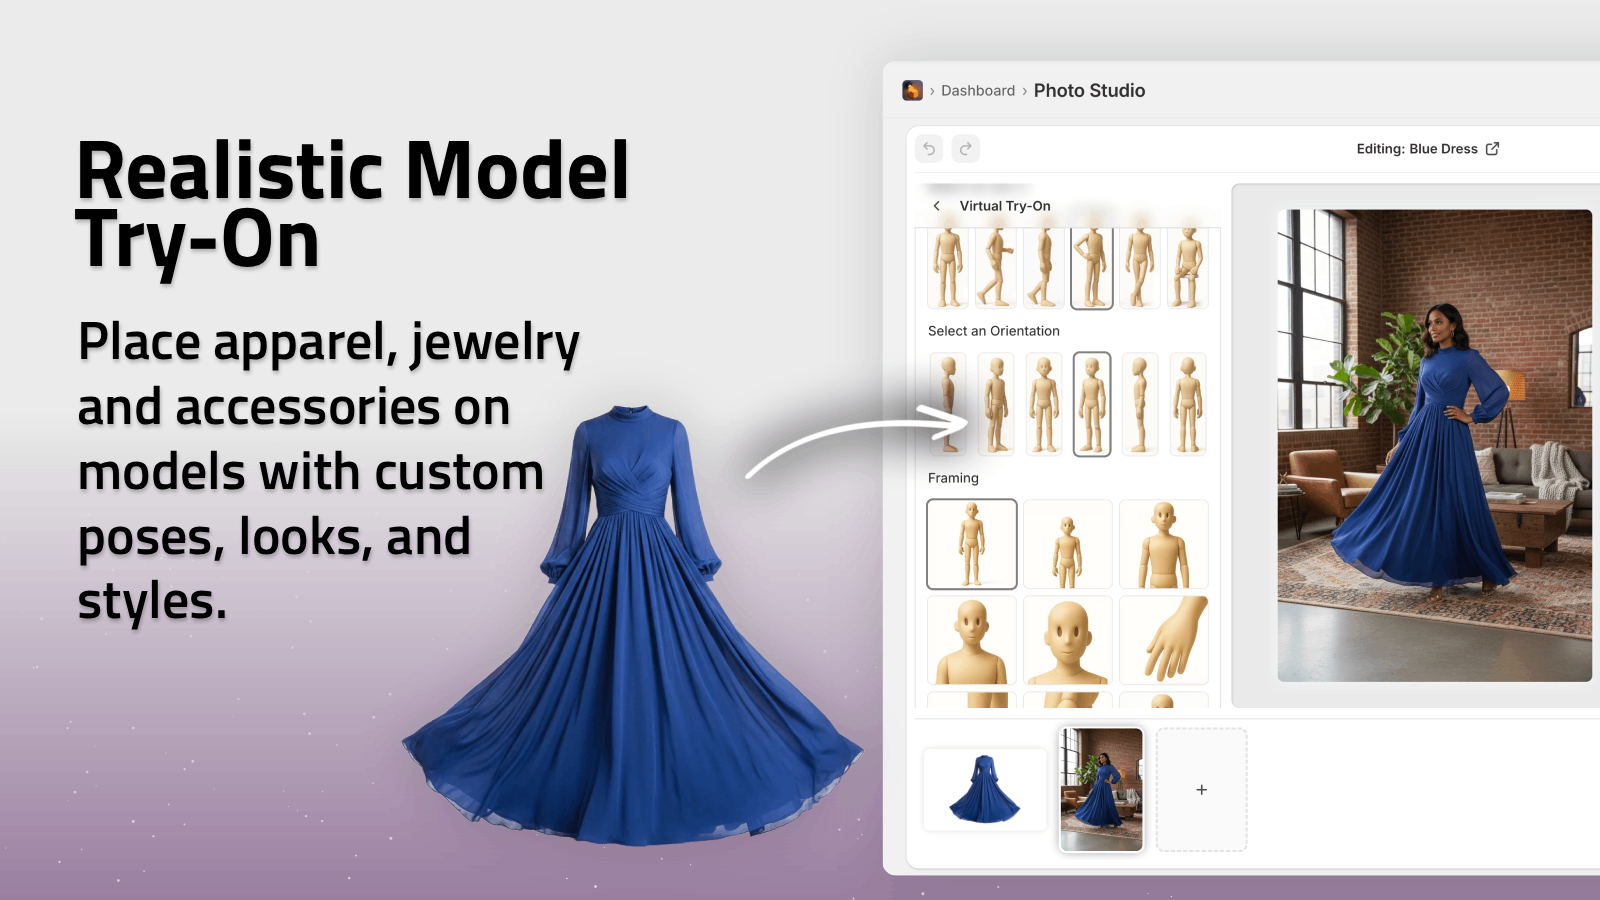
That is the point where How I Decide Whether a Shopify Product Photo Needs Try-On, Placement, or Video becomes relevant. If you choose the wrong transformation first, you can still recover, but you will spend longer getting to a version that feels publishable.
Build The Visual Set In Layers
The fastest workflow I have found is to think in layers instead of final outputs.
- Create the best catalog-ready version of the product.
- Generate one lifestyle placement that adds context.
- Generate one on-model or try-on version if the product benefits from it.
- Generate one motion asset for ads or social.
- Review the set as a group, not as isolated images.
That last step matters because a good content set is about consistency. You want the same product story repeated across different surfaces without making every asset look copied.
This is where object placement helps. Instead of a generic studio background, you can put the product into a kitchen, boutique, office, or any other environment that matches the use case.
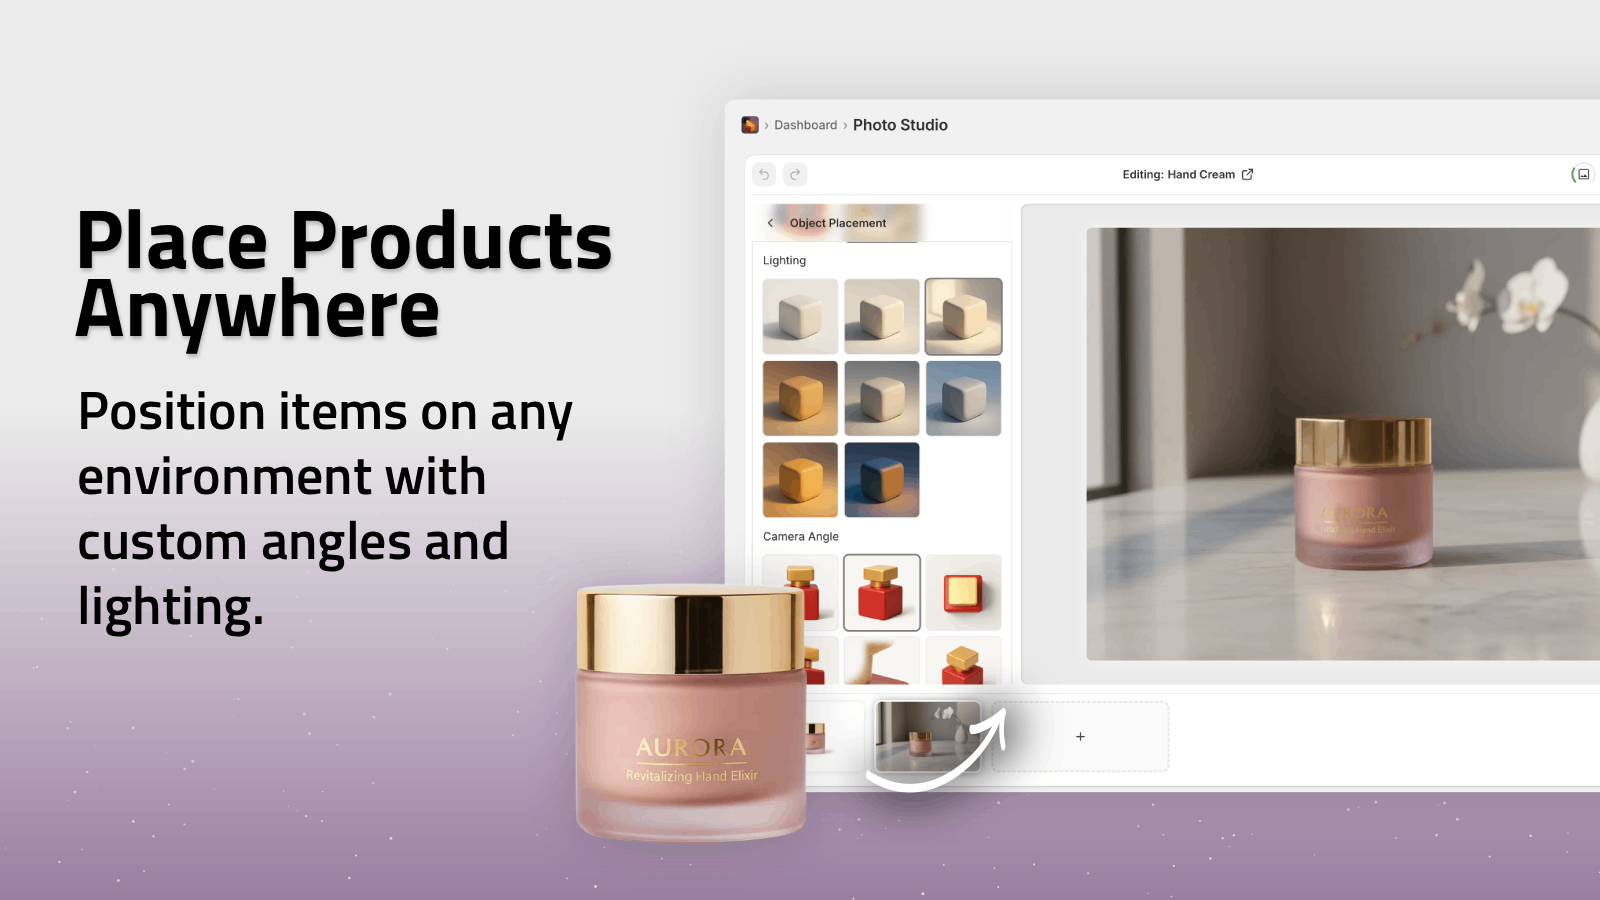
I like that because it creates a bridge between the product page and the ad. The photo is still commercial, but it is no longer floating in a vacuum.
If you want the version of this with a more system-level angle, How I Turn One Product Photo Into a Channel-Ready Shopify Asset Set is basically the same idea written from a different angle.
Use Video When Static Images Run Out Of Room
A lot of stores stop at “better photos” because that feels like the safe improvement. I think that is usually leaving money on the table.
Once the still images are in a good place, the next question is whether the product also needs a short clip. Supra AI Photo Studio can generate UGC-style videos and b-roll, which is useful when you need ad creative without spinning up a full shoot.
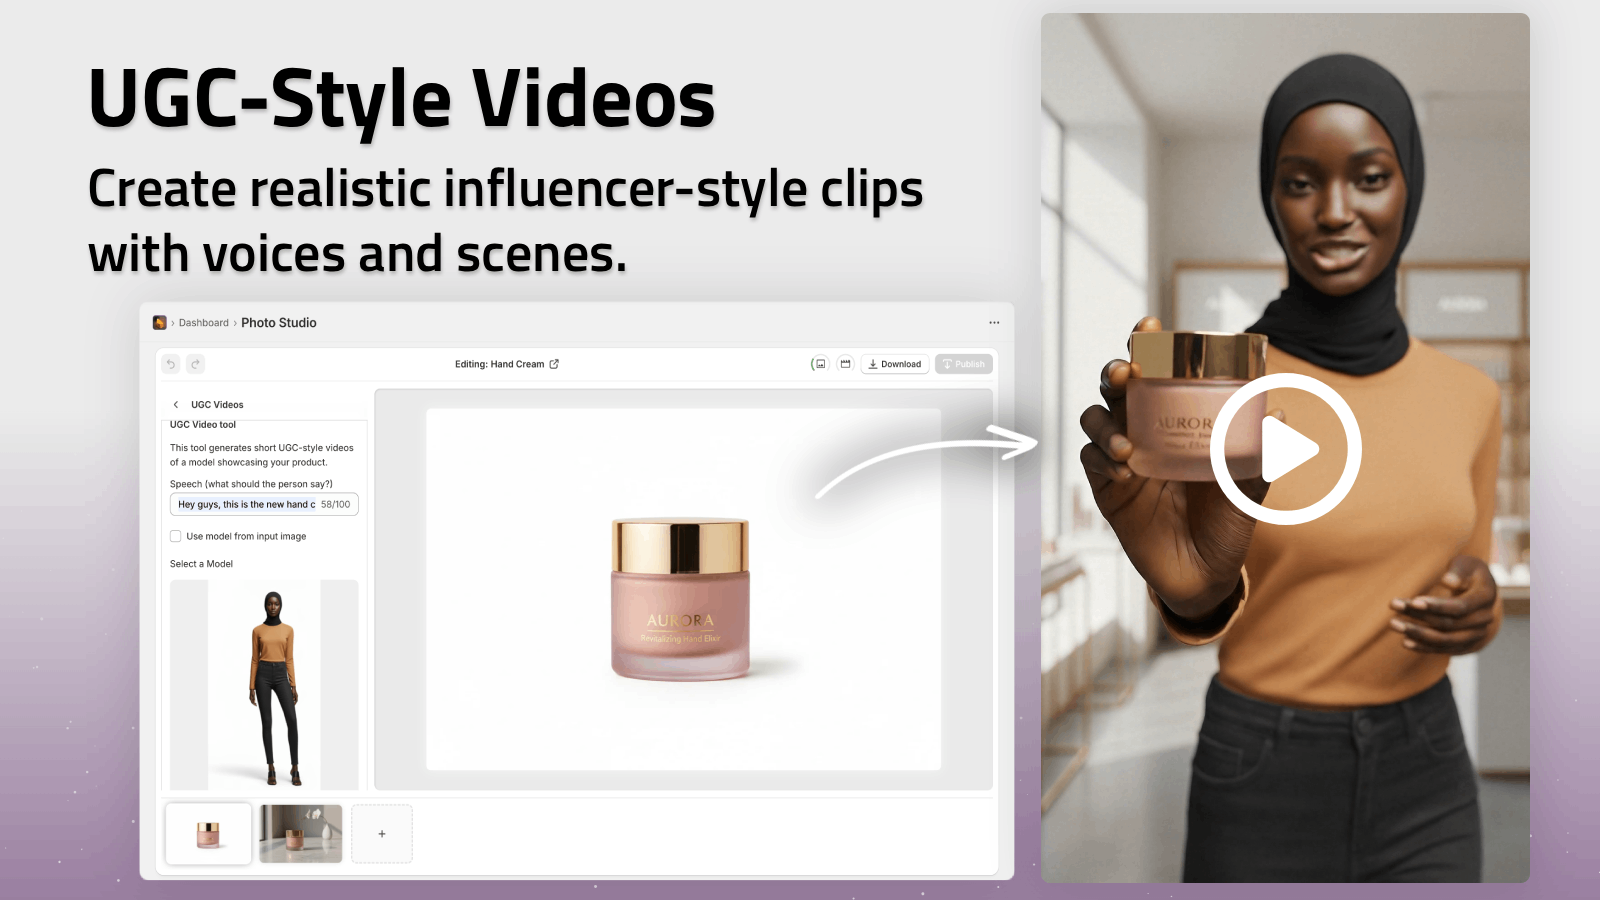
That is the asset I would reach for when I already have the stills I need but the media mix is too static. Motion gives me a different hook, and that matters when the same audience is seeing the same product across multiple channels.
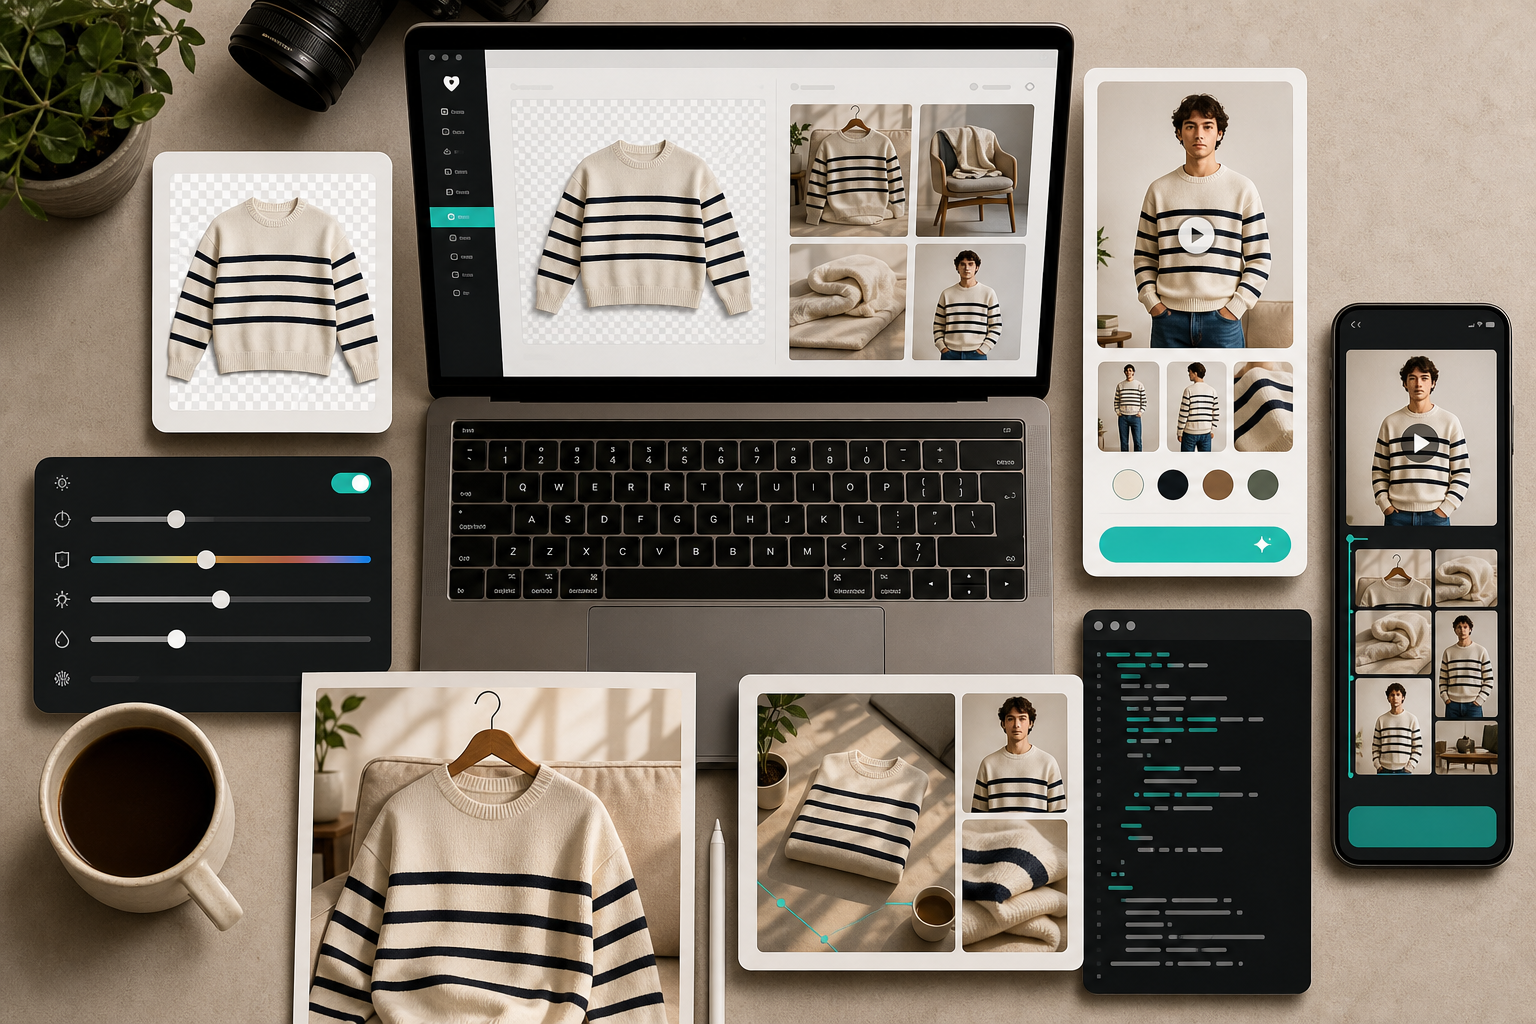
The workflow image from my own generation pass is a decent way to think about it: product cutout, adjustment controls, try-on previews, and storyboard-style output all in one place.
What I Check Before I Publish Anything
I still review the outputs before they go live. Automation should reduce the amount of manual work, not lower the standard.
My quick check is simple:
- Does the product still look like the real product?
- Did the try-on preserve shape and proportion?
- Does the environment help the product, or just decorate it?
- Are the colors close enough to the source image to be trustworthy?
- Do the stills and motion assets feel like they belong together?
If I can answer yes to those questions, I am usually happy to ship.
That is also why I keep coming back to How I Turn Basic Shopify Product Photos Into Better Assets and How I Build a Shopify Product Photo Workflow Without a New Shoot. The point is not to make one perfect image. The point is to make a set that actually moves through the store.
The Bottom Line
If your product photography currently ends at one decent upload, Supra AI Photo Studio is useful because it gives you a path from that single image to a better set of assets: catalog clarity, lifestyle context, on-model proof, and ad-friendly motion.
That is a practical upgrade, not a gimmick.
If you want to try the workflow yourself, start on the landing page or install it from the Shopify App Store, then take one plain product shot and generate four versions from it. That is usually enough to tell whether the system fits your store.