
July 10, 2026
How I Build a Shopify Product Photo Pipeline That Feeds Every Channel
A practical workflow for turning one plain Shopify product photo into cleaned, enhanced, on-model, lifestyle, and video-ready assets with Supra AI Photo Studio.
How I Build a Shopify Product Photo Pipeline That Feeds Every Channel
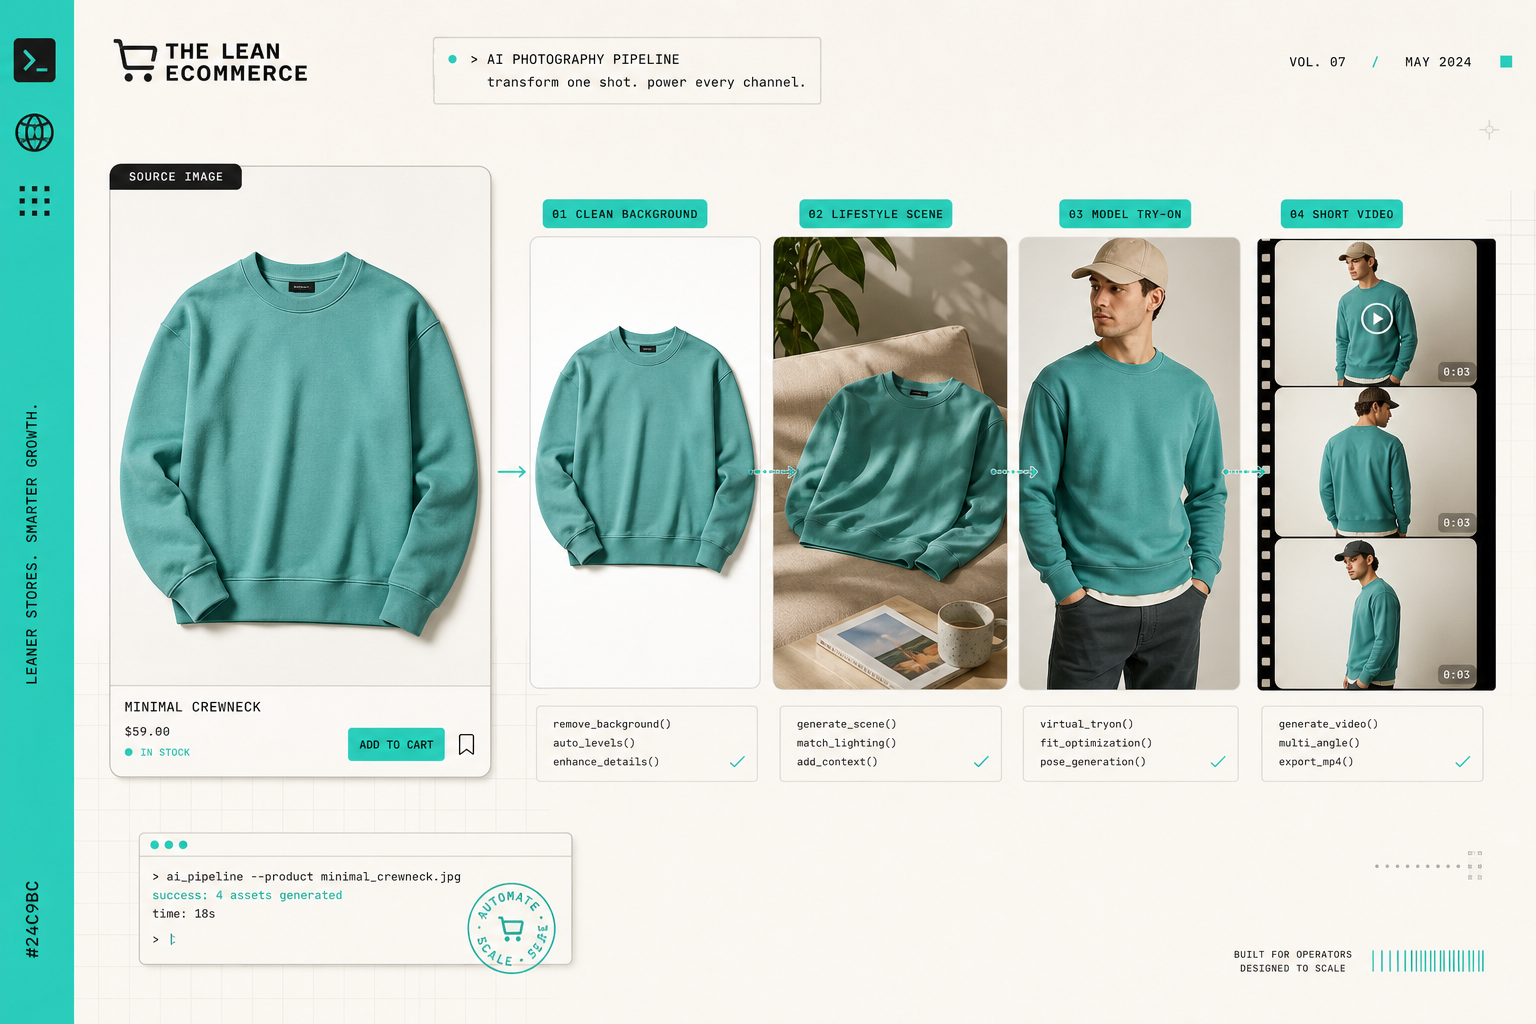
For a while I treated a product photo as a single asset. If it worked on the product page, great. If it did not, I assumed I needed another shoot. That gets expensive fast once one SKU has to cover a clean catalog image, a lifestyle scene, an on-model version, and a short ad clip.
What changed my process was treating Supra AI Photo Studio like an asset pipeline instead of a one-off editor. I can start with one plain image and move through background removal, enhancement, try-ons, object placement, mockups, and short video outputs without leaving the Shopify workflow. The landing page and demo trailer make the flow obvious enough that the tool is easy to reason about before you ever test it.
Clean the source before you chase variation
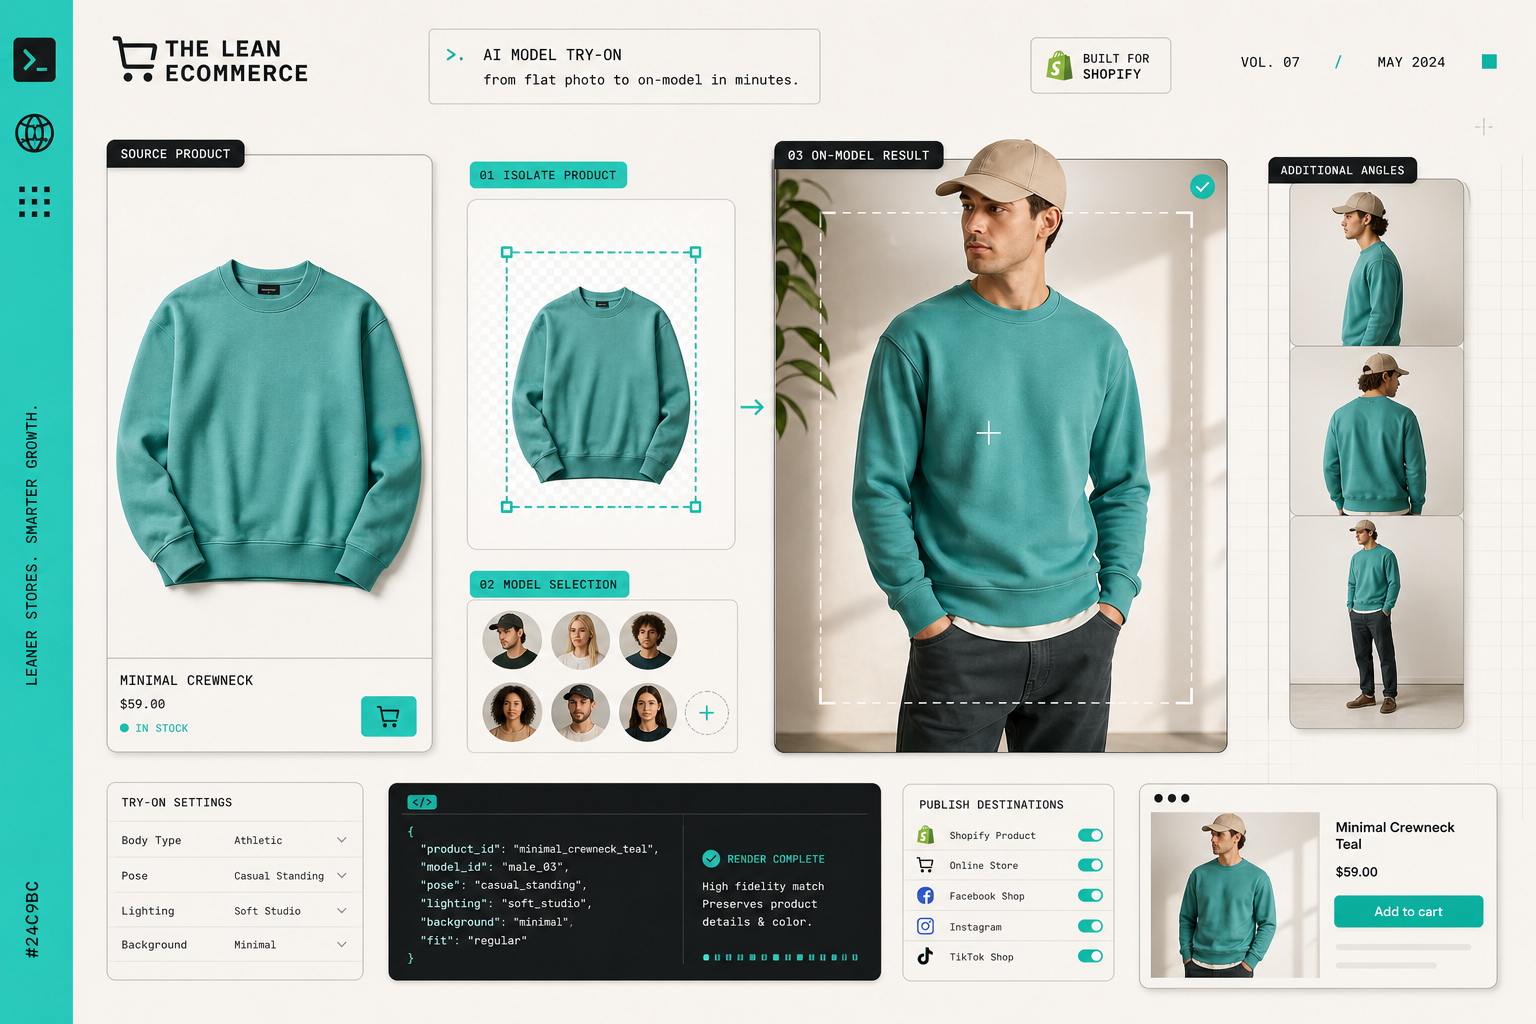
When I start in Supra AI Photo Studio, I treat the first pass as prep, not creativity. I isolate the product, clean the background, fix the lighting, and upscale only if the file really needs it. That sounds boring, but it saves me from building a scene around a weak source image.
The important part is that the same photo usually has to do more than one job. A product page image needs clarity. A lifestyle image needs context. An on-model image needs believable fit. A short video needs motion, but it still has to preserve the product details.
That is why I like having the full sequence in one place. Once the source shot is clean, every later choice gets easier. I am not trying to rescue a bad file. I am choosing the best output for the channel.
Pick the output based on the job
I get better results when I decide from the channel backwards.
- If the product is apparel, accessories, or anything worn, I try the model workflow first.
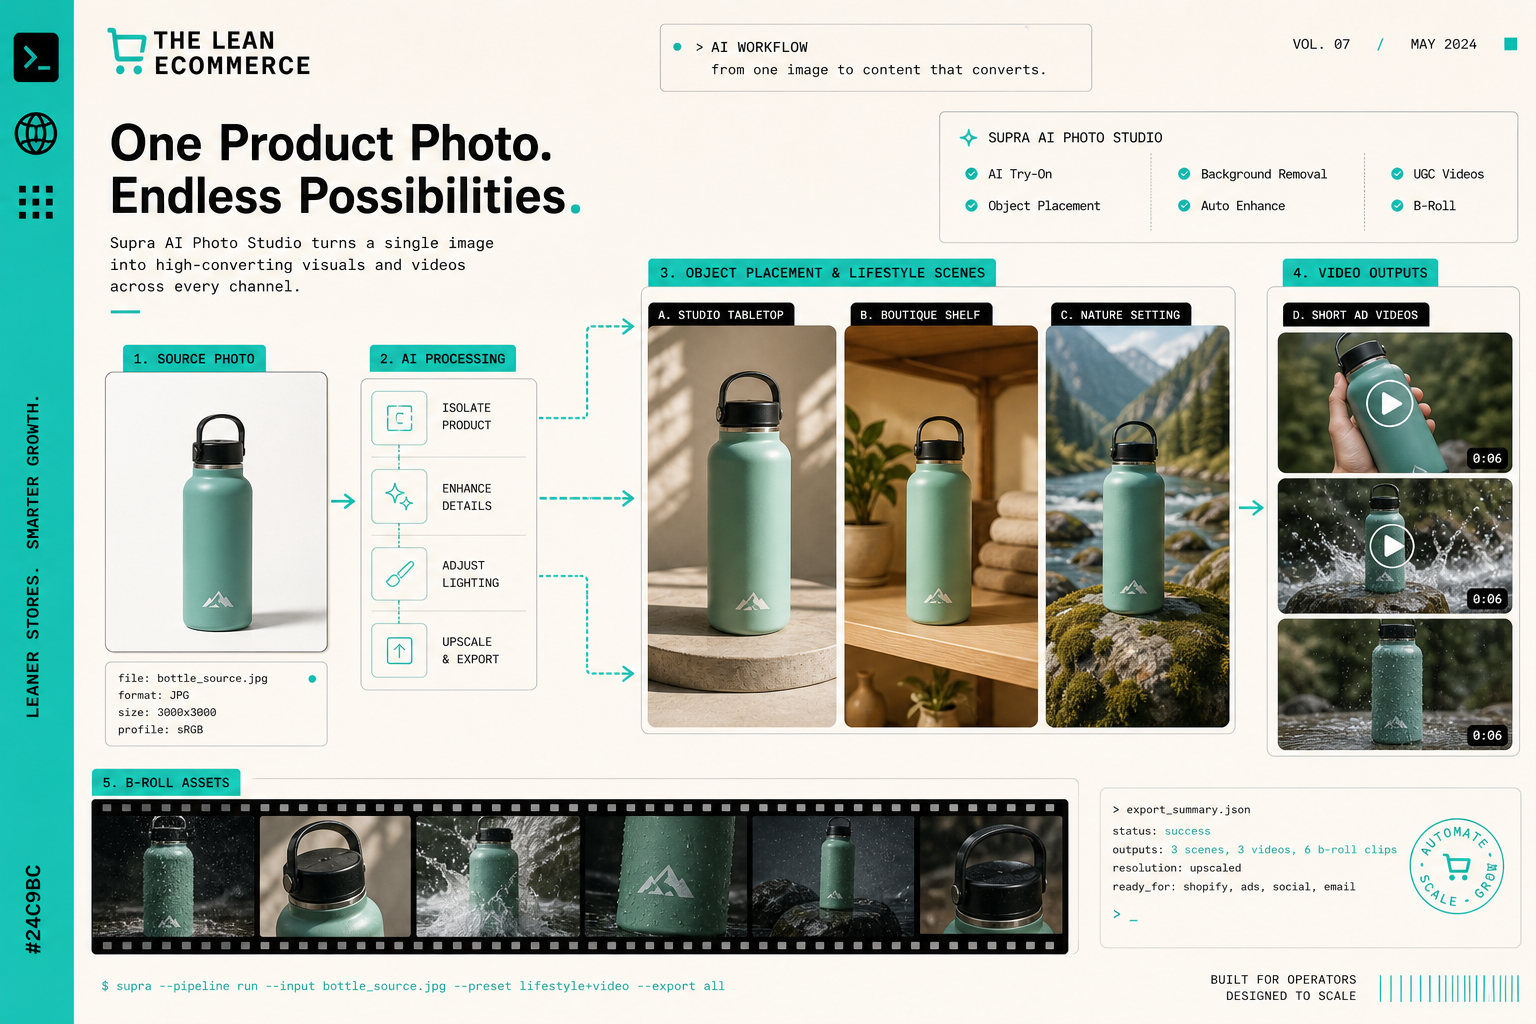
- If the product is home goods, beauty, or drinkware, I usually test object placement next.
- If the ad needs movement, I generate b-roll or UGC video.
- If the product lives in a bundle, marketplace, or branded set, I reach for mockups and context shots.
That is also the reason I do not force every SKU through every feature. Some products need one strong still and one contextual version. Others need a whole set. The job is to match the output to the buying decision, not to use every capability just because it is there.
If you want the lifestyle-only version of this thinking, I wrote about it in How to Turn Plain Shopify Product Photos Into Lifestyle Shots.
Keep the set coherent
The part that matters most to me is not whether each image looks impressive in isolation. It is whether the set feels like one system once it lands on the product page, in ads, and in email.
I keep a few rules in mind:
- use the same crop family across the set unless a channel needs something different;
- keep the lighting direction believable across stills and motion;
- keep the background family consistent so the product does not feel like it belongs to five different brands;
- pick one hero angle before I branch into variations;
- stop once the set tells the story clearly.
That last point matters more than it sounds. A lot of AI workflows fail because they create output for its own sake. I want a smaller set of assets that all answer the same commercial question.
I think that is why the broader workflow in How to Build a Shopify Product Photo Workflow Without a New Shoot is useful. The goal is not just replacing photography. It is building a repeatable system that tells me what to make next.
The same idea shows up in How to Build a Shopify Visual Kit From One Product Photo and How I Turn One Product Shot Into Shopify Ads and Try-Ons. Those posts are basically the next layer down: how the stills become a broader kit and how the kit becomes ad-ready.
What I ship first
If I am deciding what to produce for one SKU, I usually start with this sequence:
- A cleaned product image for the listing.
- One lifestyle image that gives the item context.
- One on-model or try-on version if the product fits that workflow.
- One short motion asset for ads or social.
- One mockup if the product is packaging, apparel, or a branded object.
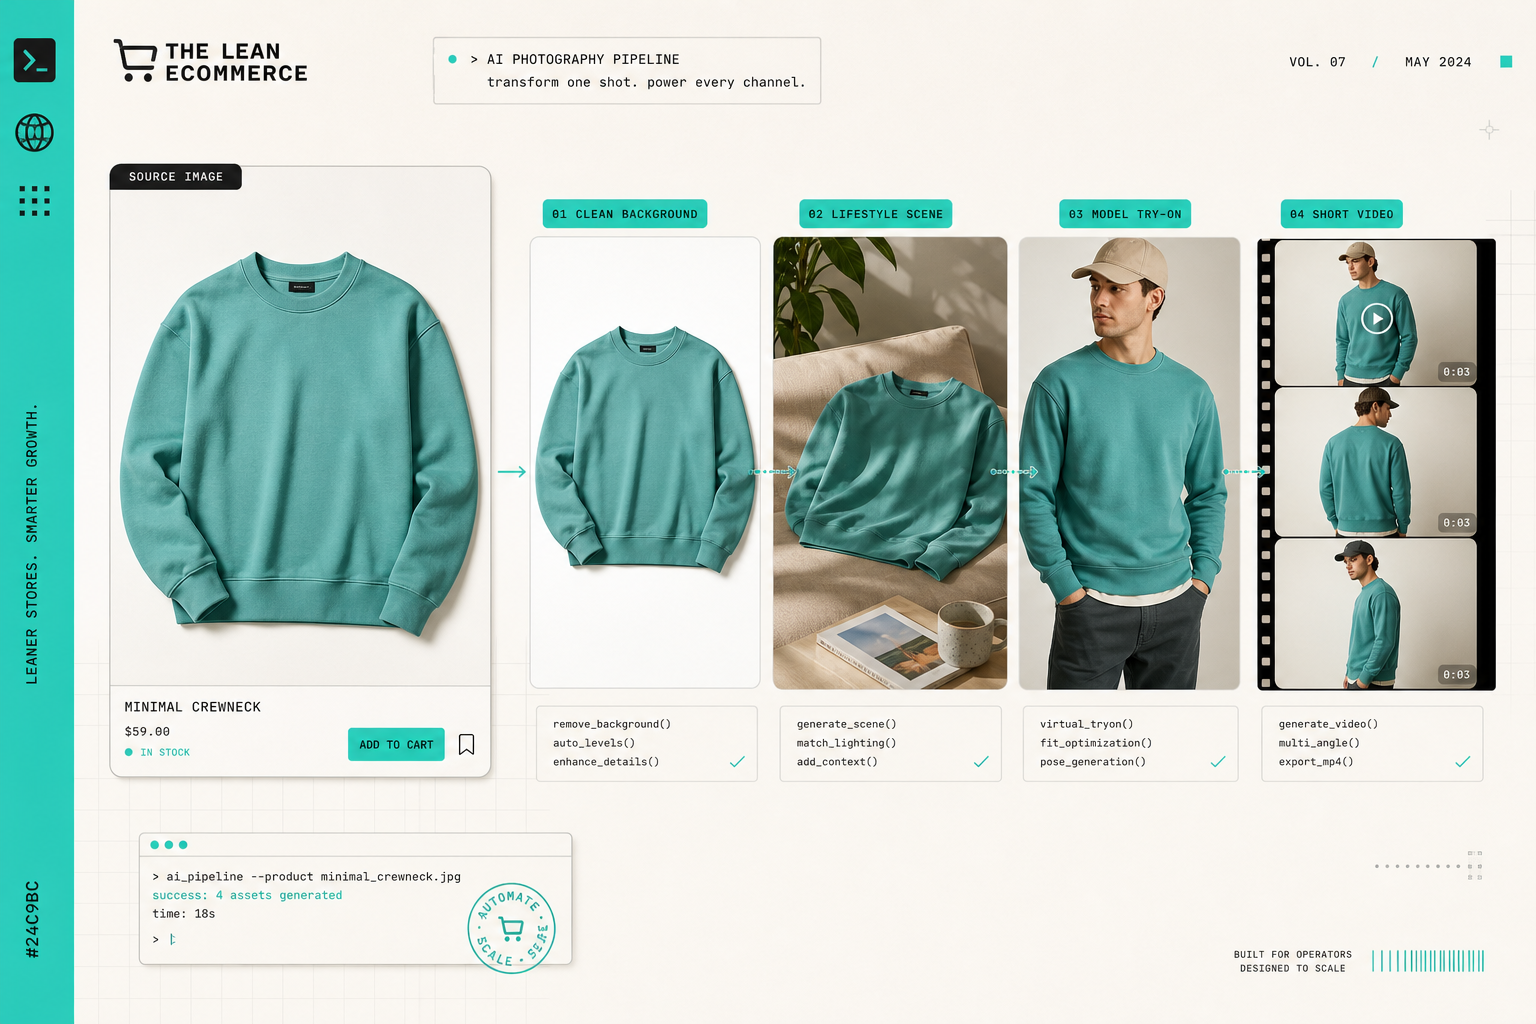
I do not always need all five. If the product already converts well, I stop earlier. If the product is visually flat, I spend more time on context and motion. The point is to create just enough variation to support the sale without turning the process into a content factory.
That is also where the free plan matters. I do not need a big commitment to test whether the workflow fits a real SKU. I can start small, generate the first set, and see whether the images actually help the product page, the ad, or the email.
What I stop doing
This workflow also made a few habits easier to drop.
- I stop asking for a new shoot before I have tested the source image.
- I stop making three different visual directions for the same SKU unless the channel needs it.
- I stop using motion when a static image already answers the question.
- I stop treating background cleanup as optional.
- I stop shipping an image set that does not feel like one product story.
That is the practical value of Supra AI Photo Studio to me. It does not just generate more assets. It helps me make a cleaner decision about which assets matter.
If you want the faster, more focused version of this workflow, the How to Build a Shopify Product Photo Workflow Without a New Shoot post is the best companion read. If you want the result-oriented version, the next step is How to Build a Shopify Visual Kit From One Product Photo.
The takeaway
I am not trying to make every product look cinematic. I am trying to make the right set of images and clips for the right channel without starting a new shoot every time.
That is why I keep coming back to Supra AI Photo Studio. It gives me a simple path from one source image to a usable product page image, a lifestyle version, an on-model version, and a motion-ready asset set. If you want to test that idea on one SKU, start with the Shopify app listing, use the free plan, and build the smallest visual set that can still sell the product.
The next action I would take is simple: pick one SKU, isolate it, create one lifestyle still and one motion asset, and compare how much more complete the listing feels afterward.