
August 31, 2026
How I Choose Shopify SKUs for Phone-Captured 3D Models
A practical SKU-selection and capture workflow for adding native Shopify 3D product media with a phone.
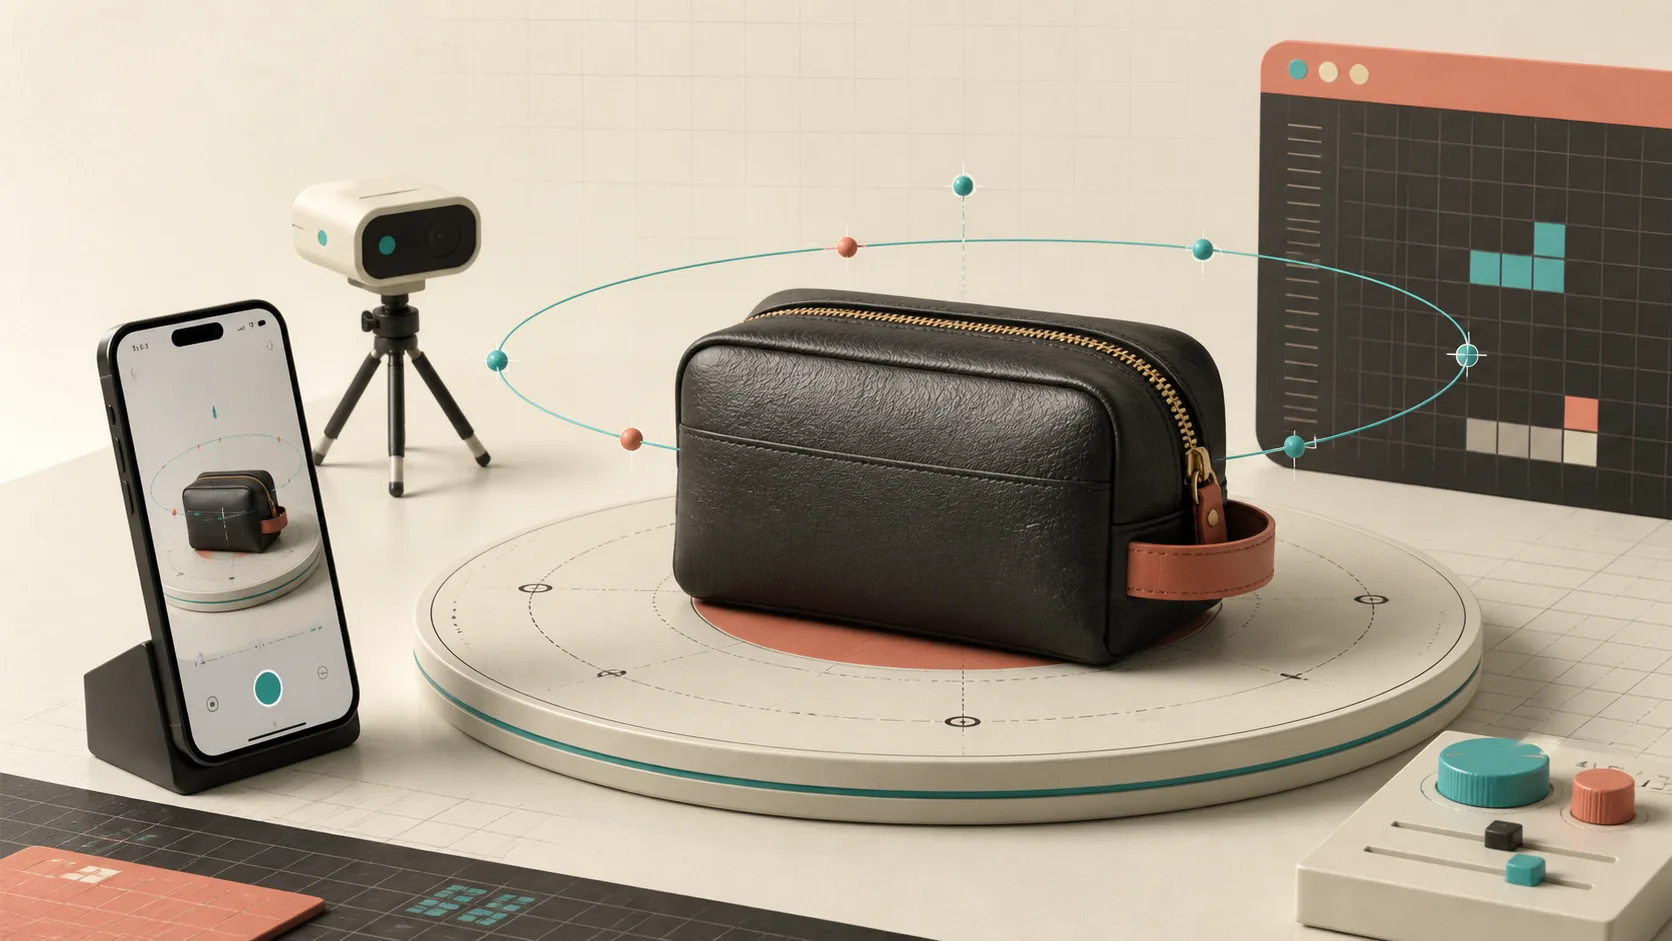
I used to think the hardest part of adding 3D product media was the capture. It is not. The annoying part is deciding which SKU deserves the work first. Pick the wrong item and you end up with a neat demo that does nothing for a shopper who is still trying to understand the product. Pick the right one and a short phone-photo session can close a very real gap between the page and the physical object.
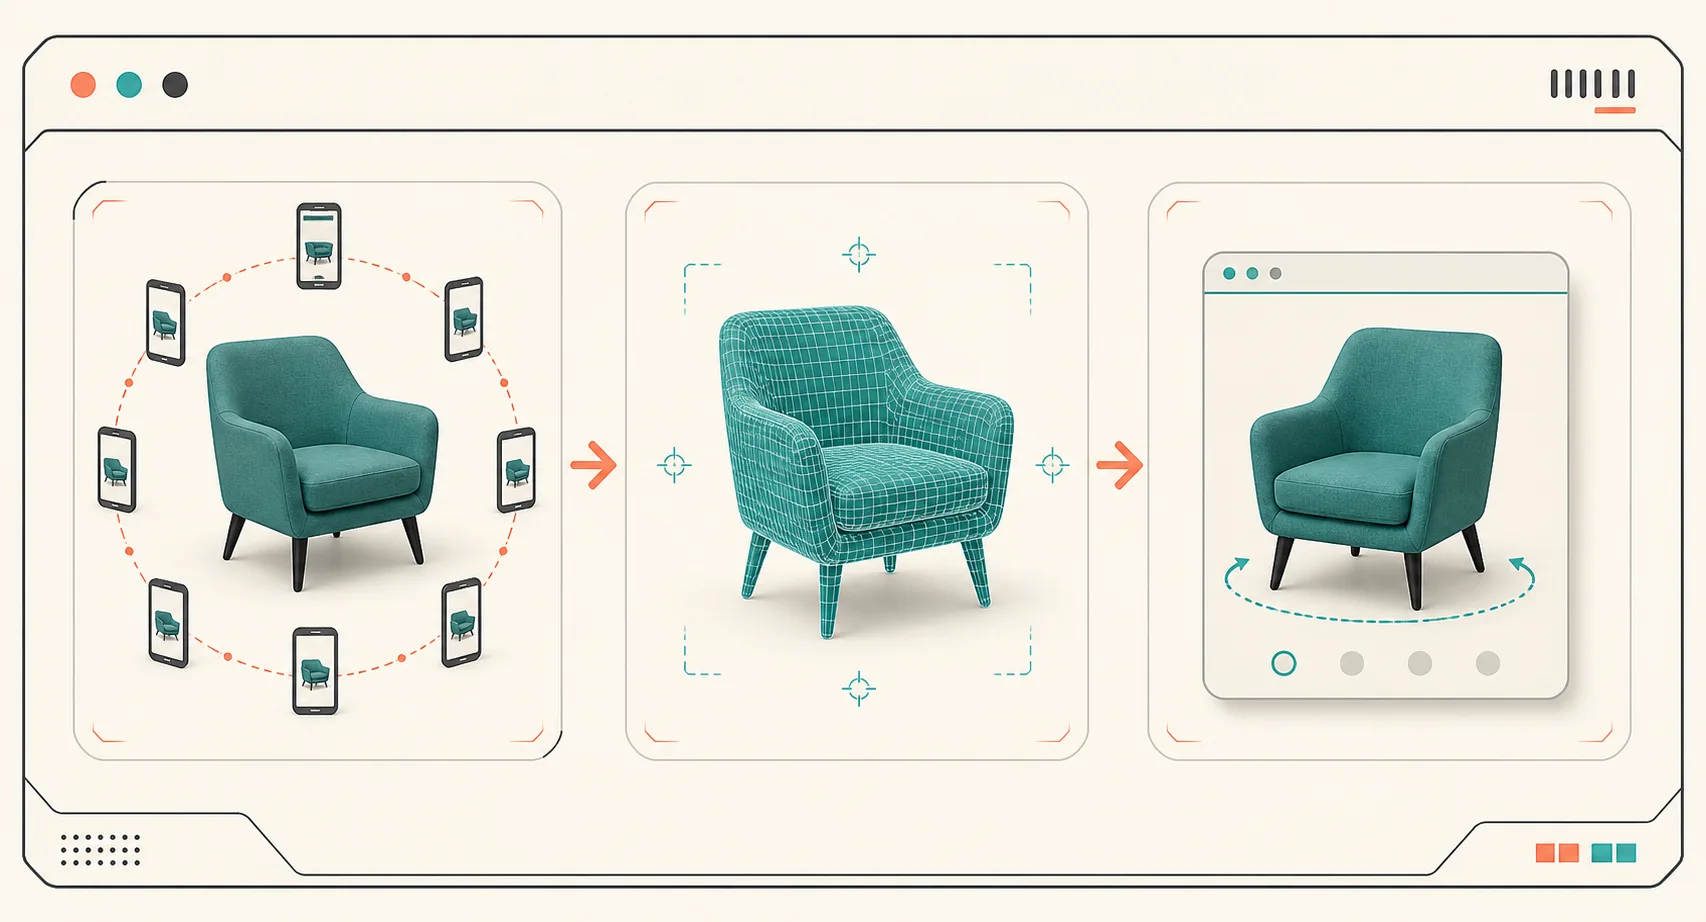
That is why I now treat 3D as a product-page decision, not a design experiment. Supra 3D Capture gives Shopify merchants a fairly direct path: take a guided orbit of phone photos, let the photogrammetry pipeline produce a web-ready GLB, then publish it as native Shopify product media or via an Online Store 2.0 app block. You do not need LiDAR, special cameras, or a 3D artist to test the workflow.
Start With the SKU That Photos Explain Poorly
My first filter is simple: does a normal gallery leave a useful question unanswered? If the shopper can see every important angle in six photographs, I would spend the next hour elsewhere. I start with products where shape, scale, depth, texture, or construction drive the decision.
Good first candidates tend to be:
- shoes, bags, furniture, and home goods with meaningful depth
- products with a feature on the back, side, bottom, or interior
- objects where a close-up flat photo makes the proportions look misleading
- products that attract support questions such as “how big is it really?” or “what does the side look like?”
That is a more useful rule than “put 3D on the bestseller.” A bestseller is often a good pilot, but only if interaction helps a customer judge it. I wrote about the same decision in my first-SKU 3D pilot notes: the point is to choose an item with visible uncertainty, not just high traffic.
Make a Tiny 3D Candidate Scorecard
I use four questions before I open a capture session. Give each one a quick one-to-five score; this is not a committee process.
- Angle sensitivity: Does seeing the item from several angles materially improve understanding?
- Expectation risk: Could the customer reasonably receive something that feels different from the photos?
- Margin or volume: Is this SKU valuable enough that clearer product media is worth maintaining?
- Capture friendliness: Can I photograph it in even light without reflective, transparent, or fuzzy surfaces fighting me?
The last question matters. A glossy bottle, clear acrylic object, or fluffy textile may still deserve 3D, but it is a lousy first test because the capture is less forgiving. I want the pilot to prove the publishing workflow first. A matte bag, shoe, chair, or decorative object is usually a calmer place to learn the 10-plus-photo orbit.
This also keeps the project honest. We are not claiming an interactive model guarantees conversion lift or fewer returns. The useful outcome is more modest and more defensible: shoppers can inspect a product themselves, which can improve confidence and reduce preventable expectation gaps.
Capture for the Page You Actually Have
The cleanest workflow is capture, process, publish. With Supra 3D Capture, I open a guided session on my phone and circle the well-lit product, keeping it in frame as the app collects the shots. Those photos upload for reconstruction into an optimized GLB. The output is intended for the web, not for a CAD library that someone has to manually convert later.
I set up the physical side with boring discipline: stable product, simple background, soft even light, and enough clearance to walk around it. Then I check the model as a shopper would. Can I rotate to the useful side? Does the silhouette read? Are seams, handles, or raised elements sensible?
That check has a handoff benefit too. If another person will publish the media, use a compact acceptance record. My 3D model handoff card is the kind of small artifact that prevents “which file was approved?” from becoming a launch-day question.
Publish Native First, Then Use the App Block Intentionally
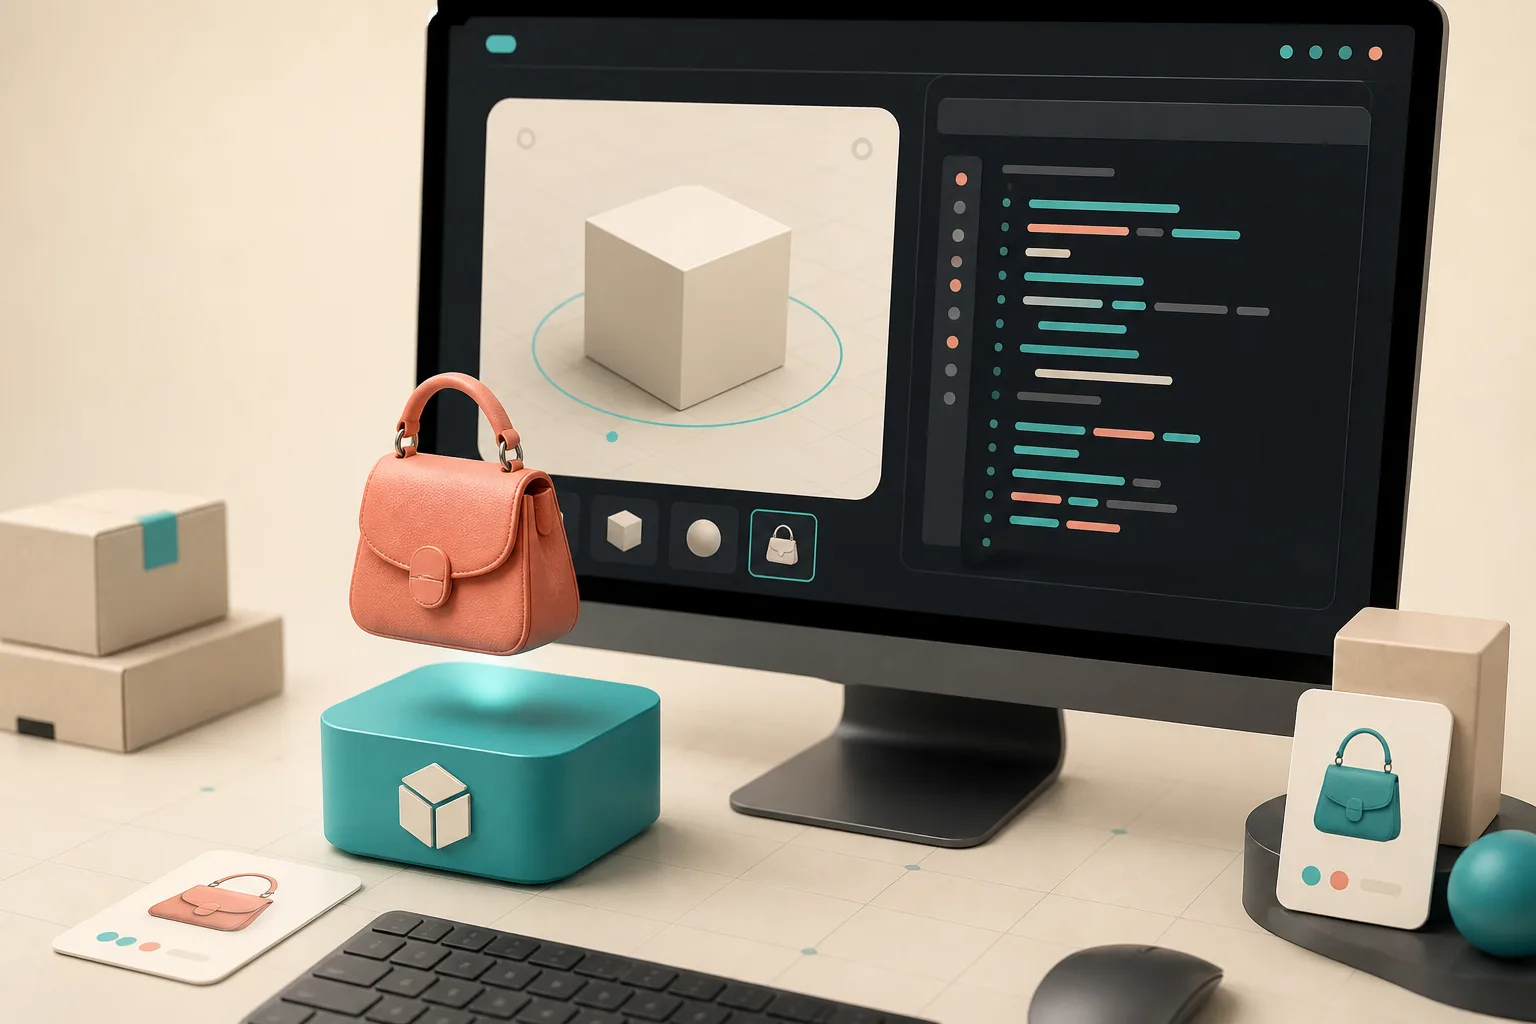
For a conventional product page, I would attach the GLB to Shopify product media first. That lets a theme with Shopify’s native 3D viewer show the model alongside the gallery. It is the lowest-friction implementation because it lives where shoppers already expect to inspect images.
The dedicated Online Store 2.0 app block is useful when the model needs its own moment: a feature section, a comparison area, or a page where the product gallery is too crowded. I would not add it just because it exists. Put it where interaction helps answer a buying question.
A real 3D model is also different from the old spin-GIF workaround. A GIF chooses the viewing sequence for the shopper; interactive 3D lets the shopper inspect the angle they care about. I documented that trade-off when I replaced a 360 spin GIF with a real Shopify 3D model.
Keep the Pilot Small Enough to Learn From
My first rollout would be three SKUs, not the whole catalog. I would publish the models, test the product page on phone and desktop, and note what customers or support staff actually ask. If an item still needs three explanatory photos, keep those photos. 3D is an addition to a useful gallery, not a reason to remove visual context.
Supra 3D Capture has a Free plan that includes one saved 3D model and three scans per month, which makes this a reasonable proof-of-work before treating it as a catalog program. When the workflow is working, the Base and Pro plans add capacity for more saved models and scans. You can review the current options on the Supra 3D Capture site or Shopify App Store listing.
The next action is simple: choose one matte, shape-dependent SKU this week, take a guided phone-photo orbit, and publish the result into the product media gallery. If shoppers can understand the item with less guesswork, you have a real reason to expand the system.