
August 25, 2026
I Replaced a 360 Spin GIF With a Real Shopify 3D Model
A practical Shopify build note on choosing a 3D SKU, capturing it by phone, and publishing interactive GLB product media.
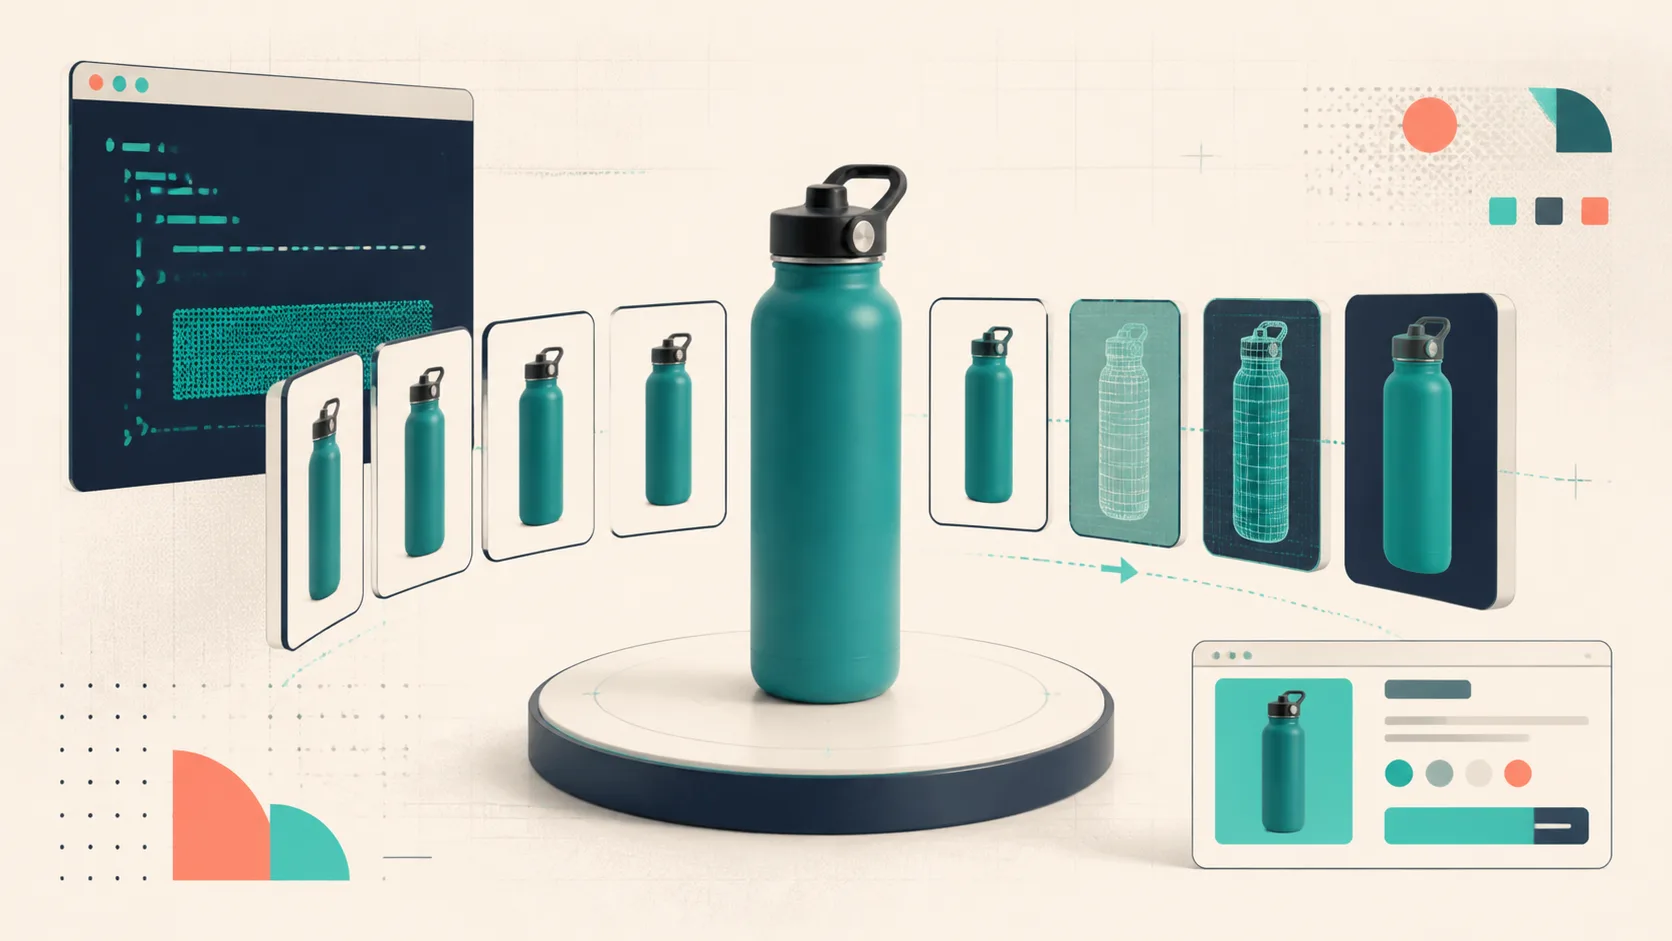
I kept seeing the same workaround on otherwise solid Shopify stores: a looping 360 spin GIF squeezed into the product gallery. It hints at depth, but it is still a fixed sequence. The shopper cannot stop on the handle, inspect the sole, or decide whether the material looks like it does in their head. It is a lot of bytes for a fairly old interaction.
For a small product-media pilot, I wanted the next step to stay practical: no 3D artist, no special camera rig, and no theme rewrite. The goal was to capture a physical SKU with a phone, turn it into a web-ready GLB, then let Shopify do what it already knows how to do with native 3D product media. Supra 3D Capture is built for that path: guided phone photos, cloud processing, then publishing the finished model to a Shopify product.
First, pick a SKU that earns the extra media
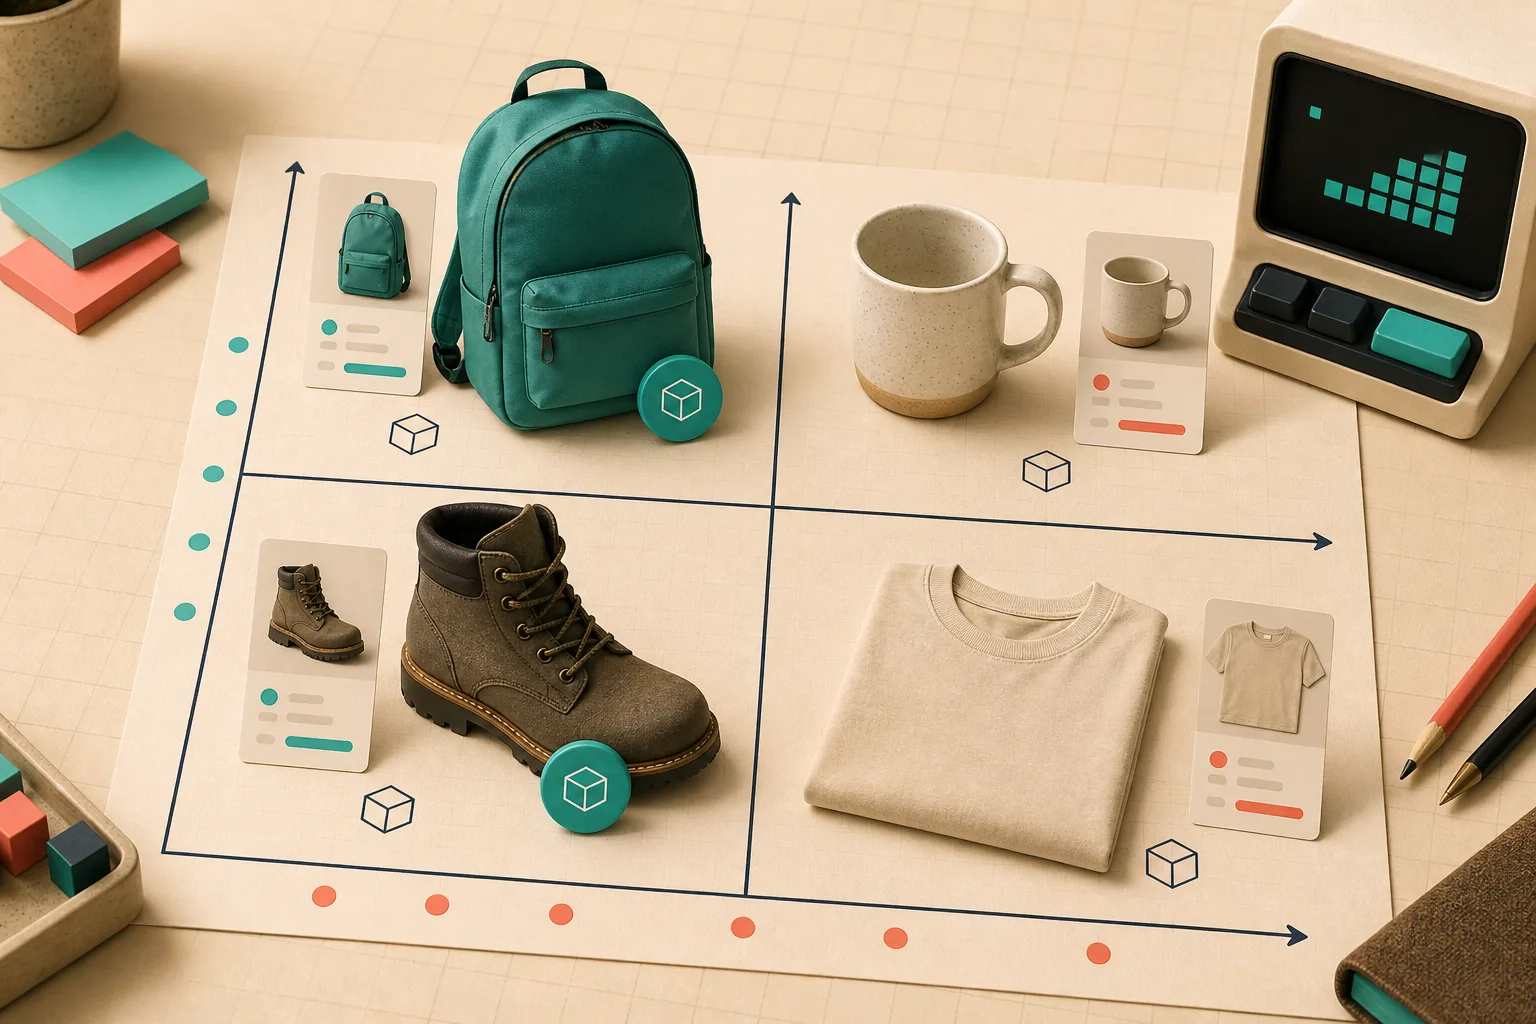
I would not start with the best-selling t-shirt just because it has traffic. A first 3D model should answer a question static photos are bad at answering. Shape, scale, texture, construction, and how a product changes from another angle are all good signals. Bags, footwear, lamps, ceramics, tools, and products with interesting closures or silhouettes usually give shoppers something real to inspect.
My quick filter is boring on purpose:
- Does the product have a shape or detail that customers need to understand before buying?
- Does support or return feedback suggest an expectation gap?
- Can I photograph the product cleanly on a stable, well-lit surface?
- Is the SKU important enough that better product-page engagement is worth the setup time?
I wrote a more detailed version of this selection exercise in How I Pick the First Shopify SKU for a 3D Pilot. The important trade-off is to choose one representative product, not the hardest product in the catalog. Clear, shiny, or very fuzzy items can be harder photogrammetry cases; save them for when your capture routine is stable.
The capture routine I would repeat
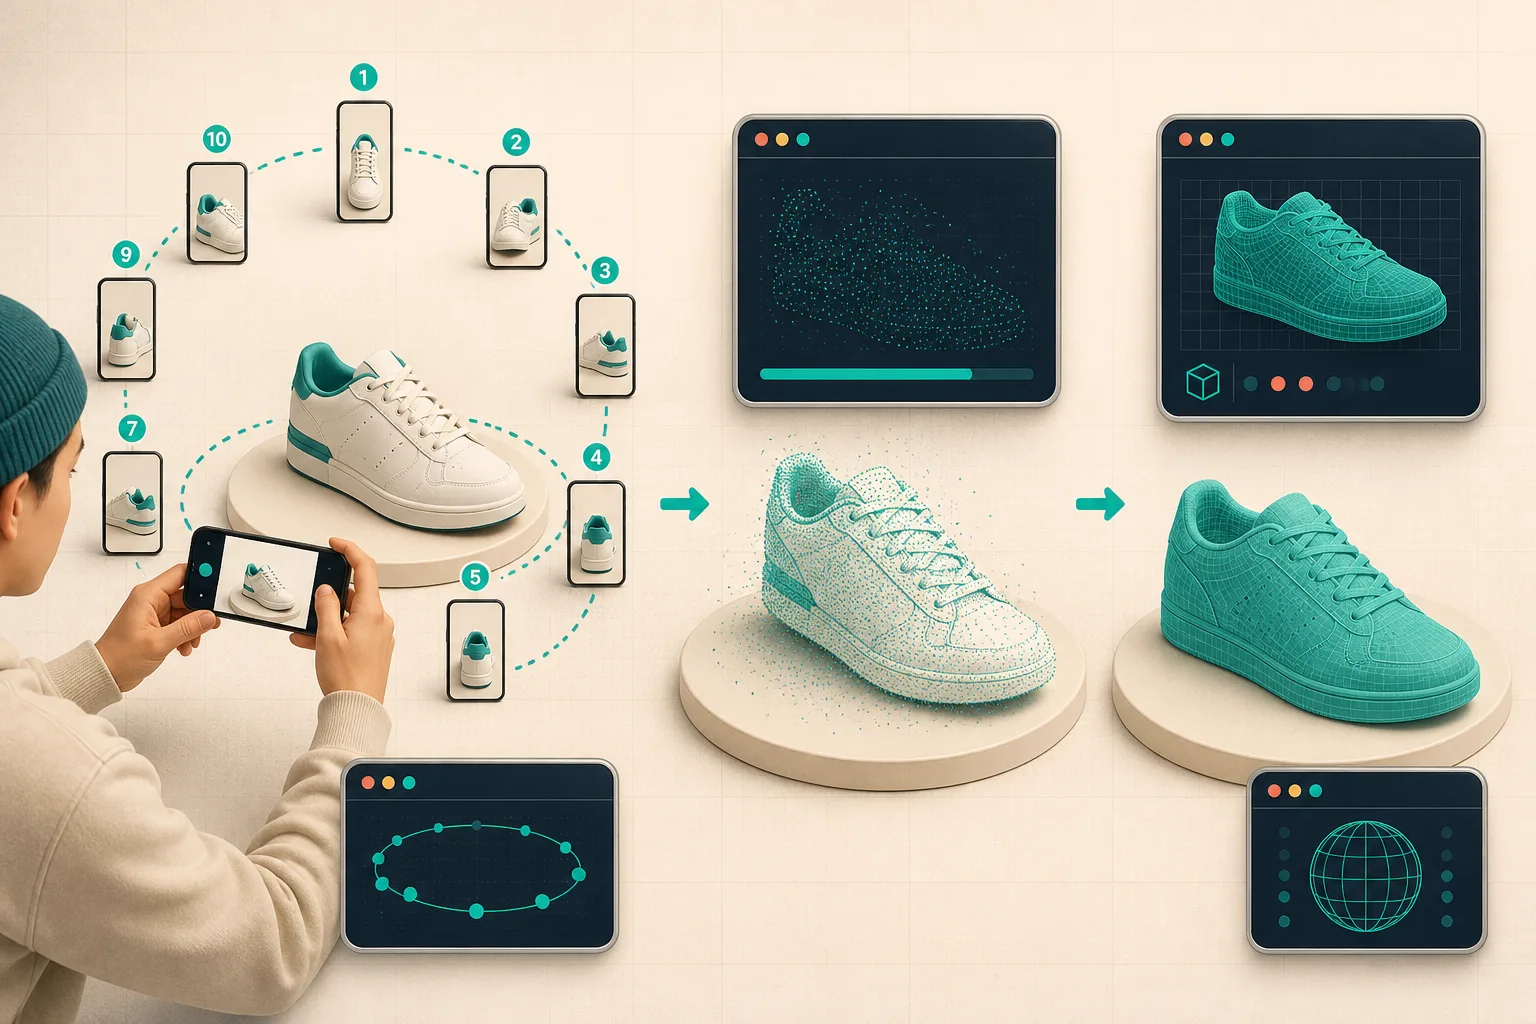
The promise of phone-based photogrammetry is not that every scan is magic. It is that the workflow is short enough to improve. With Supra 3D Capture, I would set the product on a simple surface with even light, open a guided capture session, and walk a steady orbit around it. The app guides the image set so the product stays in frame; the processing pipeline then reconstructs and optimizes a GLB for the web.
A few operational details make more difference than another filter:
- Light for consistency, not drama. Soft, even light makes features easier to recover. Avoid harsh moving shadows and reflections where possible.
- Keep the product still. Rotation should come from you moving around it, not from changing the product between shots.
- Make the orbit overlap. I treat each phone photo as coverage for the next one. A short, deliberate set of 10 or more guided angles is a better start than random close-ups.
- Inspect the output before touching the theme. Check the edges, important material details, and functional parts customers will want to rotate toward.
This is why I like the phone-photos-to-GLB framing better than a vague 3D initiative. There is a tangible handoff: capture, process, publish. I also keep a small pre-publish checklist, similar to the 3D model handoff card I made before publishing, so a nice-looking model does not get attached to the wrong variant or shipped without a real device check.
Publish it where the shopper already expects product media
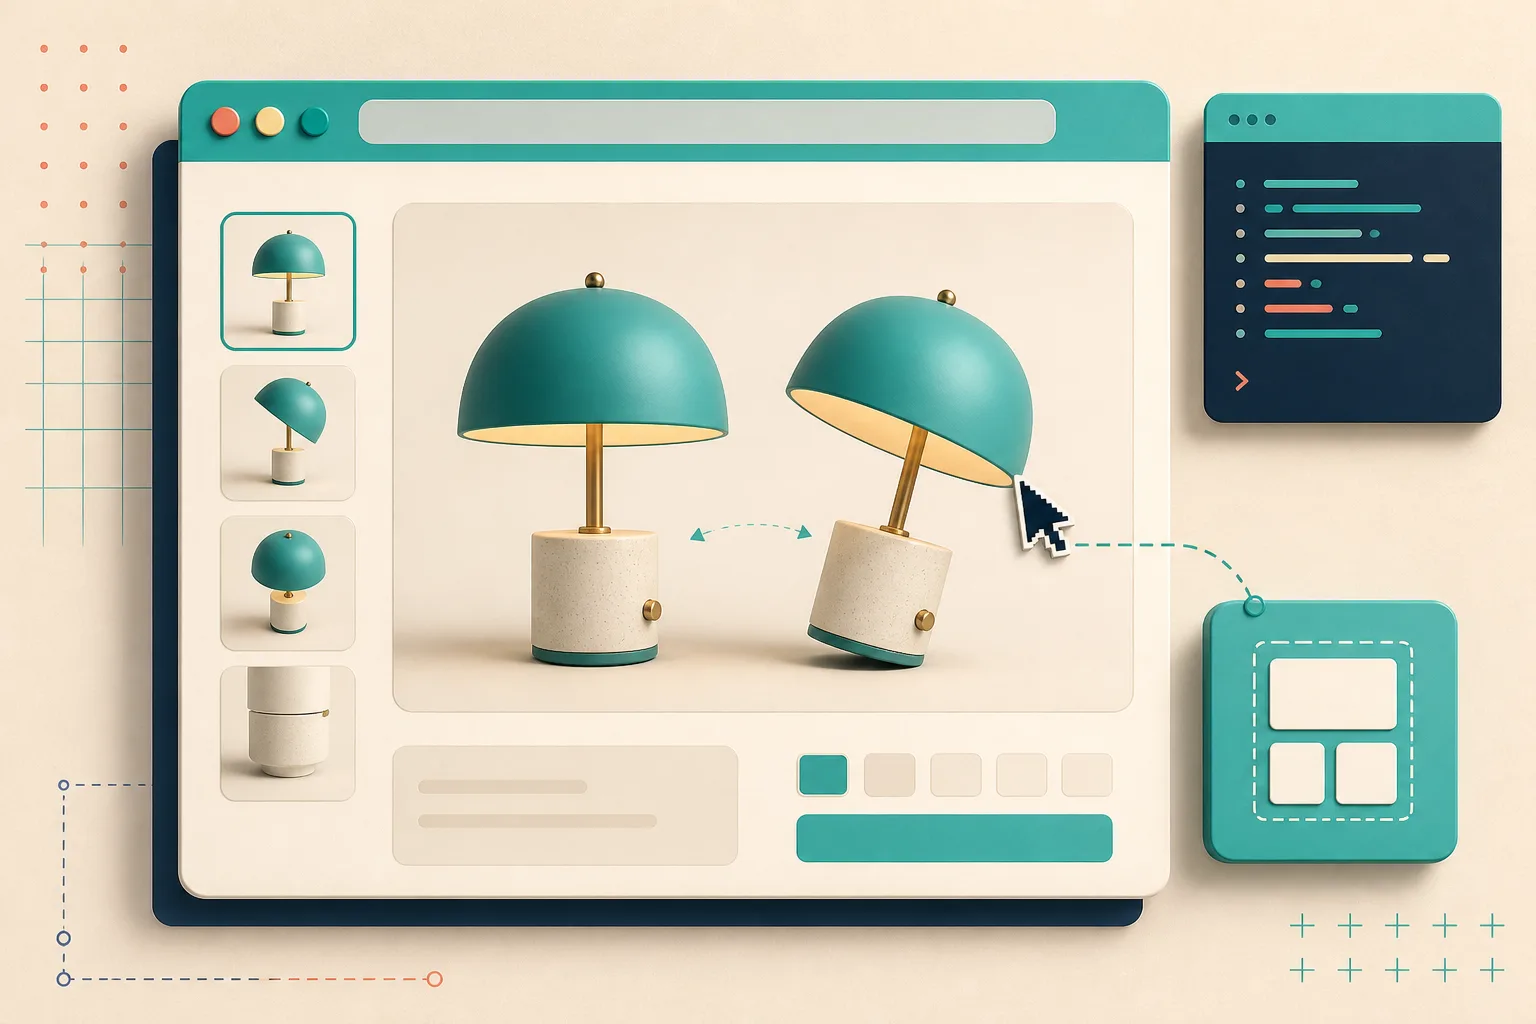
Once the model is ready, the cleanest route is attaching it as Shopify product media. That lets a supporting theme surface it in Shopify’s native 3D viewer. Supra 3D Capture can also use a dedicated Online Store 2.0 theme app block when you need control over placement. I would start with the existing product-page system before inventing a custom viewer.
My practical QA pass would look like this:
- Attach the GLB to a noncritical pilot product.
- Open the product page on desktop and a real phone.
- Rotate the item far enough to expose the details shoppers ask about.
- Check that the model is discoverable in the gallery or app-block position without pushing the add-to-cart area into an awkward place.
- Keep the original photos. The 3D model should complement the gallery, not become a reason to remove useful close-ups, scale references, or material shots.
Real 3D and a spin GIF solve different problems. A GIF controls the route through pre-rendered frames. Native 3D product media gives the shopper agency to stop and inspect. That is especially useful when an object has depth or proportion that flat images flatten out. I would frame the likely payoff as better customer confidence and a more distinctive product-page interaction, not a guaranteed conversion claim.
Keep the pilot small enough to learn from
A good first release is one SKU, one placement, and one question: are people actually using the model, and does it help them understand the product? I would monitor engagement qualitatively, watch for support questions that the model should answer, and compare return reasons over time before making broad conclusions.
If you need a lightweight planning pass before implementation, my earlier post on sketching a 3D product media pilot before touching the theme is still the setup I would reuse. And if you are deciding whether native 3D belongs in your catalog at all, this guide to adding interactive 3D to Shopify products without a 3D team covers the decision from the operator side.
The next action is simple: pick one physically expressive, easy-to-photograph SKU and run a capture this week. Install Supra 3D Capture from the Shopify App Store, publish the GLB to a test product, and see whether your product page finally answers the angle-based questions your photo gallery keeps leaving open.