
August 24, 2026
Three Browser Tools I Use Before Publishing Shopify Images
A practical, privacy-first Shopify image handoff: strip metadata, remove white backgrounds, and convert PNG product assets to WebP locally.
I do not want a product-image handoff to become a mini design project. The usual request is small: take a supplier photo, make it usable on a product page, and send it along without leaking weird file baggage or shipping an oversized PNG. But that small request can still mean installing a desktop app, opening a heavy editor, or handing a file to an online converter I would rather not trust.
My current answer is a three-stop browser workflow with Tiny Online Tools. It is deliberately boring: inspect what is in the file, remove the stuff I do not need, then produce a web-ready version. The site positions its tools as browser-based, no-account, and no-upload utilities, which is exactly the constraint I want for one-off product-image cleanup.

1. Strip metadata before the image becomes a shared asset
The first tool I reach for is Remove Image Metadata. It accepts JPEG, PNG, and WebP files, and removes EXIF, GPS, XMP, comments, and related embedded data. That matters most when the source is a phone photo, a supplier image, or anything that has passed through several people before it reaches the store.
This is not about pretending a clean product image is a security program. It is just a sensible default: the storefront needs the pixels, not the camera model, location, creation date, or old editorial notes. I run the cleaned copy forward and keep the original untouched in the source folder.
A simple naming convention helps too:
source/sku-204-green-front-original.jpg
ready/sku-204-green-front-clean.jpg
That separation has saved me from overwriting a useful original more than once. It is the same discipline I use when I clean Shopify product CSVs before an import: preserve the source, make a deliberate working copy, then validate the output.
2. Remove a white background only when the edge can survive it
Next, I decide whether the image needs to work on multiple backgrounds: collection cards, comparison modules, sale banners, or a colored PDP panel. If it does, I use Remove White Background. It produces a transparent PNG and gives you tolerance and feather controls rather than pretending every white background is identical.
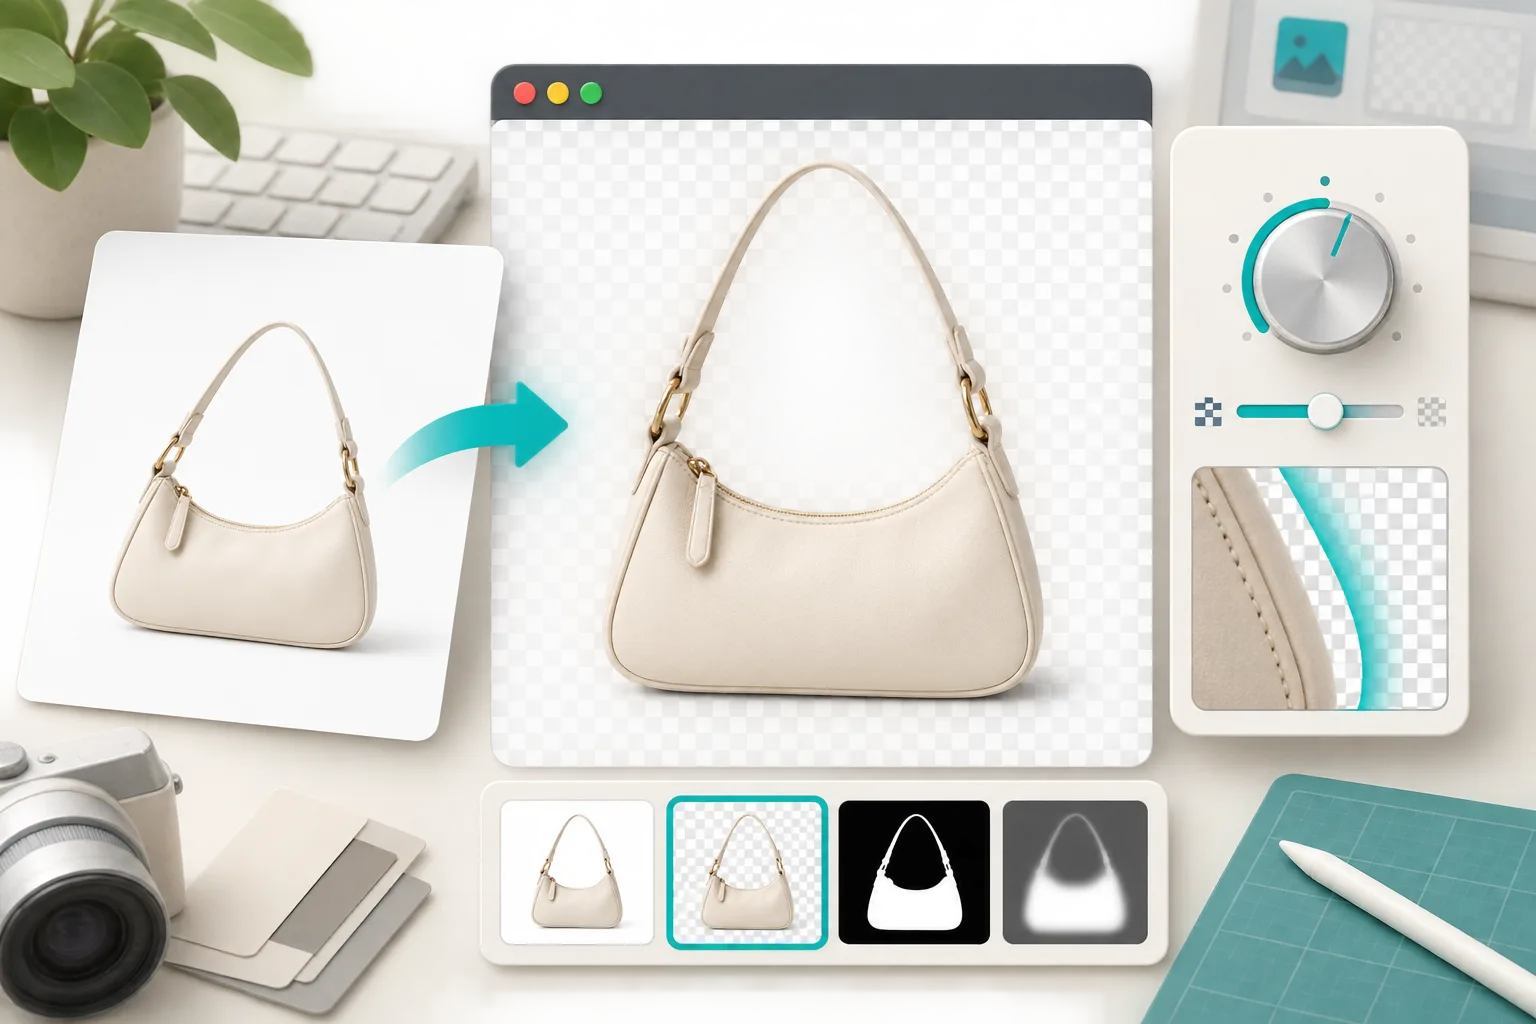
My starting values are conservative. The tool suggests a tolerance around 5–15 for clean white-on-white photography, then higher for cream or off-white scenes; I only increase it until the background goes away without chewing into the product. For a soft edge, I add a small amount of feathering and check the result on both white and dark gray.
That final check is important. A cutout can look perfect on the transparency checkerboard and awful once a dark campaign module reveals a pale halo. If it fails there, I do not keep nudging the control forever. I flag the source image as requiring a proper retouch or choose an image that was shot for cutout use. That is the same kind of release gate I use in my Shopify product-photo QA pass: one clear failure is cheaper than fixing every downstream placement.
3. Convert the version that will actually ship
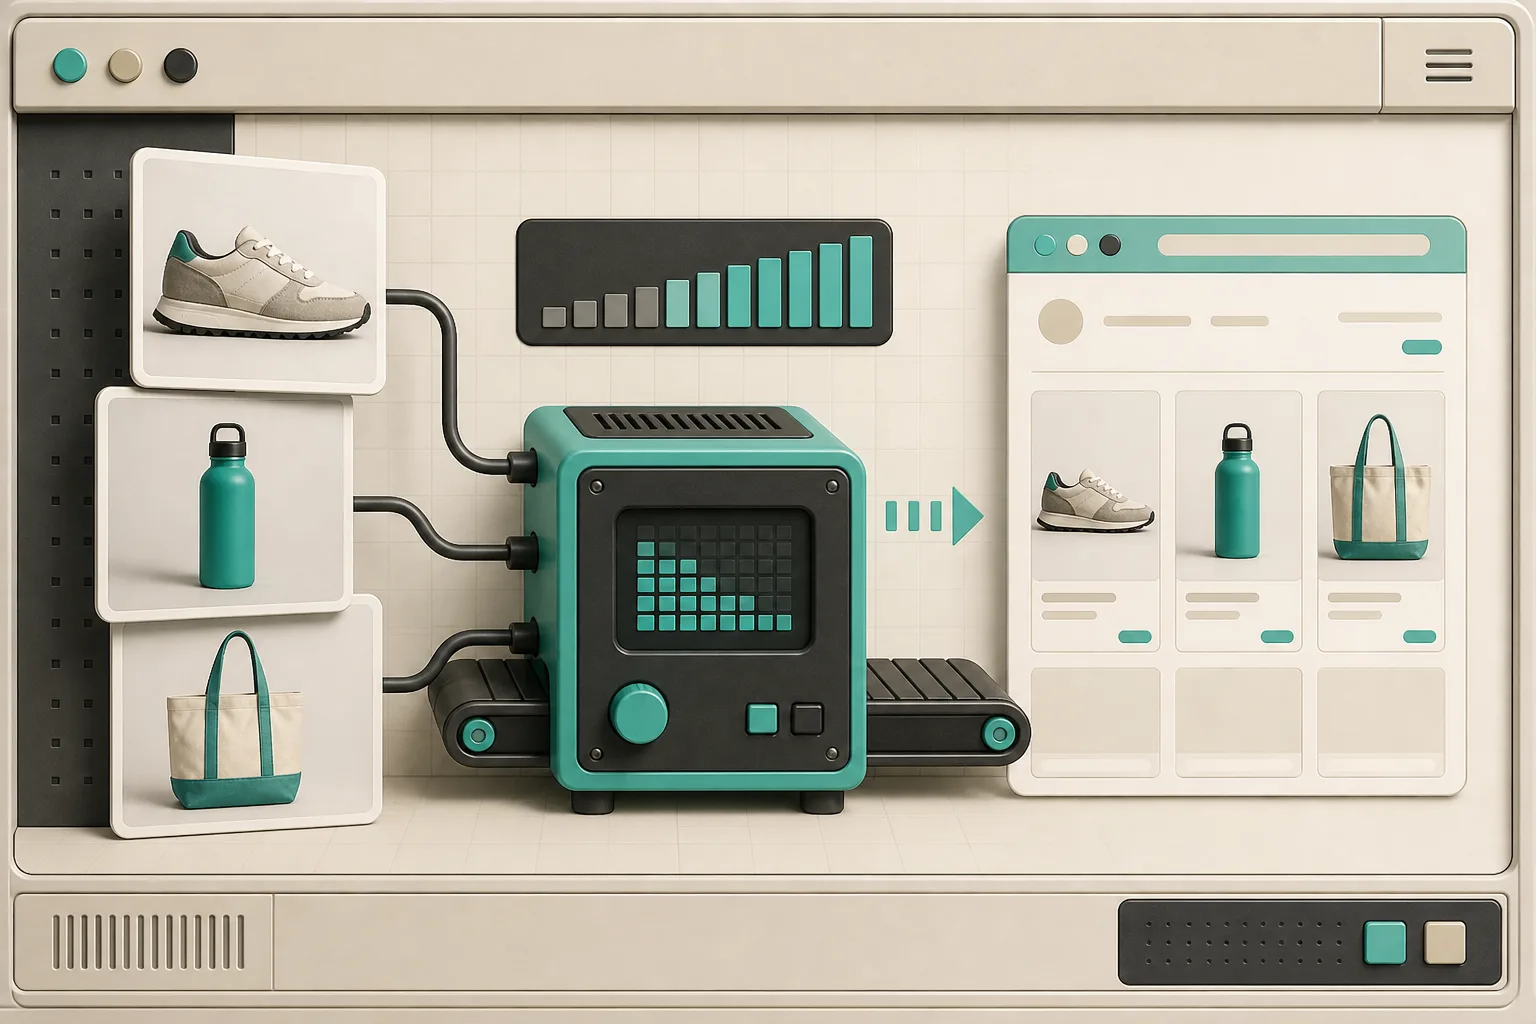
For an image that is ready to be web-delivered, I use PNG to WebP. The tool supports batch conversion and keeps the work in the browser. I usually start with the transparent PNG created in the previous step, convert it, and then compare it at the exact dimensions I will use in the theme.
I do not use a conversion step as an excuse to skip image judgment. A smaller file is useful only if the product still looks right. Check these three things before you upload:
- Edges: zoom into straps, laces, glass, or other high-contrast details.
- Transparency: make sure the background is actually transparent where the theme needs it.
- Dimensions: export for the placement, not the largest source file you happen to have.
If I am preparing several campaign assets, this becomes a tiny production line: originals in, metadata-clean copies, optional transparent cutouts, then WebP delivery files. It is much less fragile than mixing source and publish-ready assets in the same folder. For a broader visual workflow, my earlier Shopify photo routing system is a useful companion; it is where I decide which finished asset belongs on the PDP, collection page, or ad.
The trade-off: quick browser cleanup is not retouching
These tools are a great fit for preparation and repeatable cleanup. They are not a replacement for color-critical retouching, art direction, or careful shadow work. I still hand off difficult materials, fine jewelry, hair, translucent packaging, and complex lifestyle scenes to the right editor.
But most ecommerce image friction is not that glamorous. It is a product photo with metadata I do not want to pass on, a white backdrop that needs to become transparent, or a delivery format that should be lighter for the web. Handling those jobs locally and quickly means I can reserve expensive attention for the images that genuinely need it.
The next time a product image lands in your inbox, run one file through this three-step handoff before opening a heavyweight app. Start with Tiny Online Tools, save the cleaned output beside the original, and make the version you publish an intentional one.