
August 16, 2026
How I Turn One Shopify Hero Image Into a Reusable Media Kit
A practical Shopify workflow for turning one approved hero photo into consistent catalog, collection, lifestyle, and social media assets.
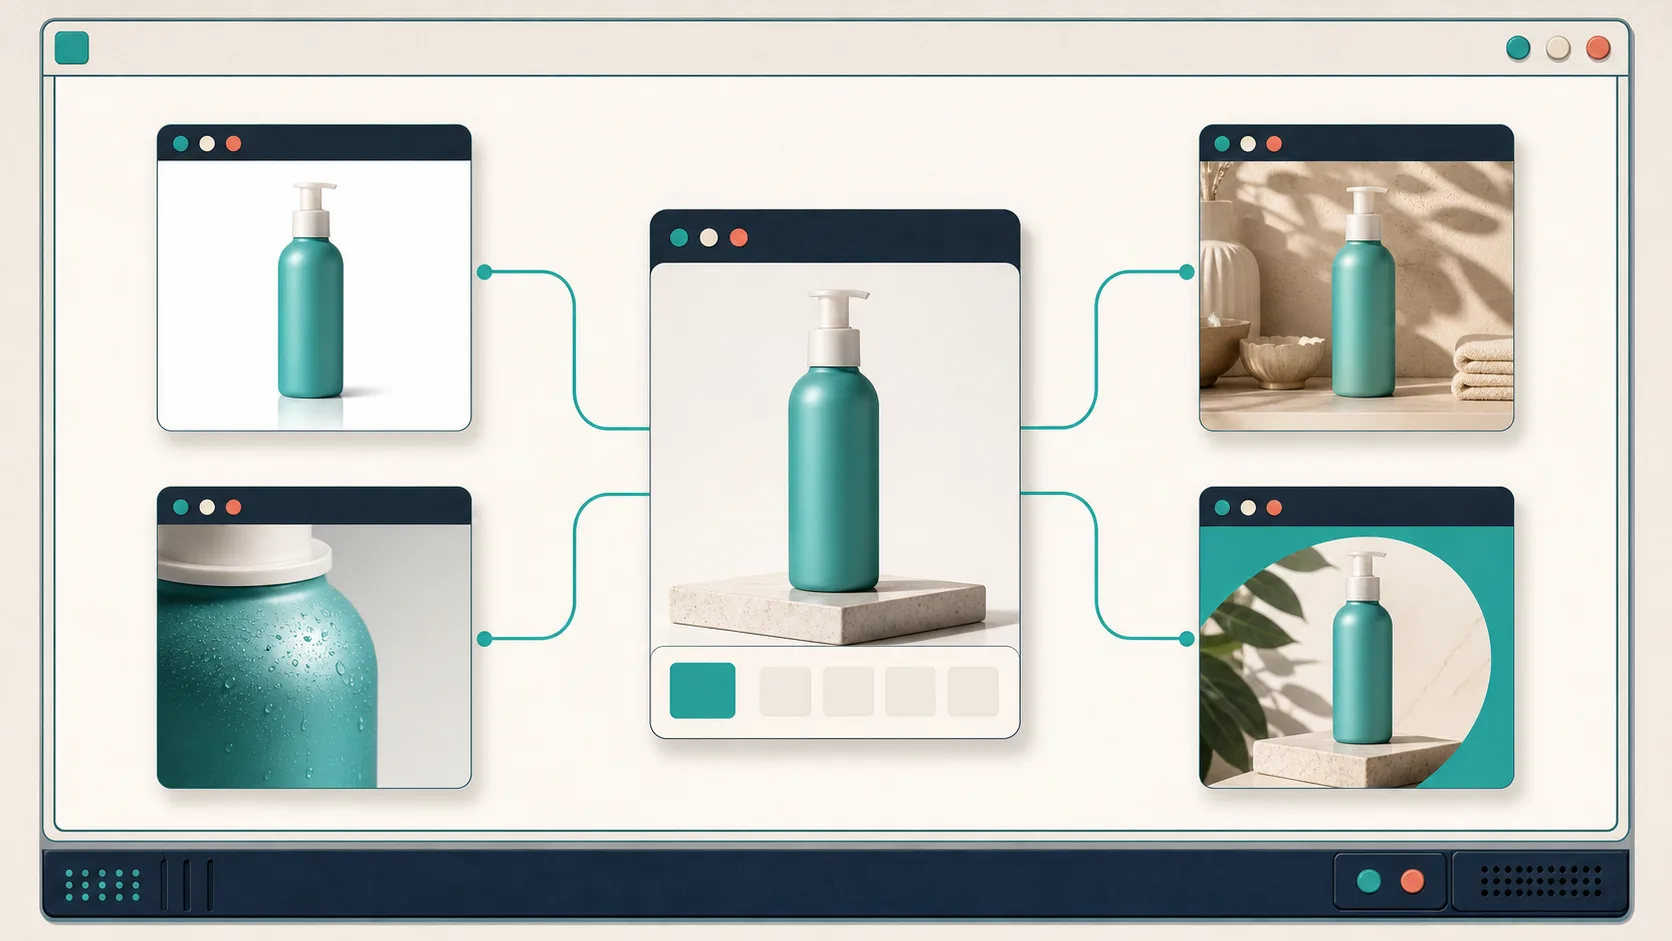
Most product-photo projects do not fail because we lack ideas. They fail because we treat every placement as a new mini-shoot. The product page needs a hero. The collection needs a square crop. An ad wants context. Social wants vertical. By the time I have made each version independently, the product looks like it belongs to four different stores.
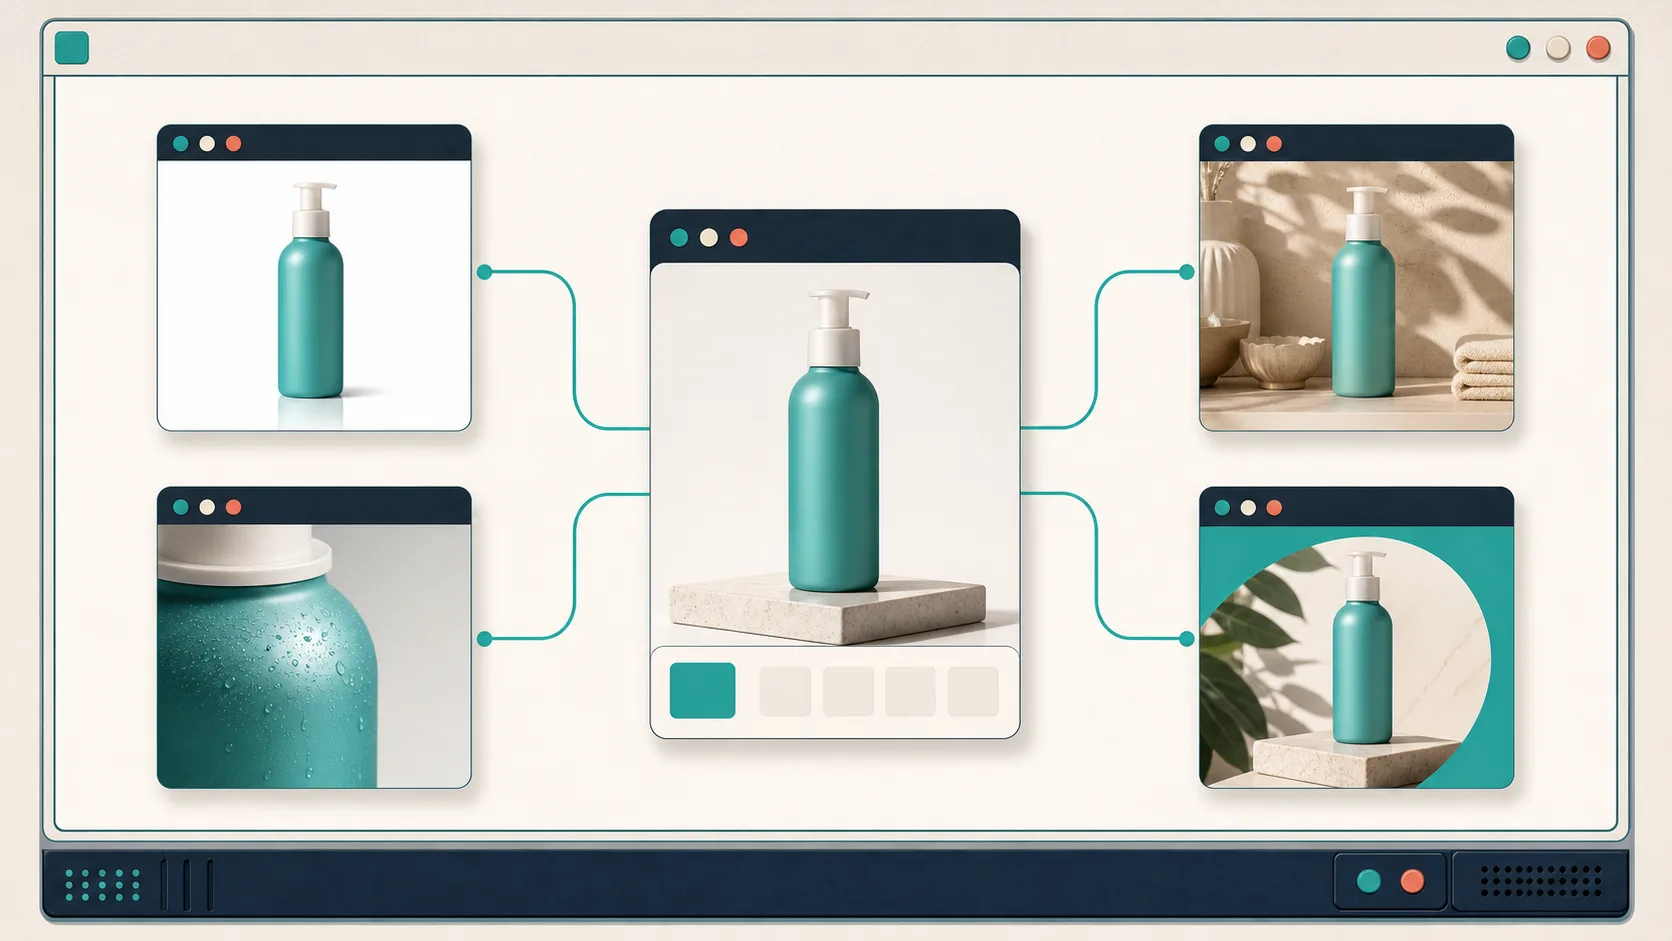
My fix has been to start with one approved hero image and turn it into a deliberately small media kit. That gives me a source of truth, a defined set of variations, and a review point before anything reaches the catalog. I have been using Supra AI Photo Studio for the hands-on image work because it keeps the editing loop near the Shopify product instead of making me shuttle files through a stack of disconnected tools.
Start With an Image You Would Defend
The source is not just the prettiest product photo. It is the image that makes the fewest promises you cannot keep. I want the item straight, sharp, well lit, and large enough in frame that I can crop it without turning the product into a postage stamp. For apparel, that might be a clean front-facing garment. For skincare, it is a label-forward pack shot. For home goods, it is usually the angle that makes scale and material easiest to read.
Before asking AI for a new environment or model, I do a quick source check:
- Is the product edge clear enough to isolate?
- Can I see the color and material accurately?
- Is there enough resolution for the smallest crop I need?
- Would a customer recognize this exact item when the background changes?
That last question matters more than it sounds. The app can remove or replace a background, improve resolution and lighting, create model try-ons, and place an object into a lifestyle scene. Those are useful capabilities, but they do not excuse a vague source. I still make the approved image the anchor, then use it as input for the variations.
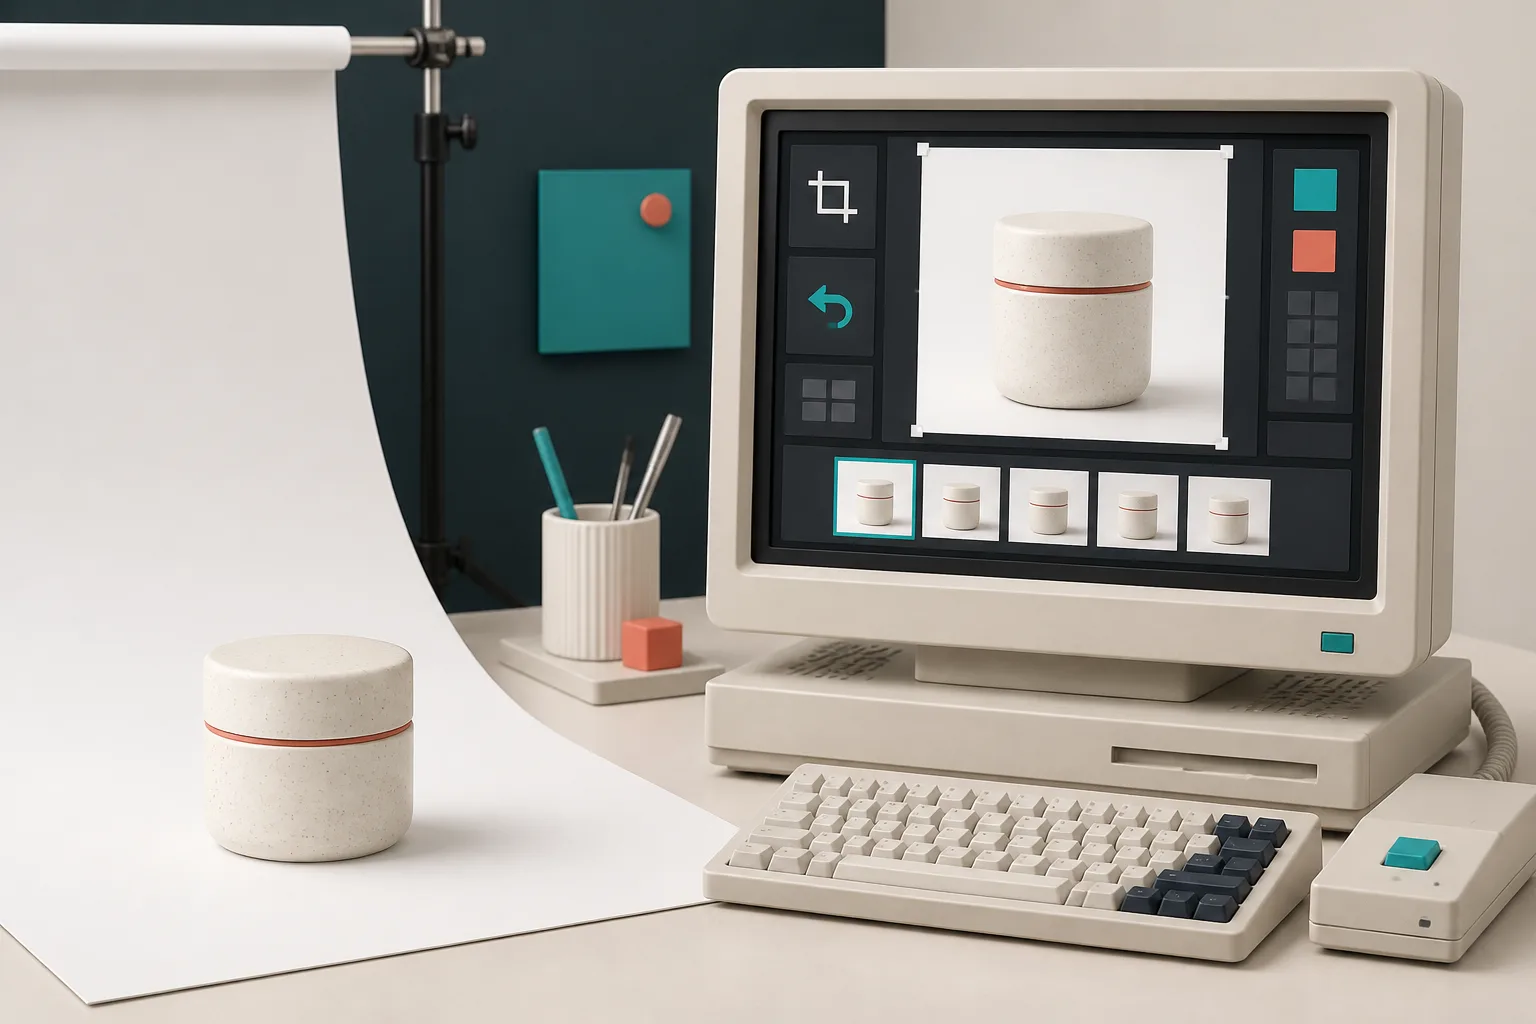
If you need a more formal go/no-go step before image generation, my publish-safe Shopify photo decision system is the checklist I reach for. It keeps “this is interesting” from becoming “this is now live on the PDP.”
Define Four Jobs, Not Infinite Variations
A media kit needs constraints. I normally write four jobs on a note before opening the editor:
- Product-page hero: the clearest representation, usually on a quiet background.
- Collection card: a square crop that still reads at thumbnail size.
- Lifestyle proof: one scene that helps a shopper imagine ownership.
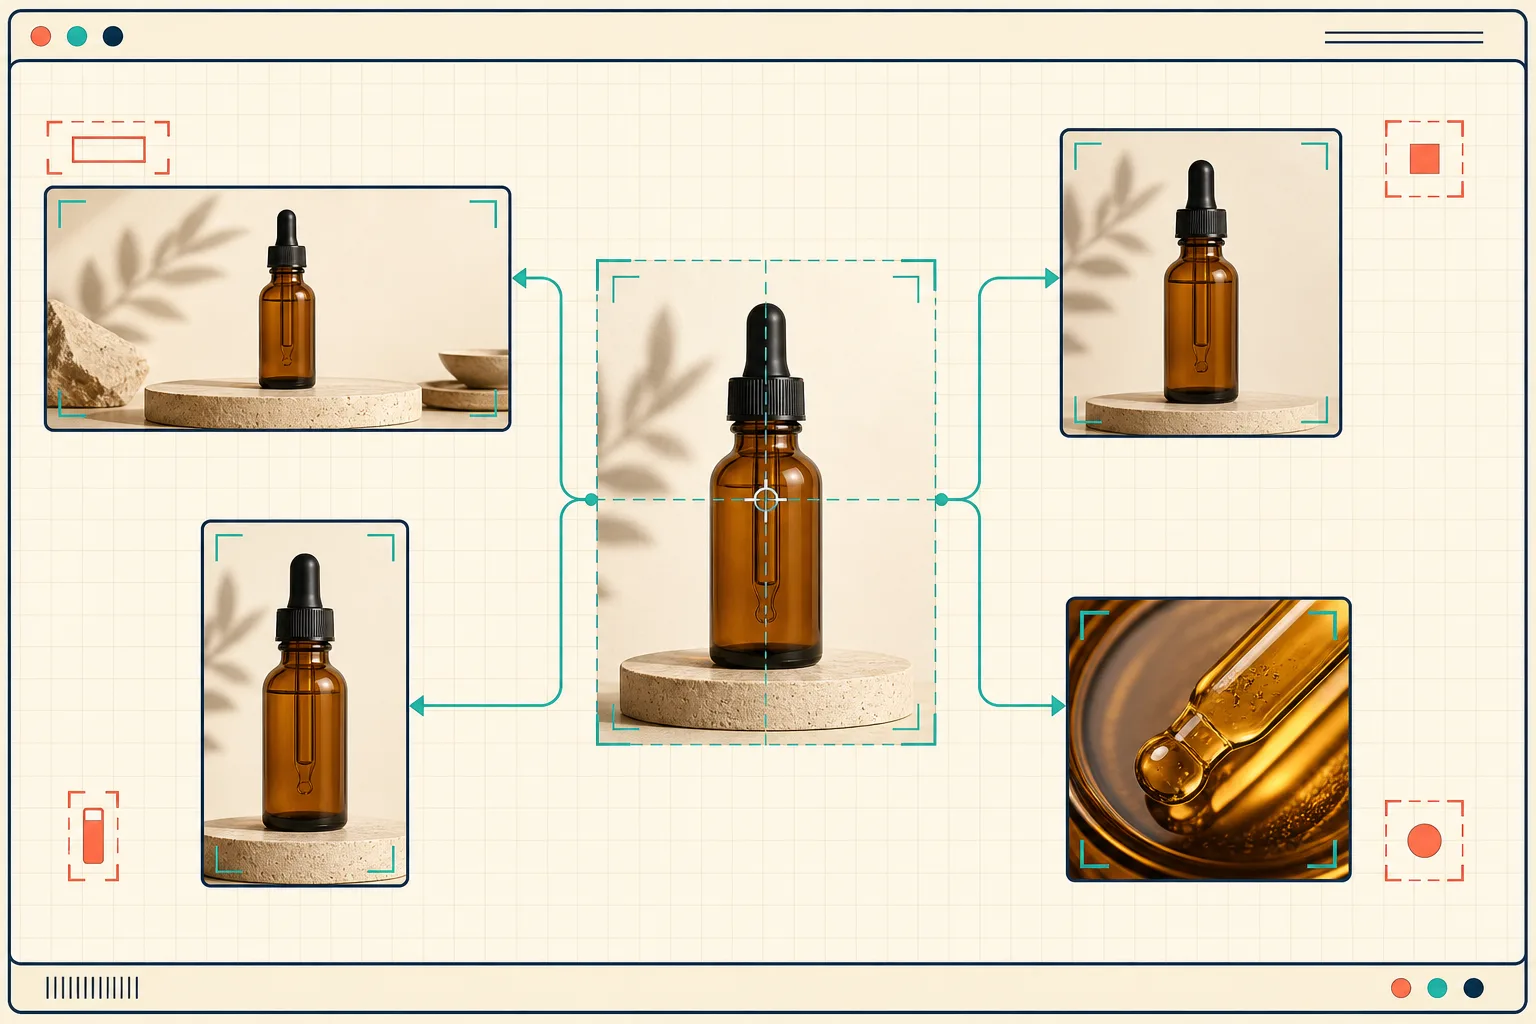
- Campaign crop: a vertical or wide version with deliberate room for ad copy outside the product.
That is enough range for most launches. It also prevents the common AI-image trap: generating twenty attractive scenes that do not map to an actual placement. If the product needs a human model, I put “try-on” in the lifestyle job rather than treating it as a separate experiment. If it needs context, object placement gets a specific setting, surface, camera angle, and lighting instruction.
This is closely related to the reusable shot-list workflow, but the useful difference is that I am assigning outputs to their publishing surfaces upfront. A shot is not done when it looks nice; it is done when it has a job.
Generate in a Controlled Order
I work from least interpretive to most interpretive. First, I clean the catalog version: isolate the product if necessary, correct the background, and use enhancement only when the source genuinely needs sharper detail or better lighting. Then I make the square collection crop. Only after those two are solid do I create the lifestyle version or a model try-on.
That order does two things. First, it gives me a reliable fall-back image if the creative treatment gets weird. Second, it makes product fidelity easier to spot: I can compare every later version against the simple, approved catalog frame. I do not assume an AI scene has preserved the material, label, proportions, or color just because the composition is persuasive.
For repeatable review, I borrow the same mindset from my photo QA pipeline: check the product itself first, then check the asset in the context where it will ship. A lifestyle image can pass visual inspection and still fail as a collection thumbnail.
Make the Review Queue Small and Explicit
I publish only the four defined jobs, plus an optional detail crop when material is the selling point. I keep the final files together with a short record of where each belongs. In a spreadsheet, a project card, or even a README beside the assets, the fields are simple: product SKU, source image, output role, target placement, and approval status.
The important part is that “generated” is not “approved.” A candidate stays in review until it passes three checks:
- The product is faithful to the source image.
- The crop works at its intended size and aspect ratio.
- The scene strengthens the product story without inventing features or confusing the offer.
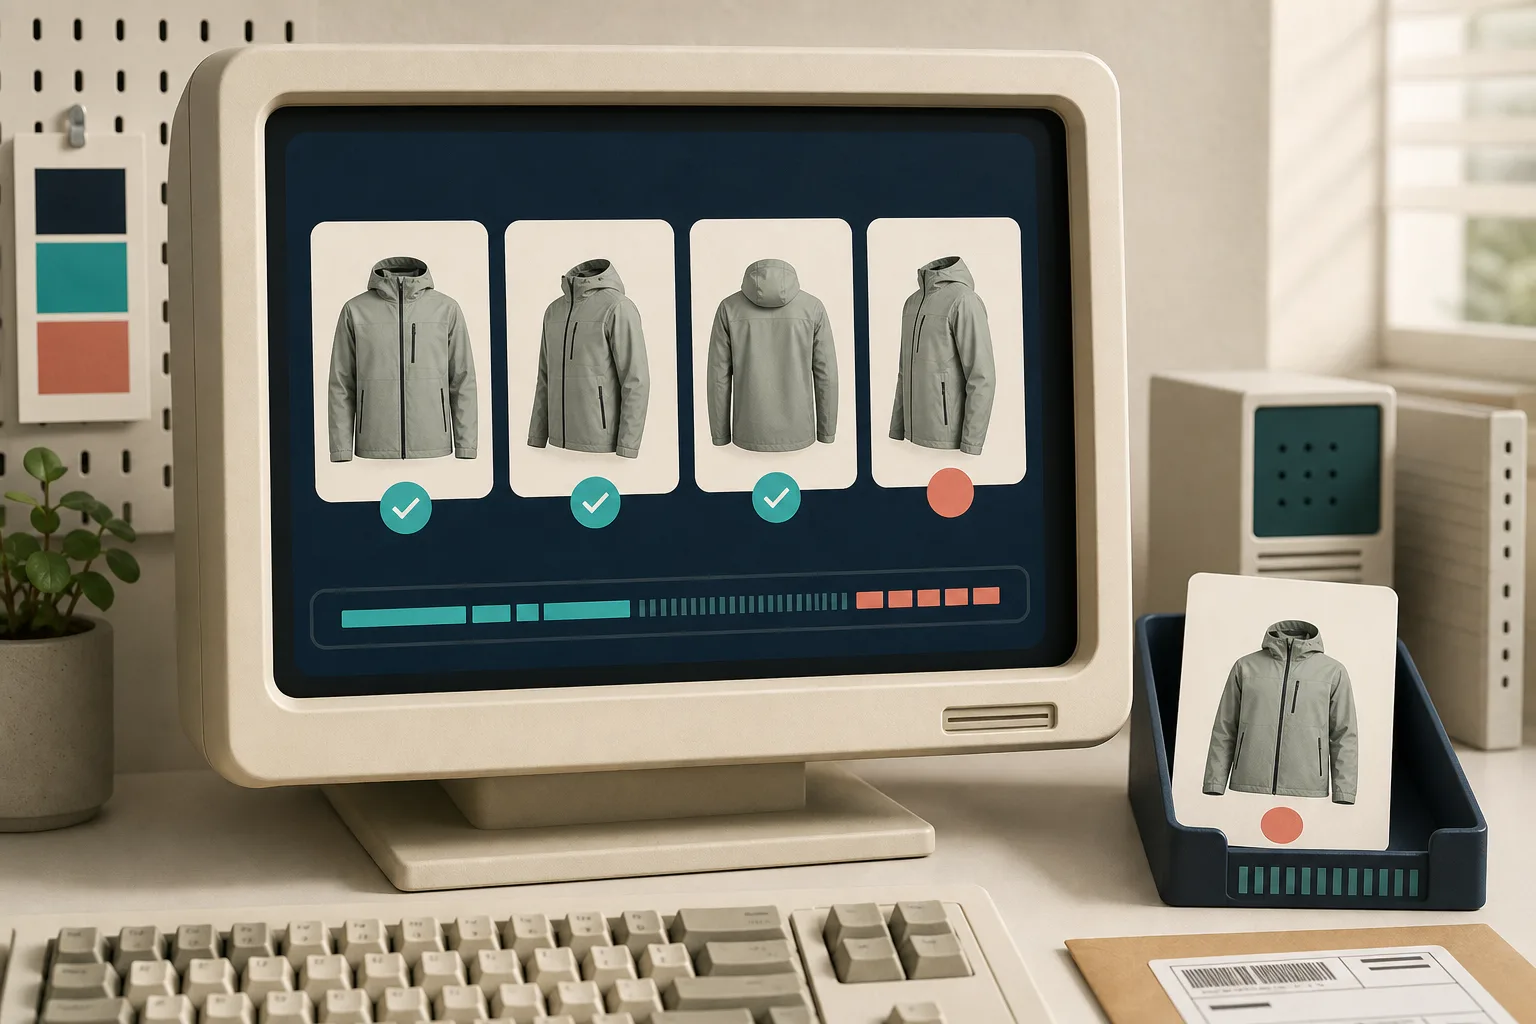
This little queue also prevents accidental duplicates in Shopify. In Supra AI Photo Studio, I can work from a selected product or upload an image, then use the gallery and editor to inspect the variants before publishing changes back to the product. I still stage them mentally as a set: hero first, support images after, and no three near-identical lifestyle shots crowding out useful angles.
Reuse the Kit Without Making the Catalog Repetitive
The point is not to use the same image everywhere. It is to reuse the same trusted product representation while changing the framing for each customer moment. The product page can lead with clarity; a collection card can prioritize silhouette; a campaign image can leave breathing room for the ad system; a lifestyle image can answer “where would I use this?”
When I want to go beyond static images, I treat the kit as input rather than starting over. For example, a clean source image can become the reference for a short b-roll or UGC-style product video, while the stills remain the visual baseline. That keeps the media system coherent even as the formats multiply.
If your product imagery currently feels like a pile of one-off experiments, start smaller: choose one SKU, approve one defensible hero image, and define the four publishing jobs before you generate anything. Then install Supra AI Photo Studio and make only the variants those jobs require. You will end the session with something more valuable than a gallery of concepts: a compact media kit that is ready to ship.
The Next Step
Pick a single product that already has a decent pack shot. Build its hero, square collection crop, one lifestyle image, and one campaign crop this week. Once that set is working in your store, reuse the same workflow across the catalog instead of reinventing the photo plan for every SKU.