
August 11, 2026
I Built a Phone-First Shopify 3D Media Pilot in an Afternoon
A practical phone-first pilot for adding native Shopify 3D product media without turning it into a theme rebuild.
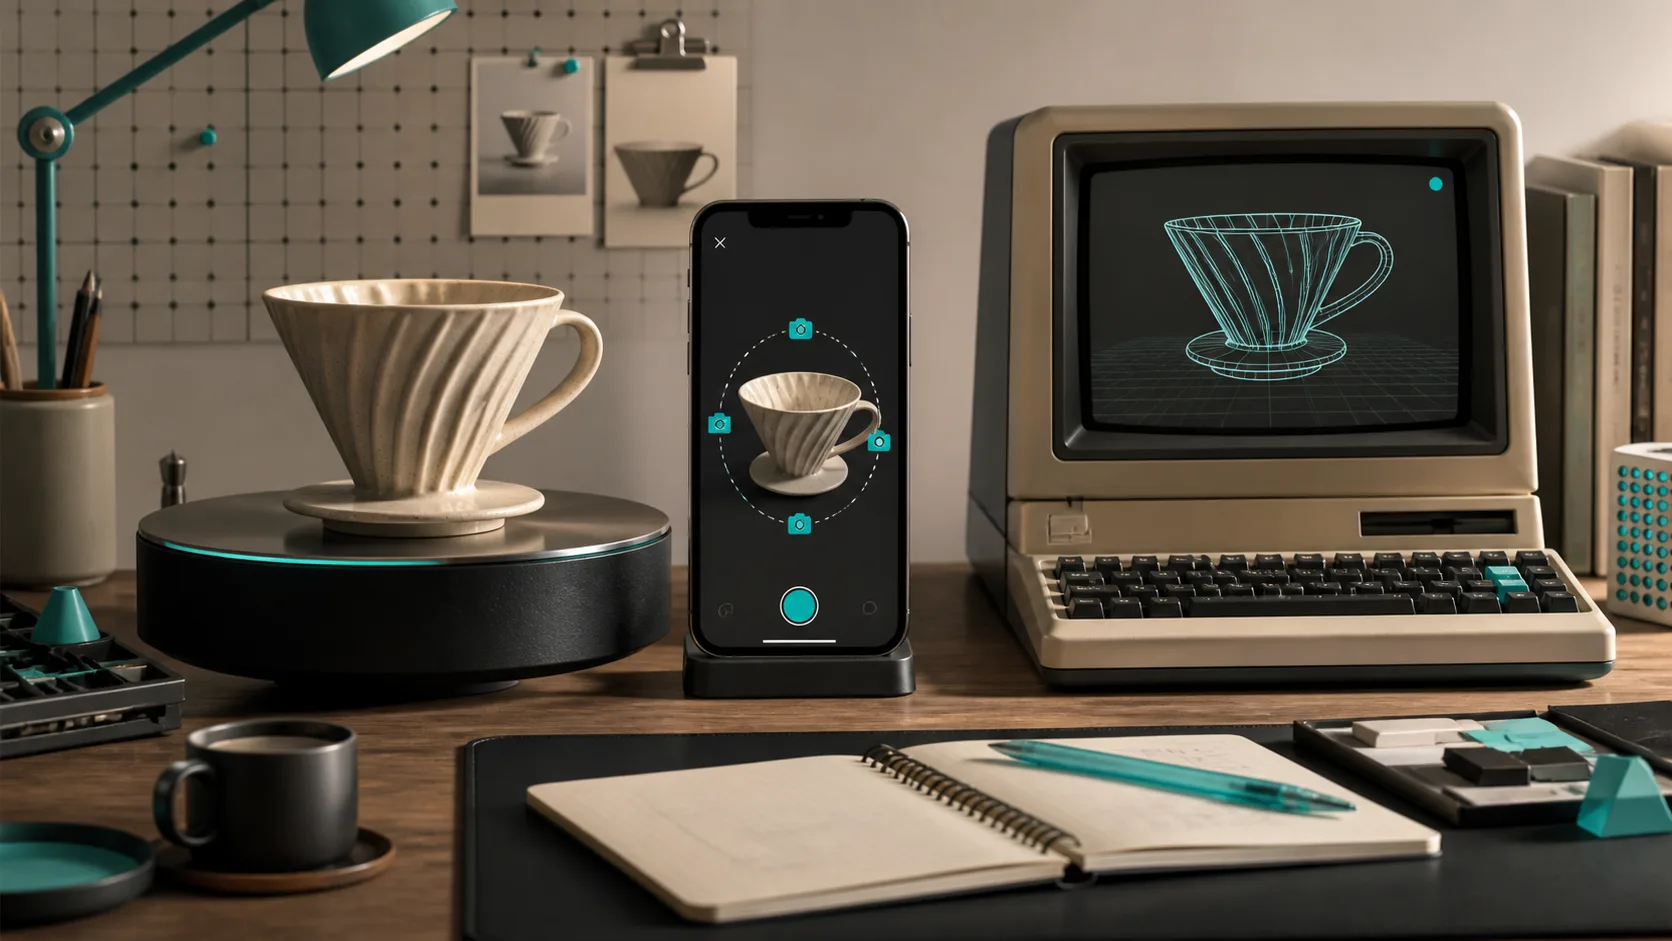
I have avoided adding 3D product media for the same reason I avoid theme work on a random Tuesday: it can look like a tiny visual upgrade, then quietly become a project. New files. Theme compatibility. Another product-page state to test on mobile.
This time, I gave myself a narrower brief: prove that one physical product could go from a phone capture to a useful Shopify product-page model in an afternoon. Not a catalog migration. Not a conversion claim. One bounded pilot I could inspect, remove, and repeat.
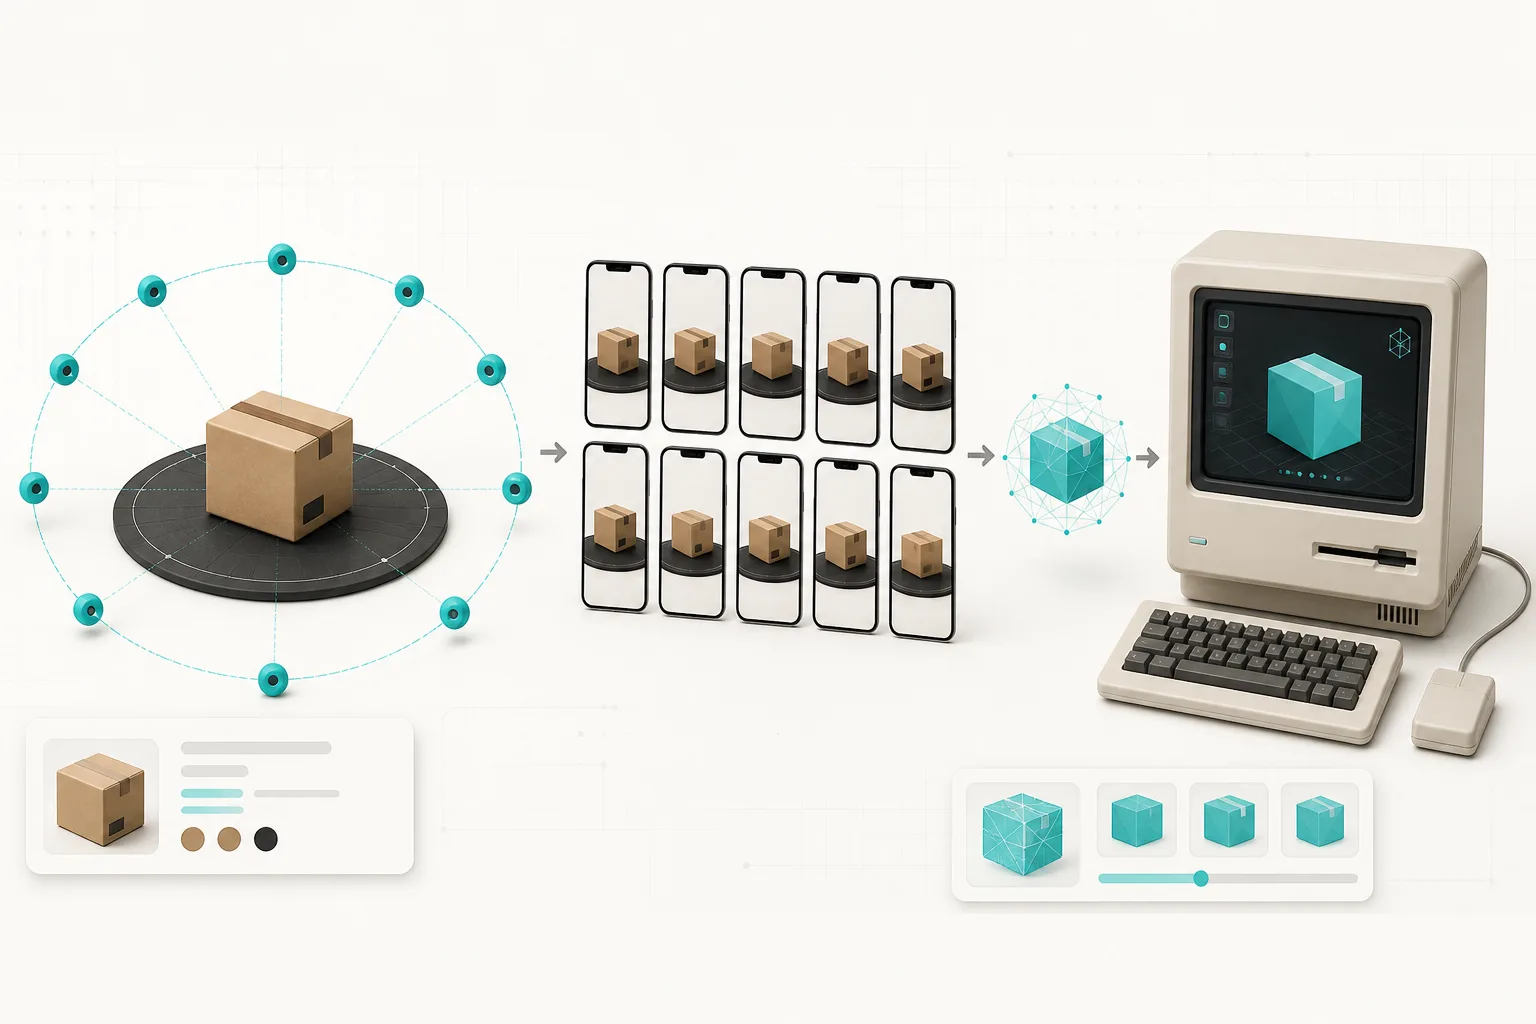
That is exactly the hole Supra 3D Capture is designed to fill. It turns guided phone photos into a web-ready GLB, then lets me attach it to Shopify product media or place it with an Online Store 2.0 app block. Shopify supports GLB and USDZ product models, but the theme still needs to support 3D media—so I treated the capture and the storefront check as two separate jobs.
1. I chose a SKU with visual questions
A 3D model earns its place when the normal gallery leaves questions unanswered: shape, depth, scale, texture, or what the thing looks like from the back. Think a lamp, a ceramic object, a bag with hardware, a compact appliance, or anything shoppers want to rotate in their heads before they buy.
I did not start with the most difficult product in the warehouse. Reflective, transparent, furry, featureless, and very thin objects can make photogrammetry need more care. The first pass should have edges, texture, and a shape that reads cleanly in normal product photography. That keeps the learning loop about the workflow, not an impossible surface.
If you need a more systematic way to choose, start with the earlier question, what makes a Shopify product worth scanning in 3D.
2. I set up the capture like product photography, not a 3D lab
The only gear I assumed was a regular phone, a stable surface, and even light. I used a plain, non-reflective background, cleaned the SKU, and kept the product in the same position while I walked around it. The goal is overlap: each frame should share enough visual information with the next one for the model reconstruction to understand the object.
Supra 3D Capture’s guided session asks for a short orbit of phone photos; its public workflow is capture, cloud processing, then Shopify publishing. My practical version was simple: move slowly, keep the object fully in frame, and take another orbit if the result has obvious gaps rather than trying to repair it in a 3D editor.
That is a useful constraint for an ecommerce operator. I do not need to become a modeler to learn whether an interactive view helps this SKU communicate better. I need a repeatable capture station and a place to record what worked. If the source photos still need organizing, this product-photo routing system is a good upstream fix.
3. I published the model separately from the theme decision
When processing gave me a GLB, I attached it to the Shopify product as media first. Shopify’s current product-media docs say that 3D models give shoppers a view from any angle and that the online-store theme must support the media type. That is why I would test the actual product URL before I touch a template.
For a compatible Online Store 2.0 theme, Supra also offers a theme app block. I like that split: native product media is the low-friction baseline; the app block is an optional placement tool when the normal gallery is not where I want the model. Shopify app blocks can be added, moved, previewed, and customized in the theme editor, but compatibility is still theme-specific.
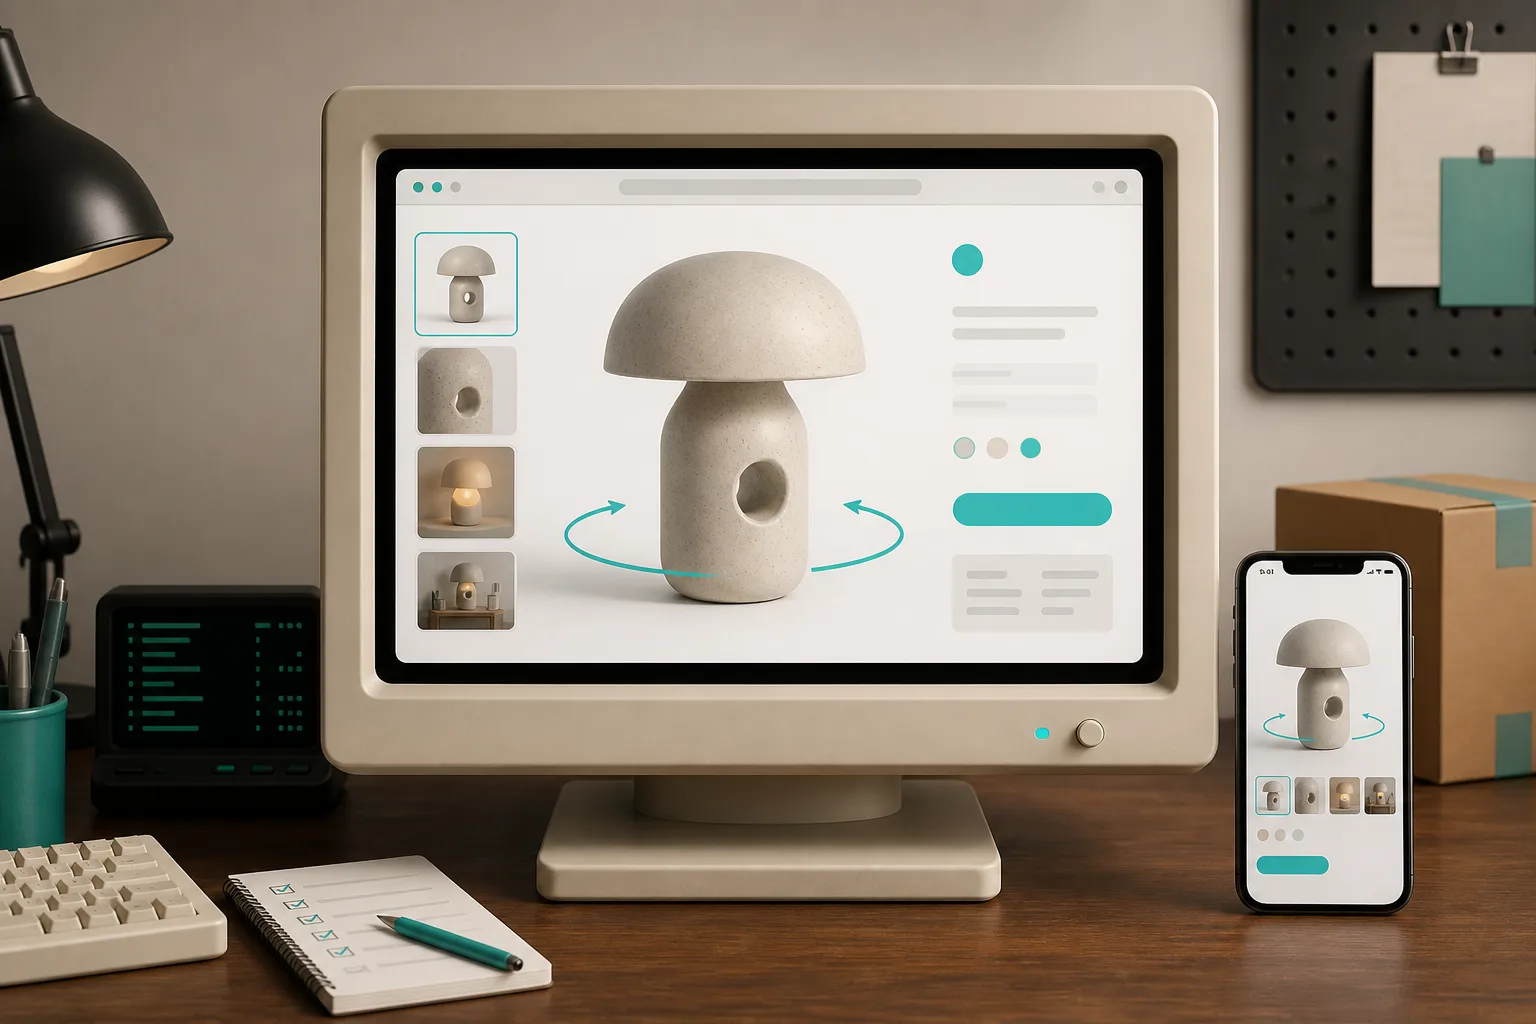
My QA pass had five checks:
- The model appears on the intended product, not a similar SKU.
- The default gallery still makes sense before anyone interacts.
- Rotation feels responsive on a real phone connection.
- The product does not intersect the floor or show missing geometry.
- The theme’s product media control remains usable with keyboard and touch.
I also opened the product in an incognito window. Admin previews have a charming way of hiding cache, app, and publication mistakes.
4. I made the pilot measurable without inventing a lift
I would not promise that a single GLB produces a fixed conversion increase. It may make the page more understandable, but that depends on the product, traffic, price, and the rest of the page. Instead, I set a baseline before publishing: product-page engagement, add-to-cart rate, customer questions about dimensions or finish, and return reasons that look like an expectation gap.
Then I left the original photos in place and ran the 3D model on one SKU long enough to collect qualitative support feedback and normal storefront analytics. That gave me a comparison I can actually use when I decide whether another ten products deserve the work. The same habit is why I prefer a reviewable product-video queue over a bulk publish button.
5. I expanded only after one boring success
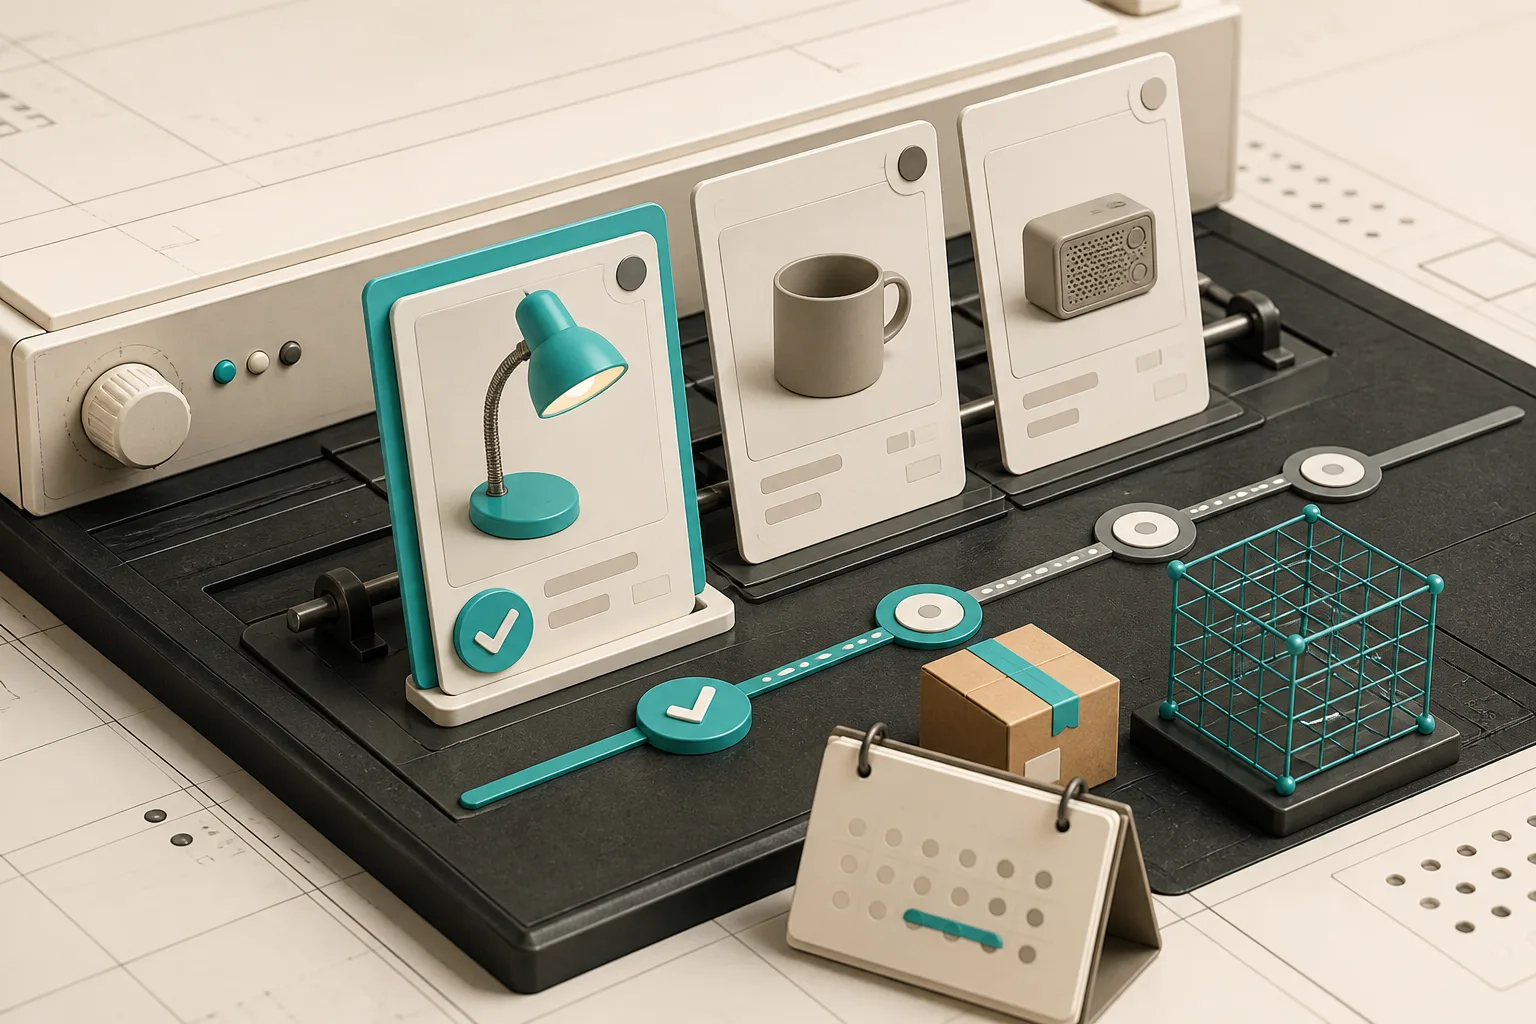
My promotion rule was deliberately unglamorous: one clean capture, one clean product-page placement, one week of checks, then the next SKU. I would start with products that have stable inventory, already-solid photos, and a clear visual benefit. I would defer shiny bottles, translucent items, and anything with weak texture until the capture routine is reliable.
For a more detailed preflight, this earlier 3D capture checklist covers the parts I would verify before I put a capture session on the calendar.
The practical next step
Install Supra 3D Capture from the Shopify App Store, pick one textured SKU that shoppers want to inspect, and book a 30-minute capture-and-QA block. Keep the photo gallery. Add the model. Test it on your real theme and real phone. If it behaves, you have a workflow—not just a nice demo.