
July 21, 2026
How I Review a Shopify Product Photo Before I Generate Variants
A practical first-pass checklist for turning one Shopify product photo into cleaner, contextual, and video-ready variants.
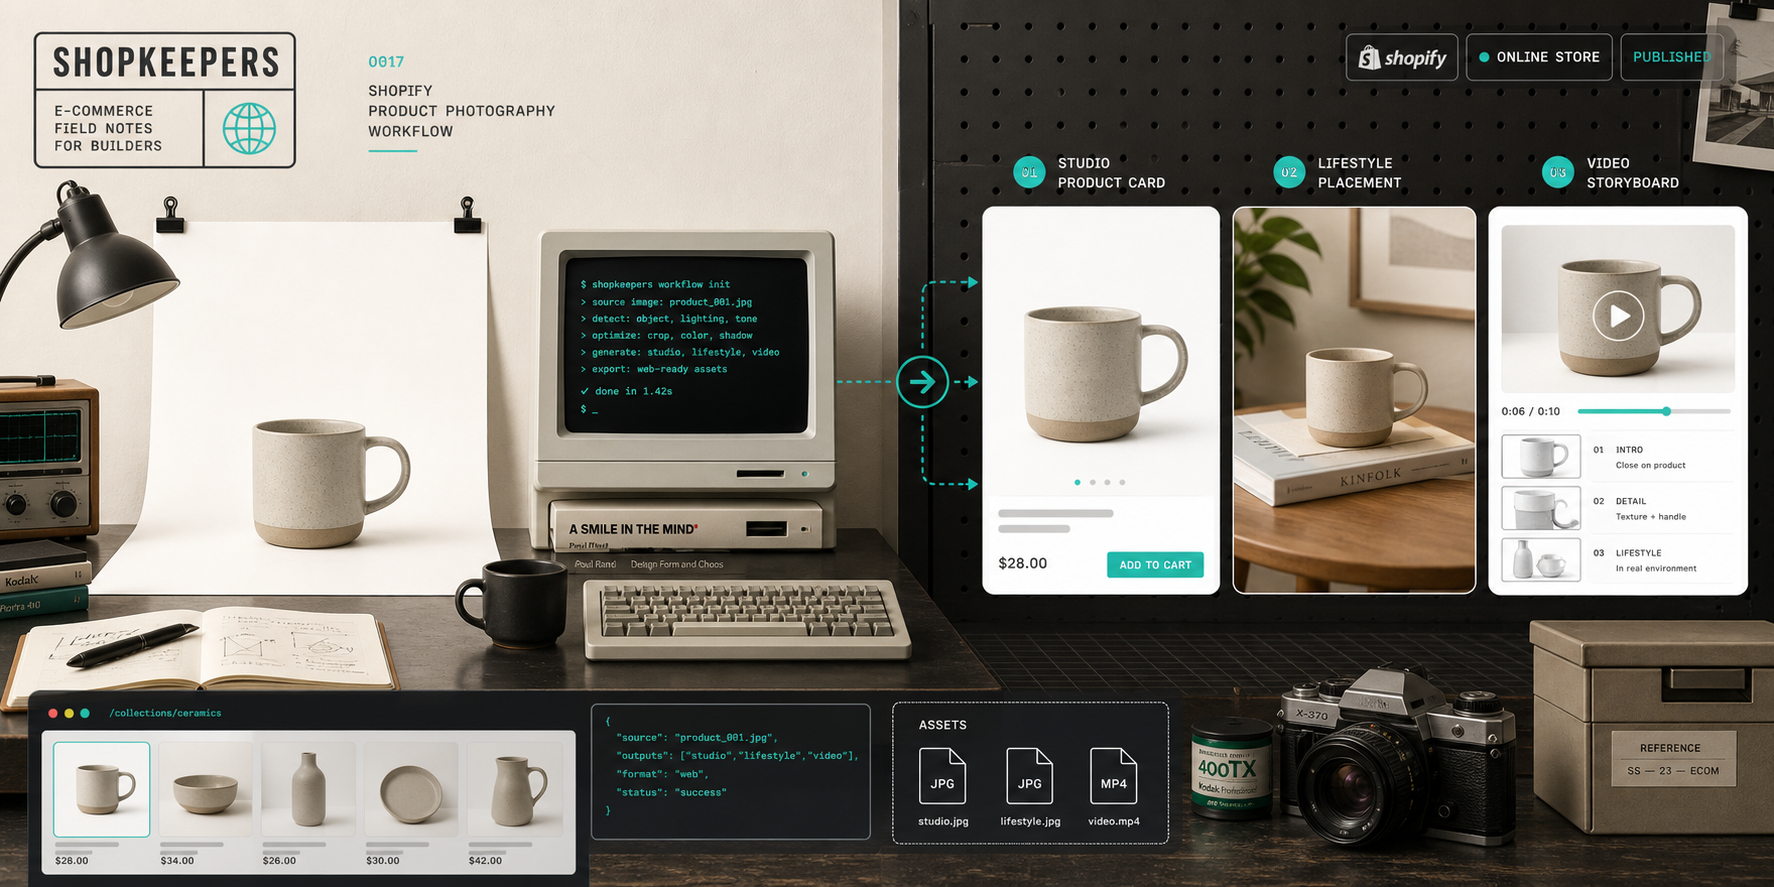
I keep seeing the same mistake in product photography workflows: the store owner jumps straight from a plain photo to a generated lifestyle shot, then wonders why the result feels random. I get better output when I spend one minute deciding what the source image actually needs.
That is the part Supra AI Photo Studio makes practical. The app is built for Shopify merchants who want to clean up a product photo, put it into a realistic scene, try it on a model, or turn it into short video assets without leaving the admin workflow. The Shopify App Store listing and the landing page say the same thing in two slightly different ways: take a basic product image and move it into something usable.
The useful part is not that it can do everything. It is that it forces me to make a choice before I click generate.
My first question: what is broken?
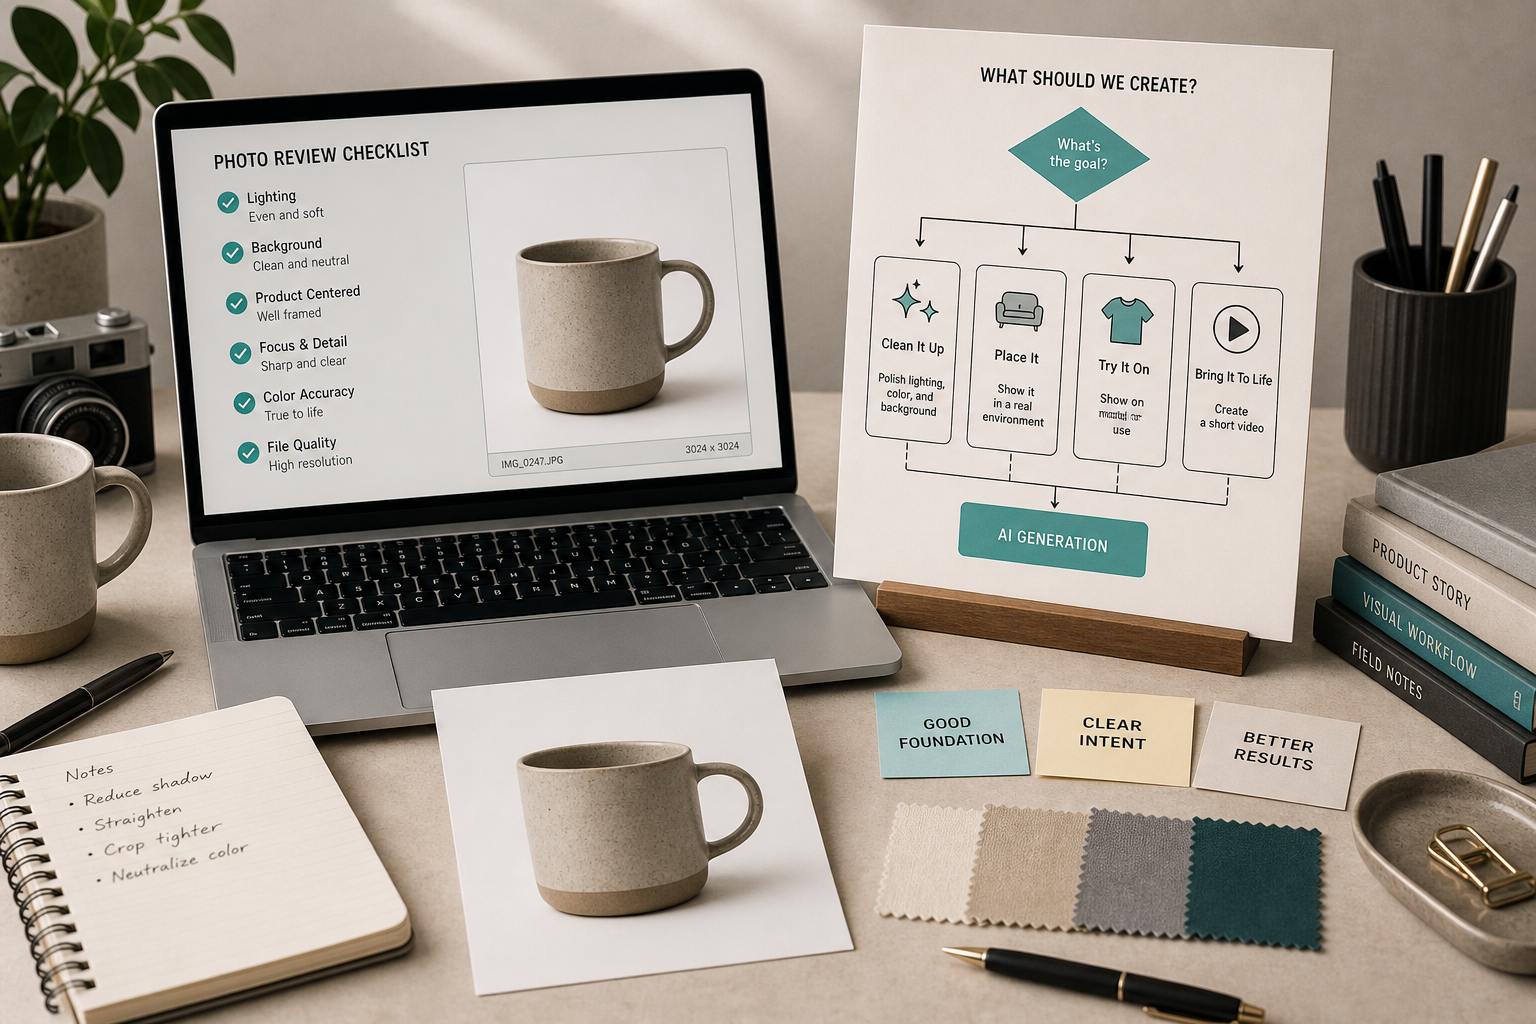
If the photo is blurry, badly lit, cropped weirdly, or full of background noise, I do not start with placement or try-on. I clean the source first.
Supra AI Photo Studio covers the usual fixes that matter at this stage: background removal, upscaling, auto-enhance for denoise and deblur, color and lighting correction. That sounds basic, but basic is what keeps the output from drifting away from the product.
If you want the broader workflow angle, I have already written about it in How I Build a Shopify Product Photo Pipeline That Feeds Every Channel and How I Turn One Product Photo Into a Channel-Ready Shopify Asset Set. Those posts are about the same issue from a higher level: one product photo should be able to become more than one asset without turning into a generic AI scene.
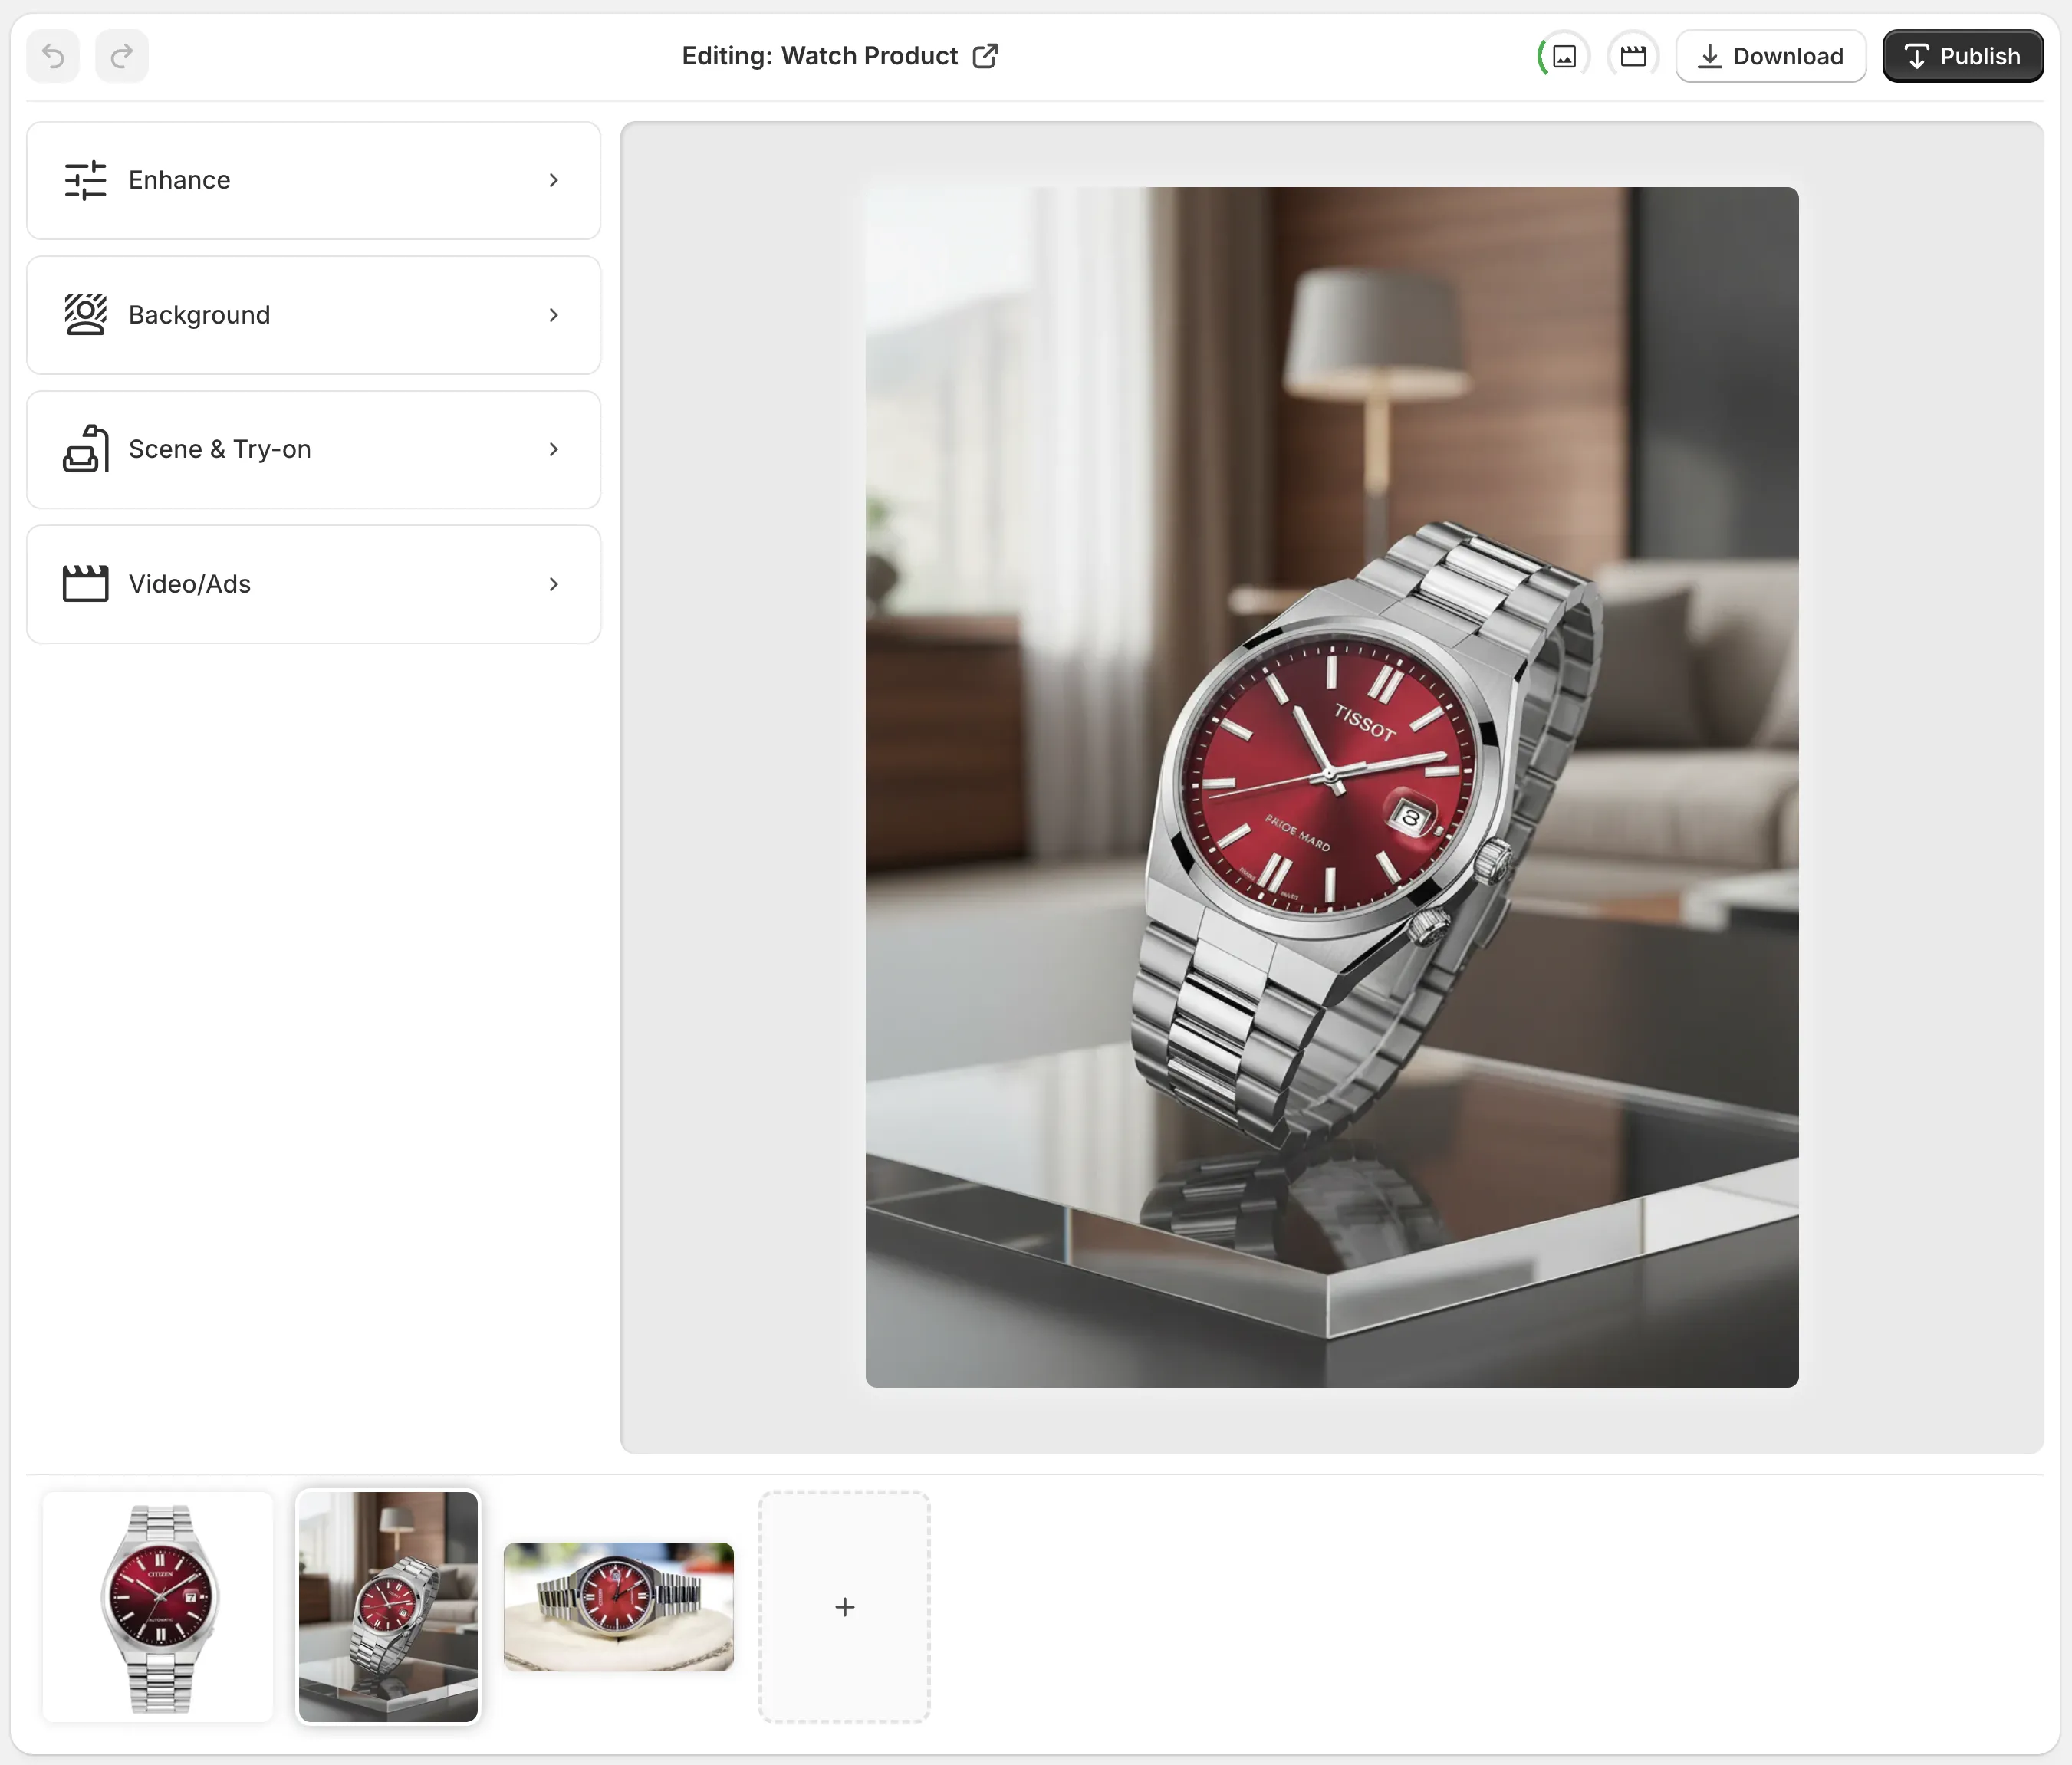
The editor layout is part of why that feels manageable. The top bar handles undo, redo, download, and publish. The tools sit on the left. The canvas is on the right. The gallery sits below. That keeps the review step and the generation step in the same place instead of forcing me to bounce across three tools.
The decision tree I actually use
- Clean it up if the photo is messy or inconsistent.
- Place it in a scene if the product needs context.
- Try it on a model if fit, scale, or fashion matters.
- Turn it into video if the channel needs motion.
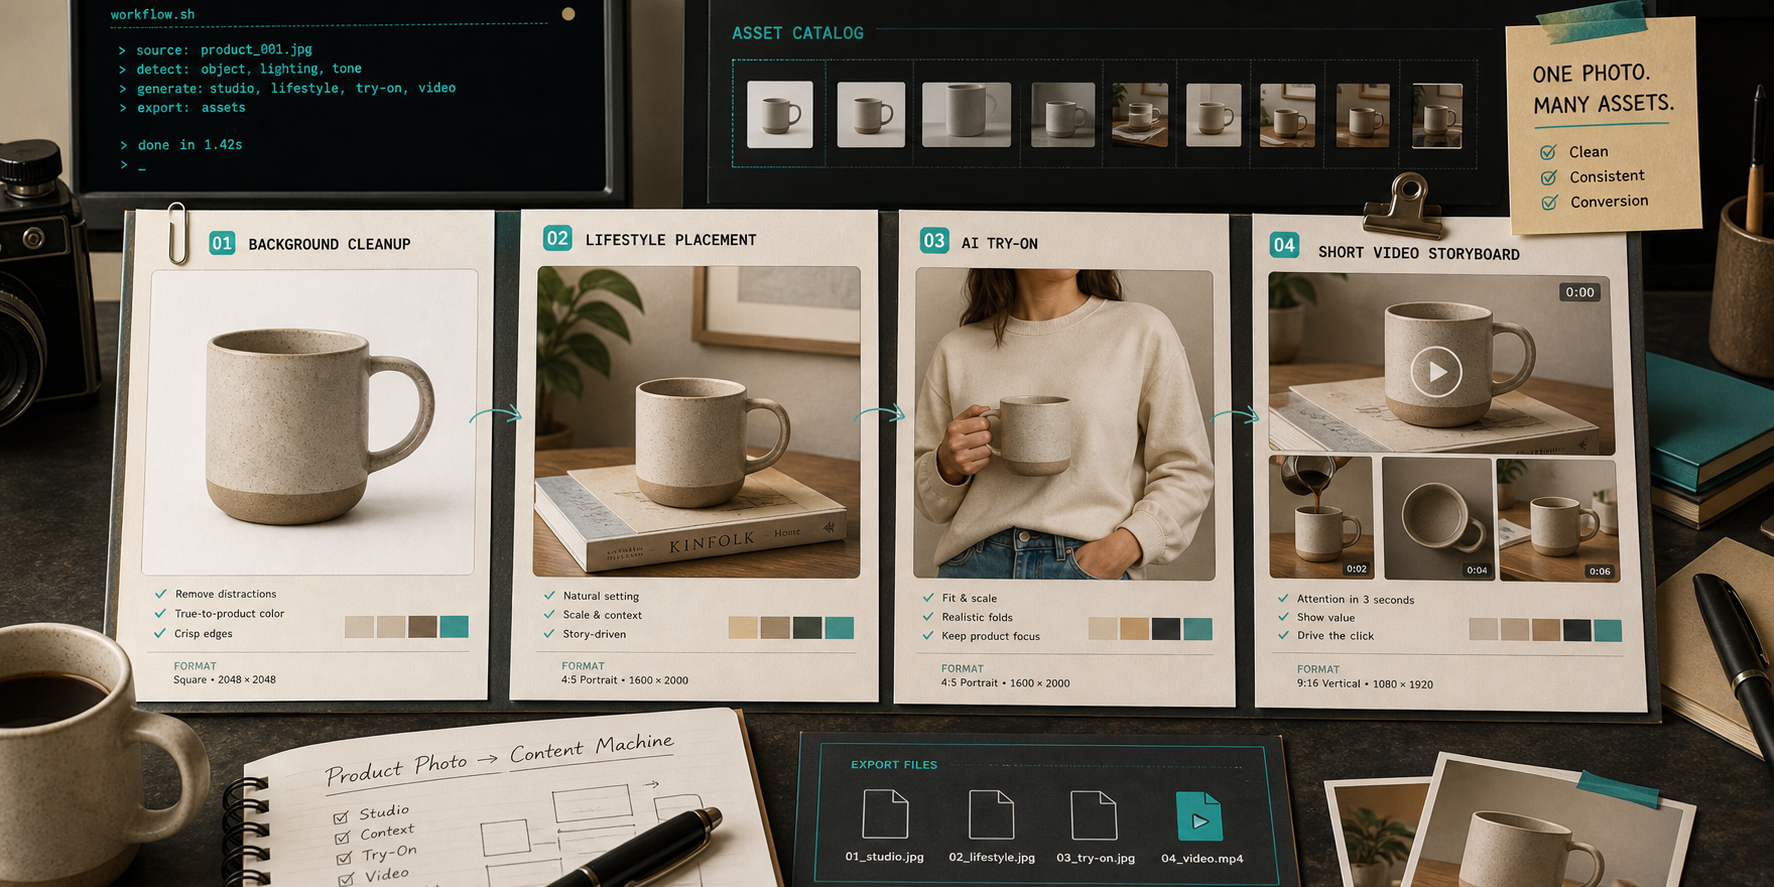
That sounds obvious, but it stops me from over-processing images. A mug on a white background may need lifestyle placement, not a dramatic fake ad. A jacket may need try-on more than a different backdrop. A beauty product may need a cleaner, brighter look before anything else.
The model try-on and placement examples are where Supra AI Photo Studio starts to feel like a real shop workflow instead of a novelty. The app listing includes Realistic Model Tryon, Place products anywhere, and Choose from a variety of models or create your own. Those are the exact branches I care about because they line up with actual store decisions.

What I look for before I generate anything
The image does not need to be perfect. It needs to be good enough to preserve the product.
I check for:
- clean edges and a centered subject
- enough resolution to survive upscaling
- lighting that does not fight the product
- a background that will not confuse placement or try-on
- a product shape that still reads after cropping
If those things are wrong, I fix them first. If they are already okay, I move straight to context.
That is also why the app’s editor layout matters. The top bar handles undo, redo, download, and publish. The tools sit on the left. The canvas is on the right. The gallery sits below. That layout keeps the review step and the generation step in the same place, which is where a lot of other tools fall apart.
If you want another way to think about the same branch point, How I Turn Weak Shopify Product Photos Into Studio-Grade Listings and How I Build a Shopify Product Photo Pipeline That Feeds Every Channel cover the cleanup side well.
When I choose each output
For apparel, accessories, and other on-body products, I usually start with try-on. If the fit or scale matters, the model version is what customers need to see.

For home goods or packaged items, I lean toward placement. A product in a kitchen, office, studio, or boutique scene usually says more than a perfect cutout.

For products that need a catalog-safe version and a more emotional version, I do both. One clean image for the listing, one contextual version for the campaign. That is the same pattern I wrote about in How I Turn One Product Photo Into a Shopify Creative Kit and How to Build a Shopify Creative Stack From One Product Photo.
If motion matters, I move to UGC or b-roll only after the still image is trustworthy. Supra AI Photo Studio’s product page calls out UGC Videos and B-roll videos, which makes sense to me because video should amplify a usable still, not rescue a bad one.

The shortest version of my workflow
If I had to turn the whole thing into one repeatable process, it would be this:
- Start with the cleanest source image you have.
- Remove clutter before adding context.
- Match the output to the product type.
- Use try-on, placement, or video only when that branch is the right one.
- Stop as soon as the image solves the actual problem.
That is why I like Supra AI Photo Studio. It does not push me toward one fixed output. It gives me enough branches to make the image useful for the store, the ad, or the feed without leaving Shopify.
If you want to see whether it fits your workflow, start with the Shopify App Store listing and then open the landing page. If you are the kind of operator who already thinks in channels, not just in photos, that is probably enough to tell you whether the app will save you time.
The next move
I would start with one decent product photo, one cleanup pass, and one output type. Do not try to generate the whole catalog at once.
Once that works, the rest of the pipeline gets easier to trust.