June 26, 2026
How I Build a Shopify Product Photo Triage Workflow That Actually Ships
A practical Supra AI Photo Studio workflow for deciding when a Shopify product photo needs cleanup, placement, try-on, or video before you over-edit it.
How I Build a Shopify Product Photo Triage Workflow That Actually Ships
I keep running into the same problem: a store has good products, but the photo queue gets treated like one giant editing job. That is where time disappears. Some images only need cleanup. Some need a new scene. Some need a model. Some should stay untouched.
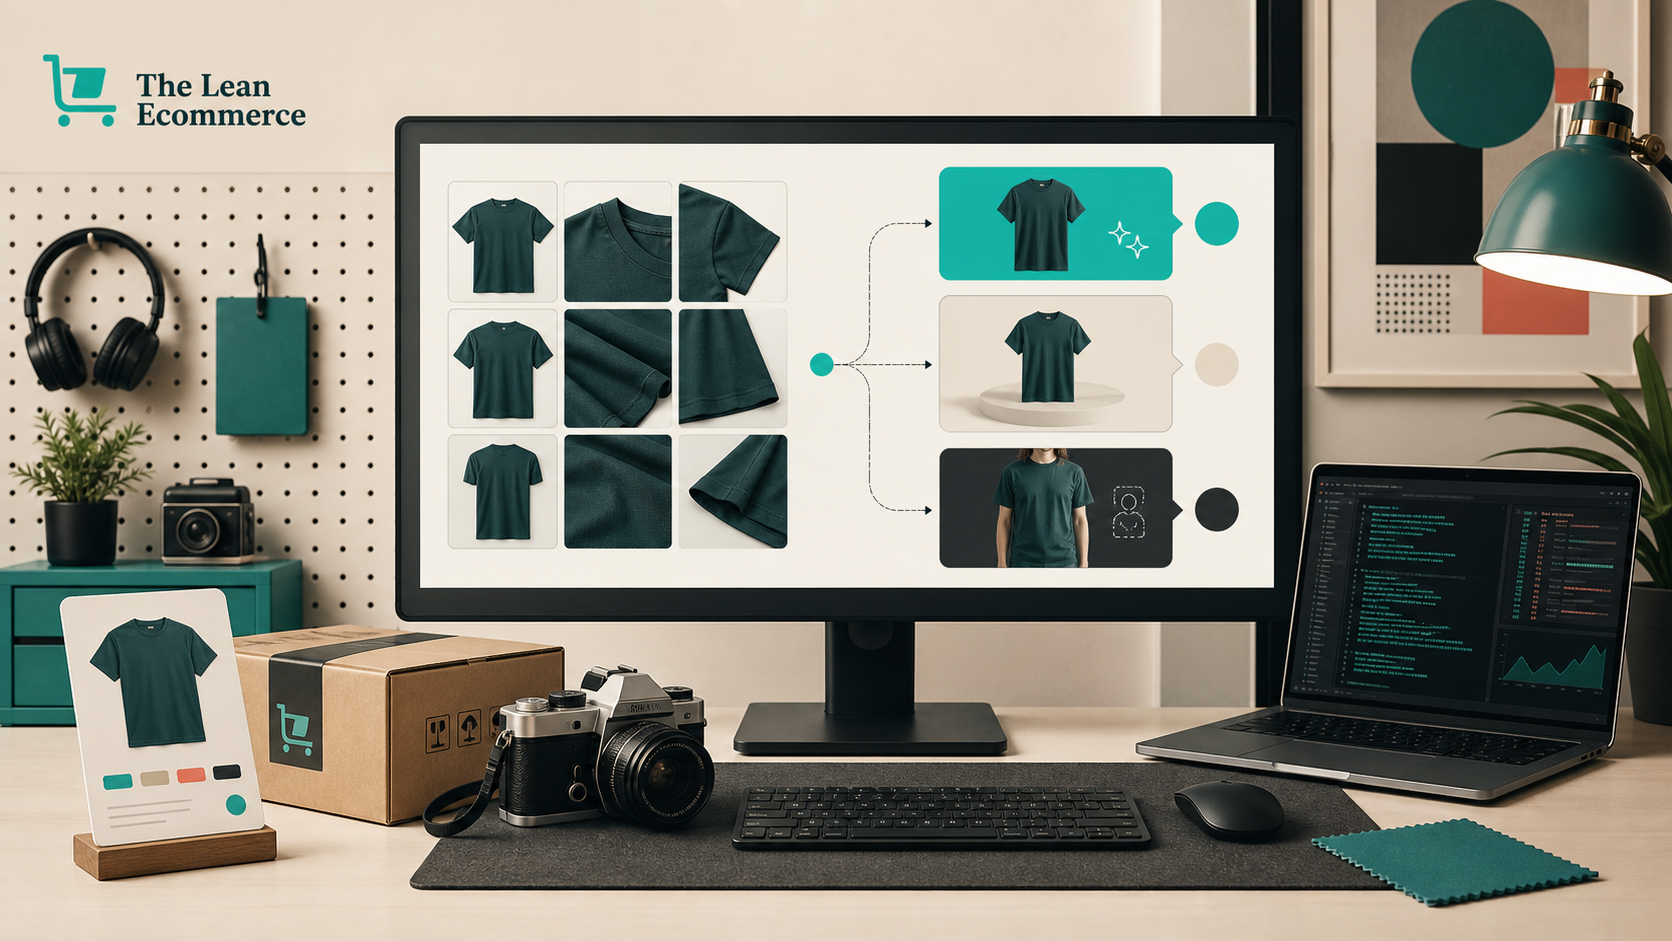
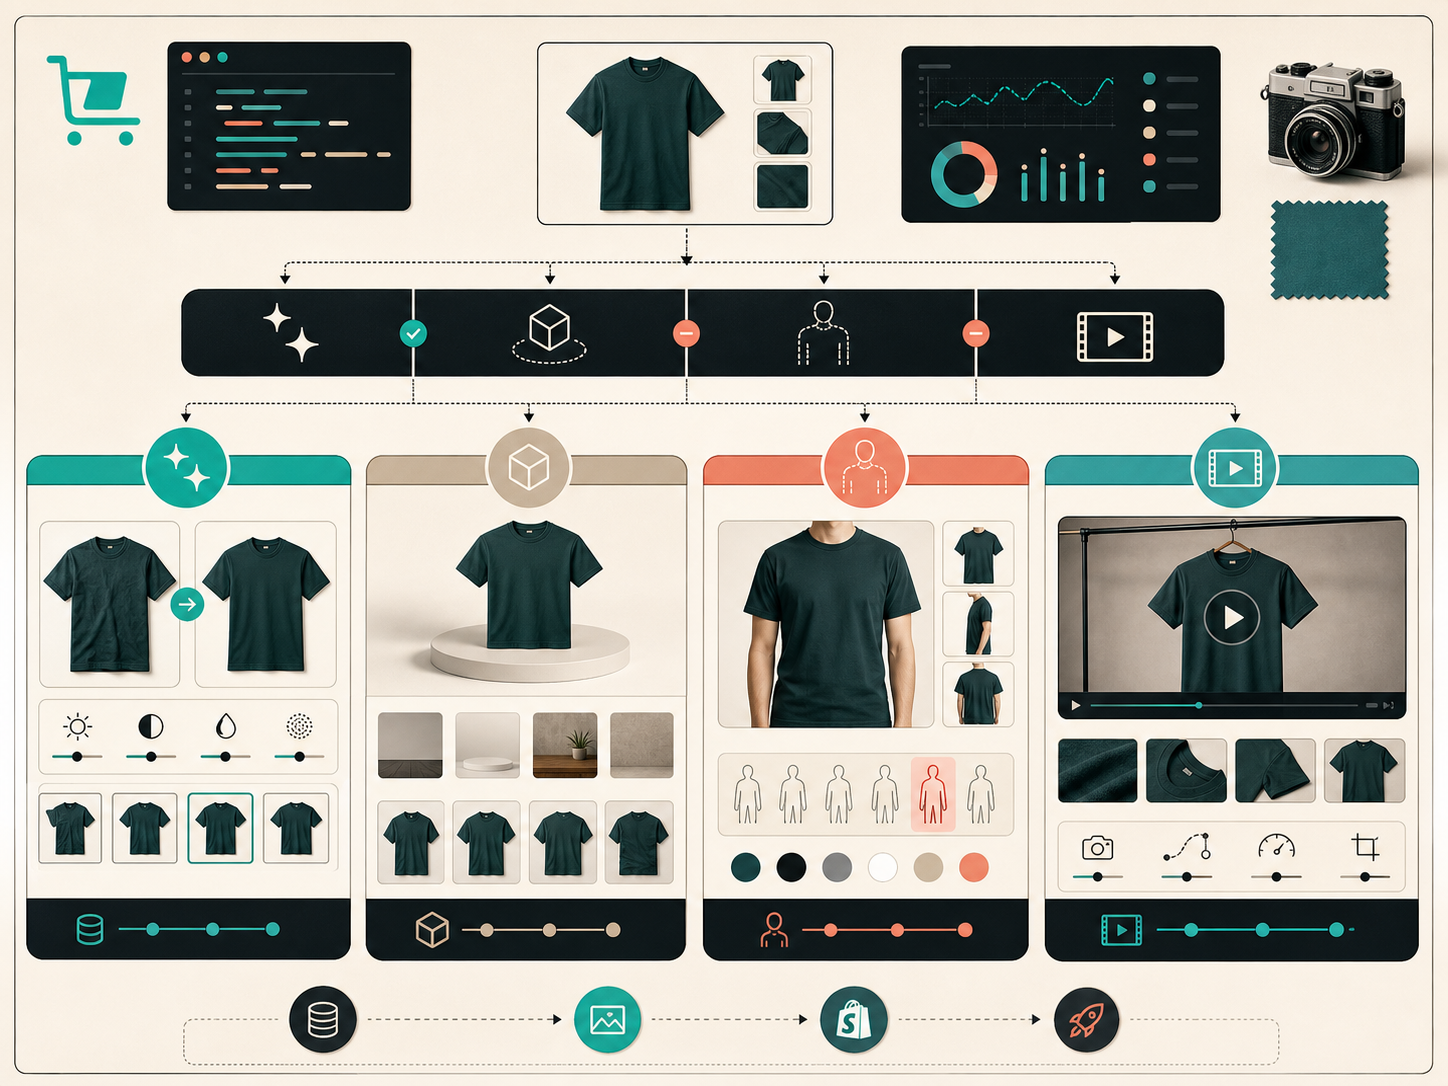
I use Supra AI Photo Studio for that split. The landing page makes the workflow obvious: background removal, upscaling, auto enhance, object placement, try-on, mockups, UGC videos, and b-roll. The decision I care about is simpler: what is the photo missing, and what is the cheapest edit that fixes it?
The first pass is always technical
I do not start with mood or style. I start with the obvious problems: bad light, soft focus, dirty background, weak contrast, or a crop that hides the product.
The before-and-after image is the part I point people to first. If the source is dull but otherwise usable, I clean it first. If the shot is already clear, I do not force an elaborate edit just because the tool can do one.
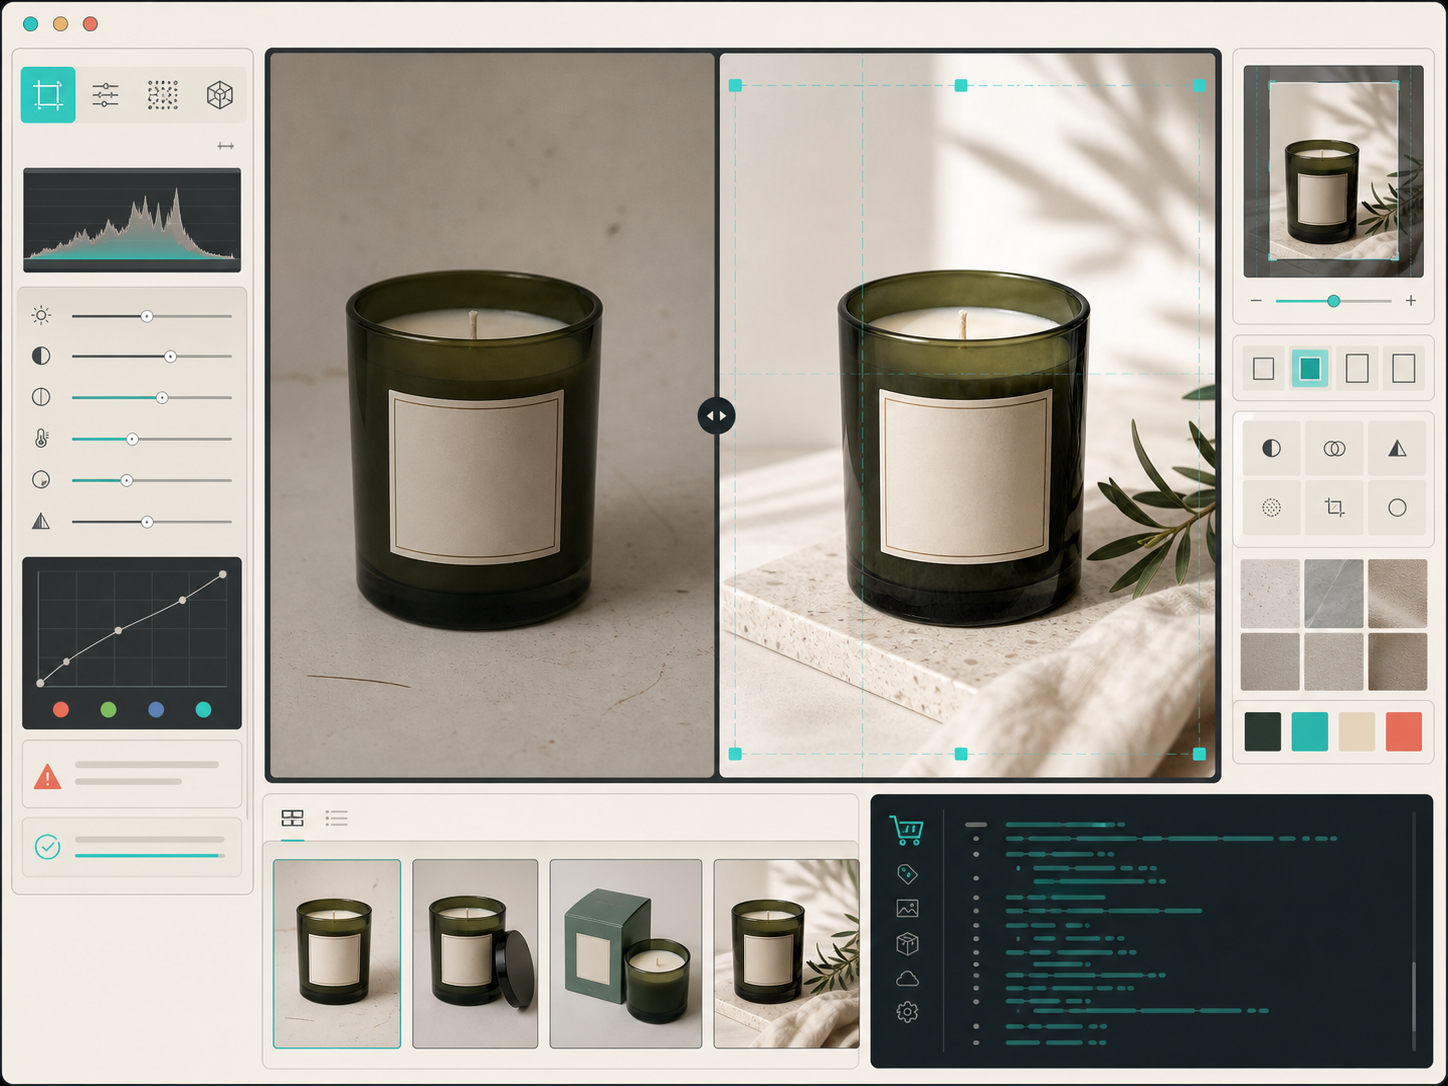
That is the basic filter I keep coming back to: fix the technical problem before you ask the image to do a storytelling job.
This is also the part that sits next to How I Turn One Product Photo Into a Shopify Asset Pipeline. That post is the output view. This one is the triage view.
When cleanup is enough
If the product reads clearly after cleanup, I stop there.
That sounds boring, but it is what keeps the workflow useful. Not every image needs placement, and not every product needs a model. Sometimes the right move is simply to make the original shot feel trustworthy enough to ship.
This is the same operational logic I used in How I Turn Plain Product Photos Into Studio Shots, Try-Ons, and Ads. The point is not to generate more content. The point is to move the photo toward the next buying question the shopper has.
When I move from cleanup to placement or try-on
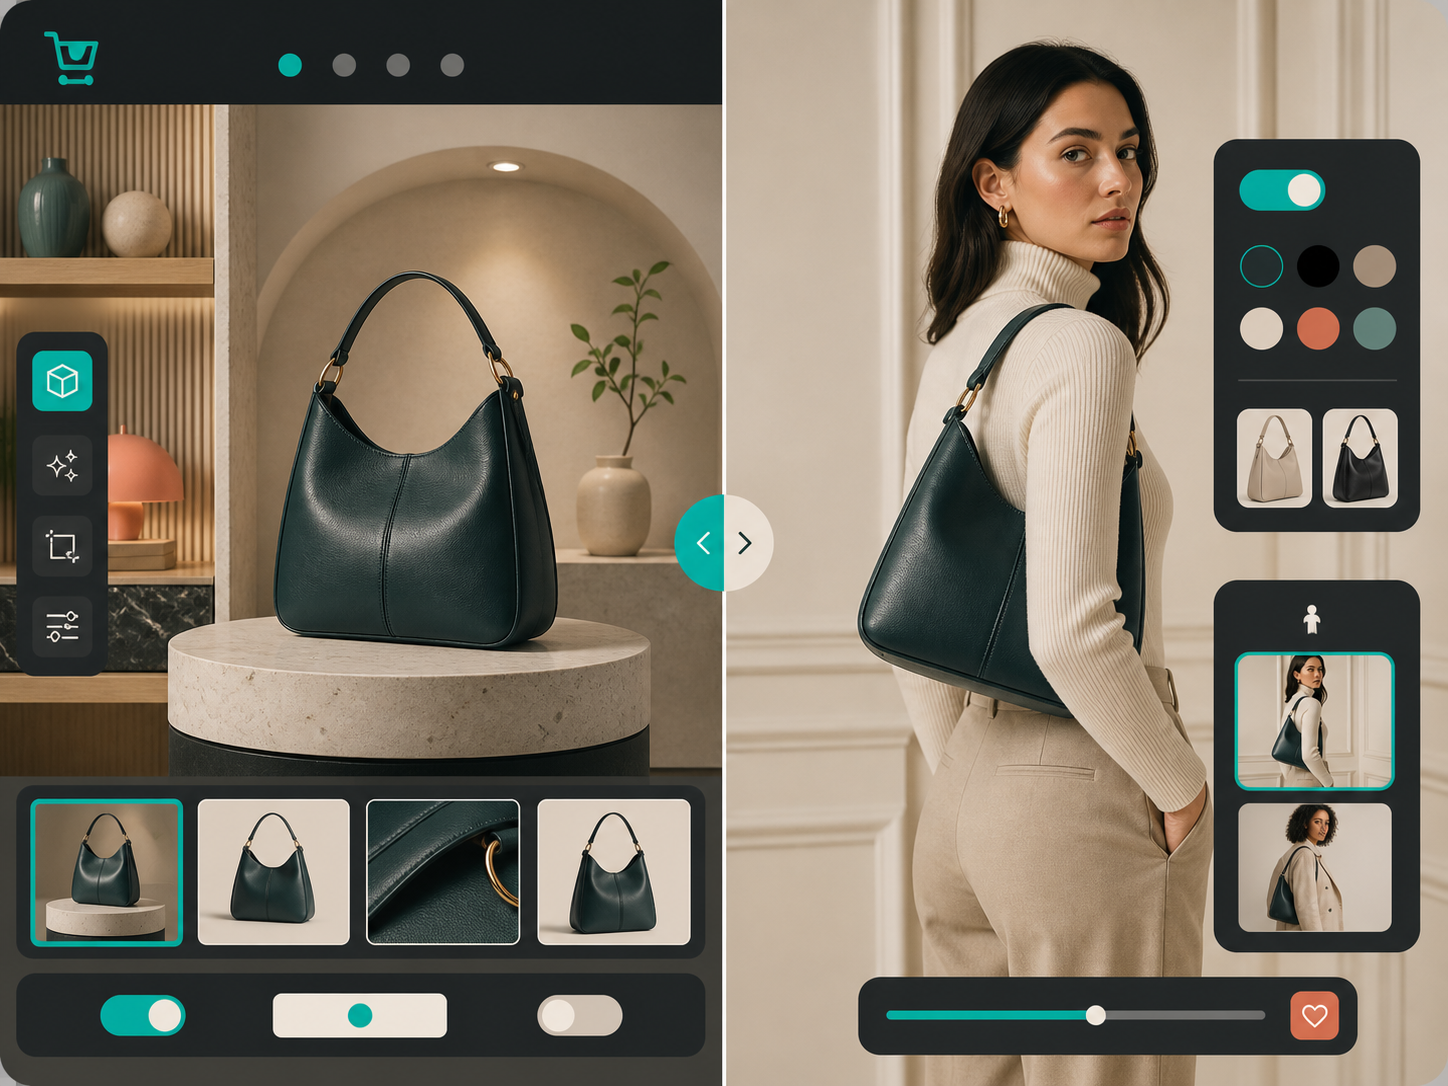
I use object placement when the product needs context but not a body. That is a good fit for decor, hard goods, cosmetics, packaging, and anything that benefits from a more believable environment.
I use try-on when fit, drape, size, or body interaction matters. That is usually apparel, jewelry, eyewear, bags, and accessories. If the buyer still cannot tell how the item sits on a person, a clean catalog shot is not doing enough work.
I use video when a still image still leaves uncertainty. If motion, texture, or scale is important, a short b-roll or UGC-style clip can answer the remaining question faster than another static image.
That triage path is the more operational version of How I Choose Between AI Enhancement, Try-Ons, and Lifestyle Scenes for Shopify Photos and How I Decide Which Shopify Products Need Try-On, Placement, or Video. Those posts answer the feature question. This one answers the workflow question.
Why the editor surface matters
The editor overview matters because the layout mirrors the job. The tools sit where I expect them, the canvas stays visible, and the image gallery keeps the source variants close instead of hiding them in a second workflow.
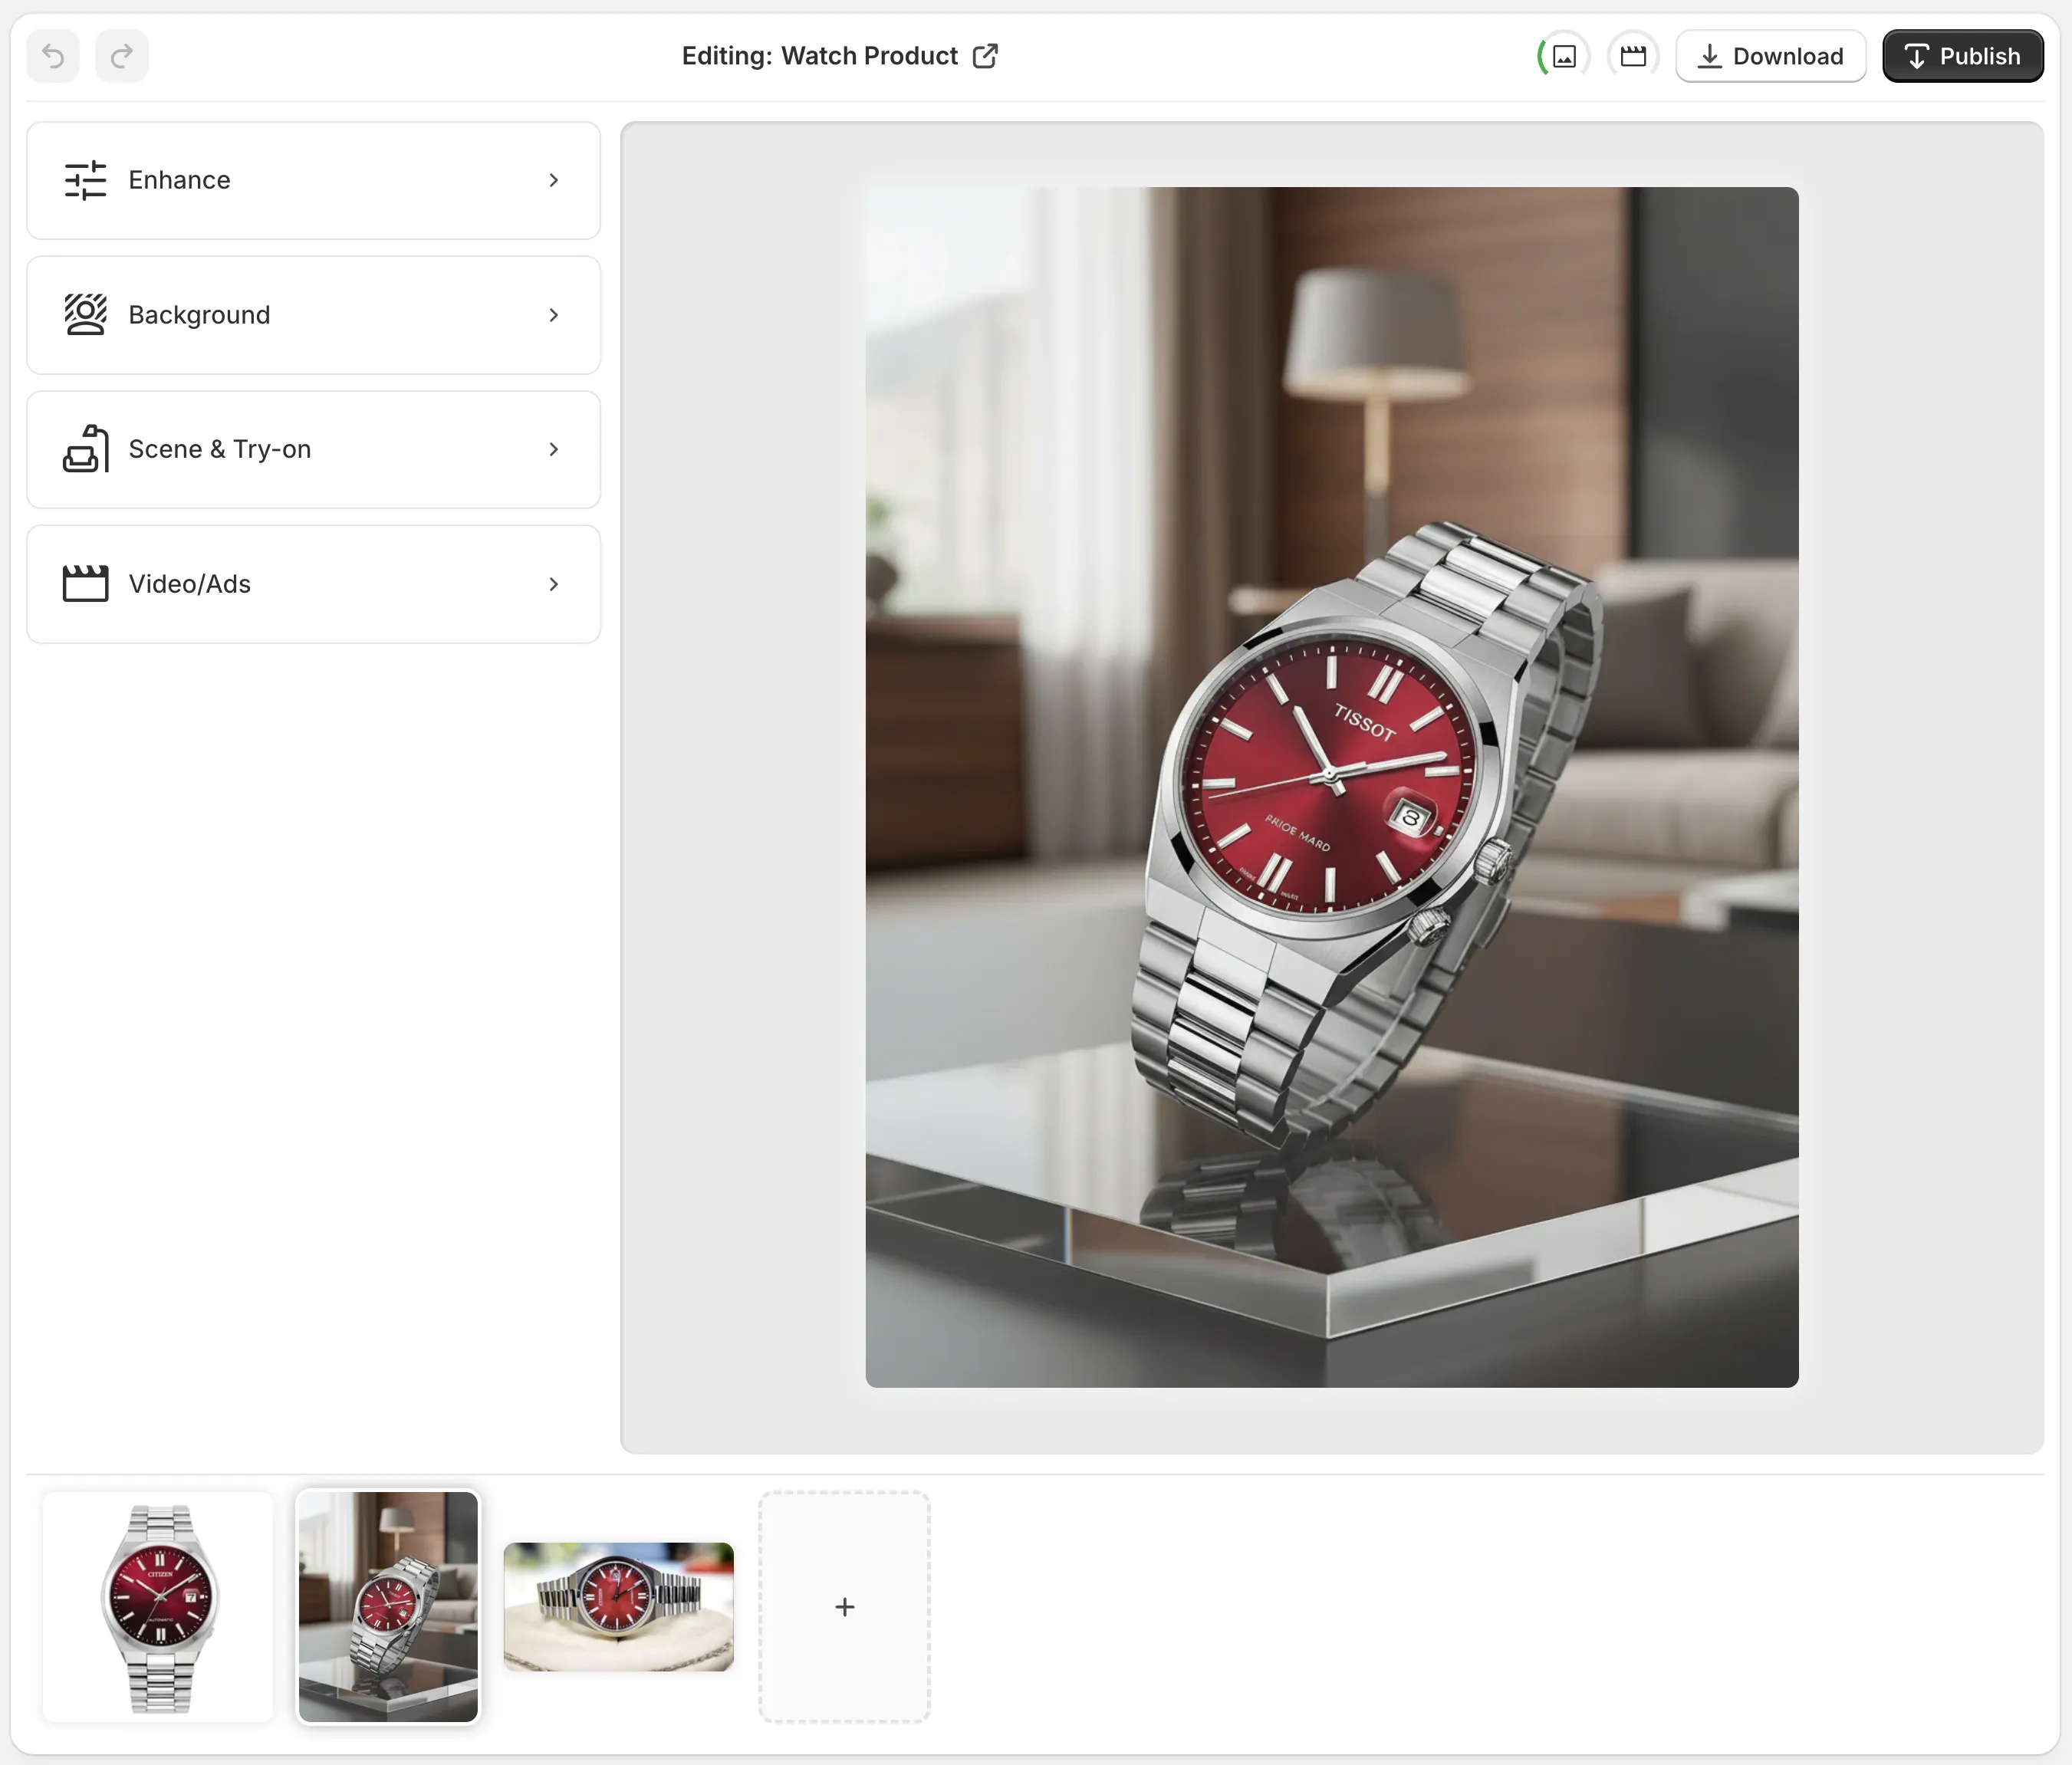
That is what makes the process feel manageable. I am not hopping across separate apps to clean, place, try-on, and export. I am making one decision at a time inside the same surface.
This is also why How I Turn One Product Photo Into a Shopify Asset Pipeline still feels like the right companion read. Once the image is cleaned up, the rest of the branch decisions become much easier to trust.
The queue I actually use
- Start with the cleanest source photo.
- Run background removal or enhancement only if the image is technically weak.
- Ask whether the product needs context, fit, or motion.
- Use placement for decor, hard goods, and products that need a setting.
- Use try-on for apparel and accessories where shape on a body matters.
- Add video only when a still image still leaves uncertainty.
- Stop as soon as the photo answers the buying question.
If none of those branches improves the image, I leave it alone. That is usually the most useful decision I can make.
One practical next step
If you want to use the same workflow, open one SKU and sort its images into cleanup, placement, try-on, or video before you edit anything. That keeps the work focused and stops the tool from turning into a creative rabbit hole.
Start with Supra AI Photo Studio, keep the landing page open while you work, and treat the first pass as triage instead of transformation. Once that is in place, the rest of the catalog gets much easier to handle.