
October 12, 2026
I Chose a Low-Risk Product Before Testing Shopify 3D Media
A practical way to choose the first Shopify SKU for phone-based 3D capture, publish a GLB, and learn without turning the pilot into a rescue job.

I wanted to add native Shopify 3D media without accidentally making my first experiment a week-long photogrammetry support ticket. The obvious candidate was our most popular SKU. It was also glossy, dark, curved, and frequently handled—basically the worst possible first scan.
That is the trap. A first 3D model should teach you the capture-to-publish path, not prove you can rescue the hardest product in the catalog. I now pick a low-risk SKU, run the whole workflow once, and use what I learn to decide where 3D earns a second pass. Supra 3D Capture makes that a realistic Shopify pilot: take guided phone photos, let the app process them into a web-ready GLB, then attach the result to product media or an Online Store 2.0 app block.
The First SKU Is a Systems Test
My selection rule is intentionally boring: choose an item with a stable shape, matte or lightly textured surface, a usable product-photo setup, and enough visual detail that a shopper benefits from rotating it. A ceramic lamp, a structured bag, a shoe with a clear silhouette, or a small home object usually makes a better first run than jewelry, mirrored drinkware, fuzzy textiles, or transparent packaging.
That does not mean difficult products are impossible. It means they are a bad way to measure whether the Shopify workflow itself is working. I had already used a quick SKU scorecard to identify candidates; this time I narrowed it to one product that would let me inspect capture, processing, publishing, and mobile viewing separately.
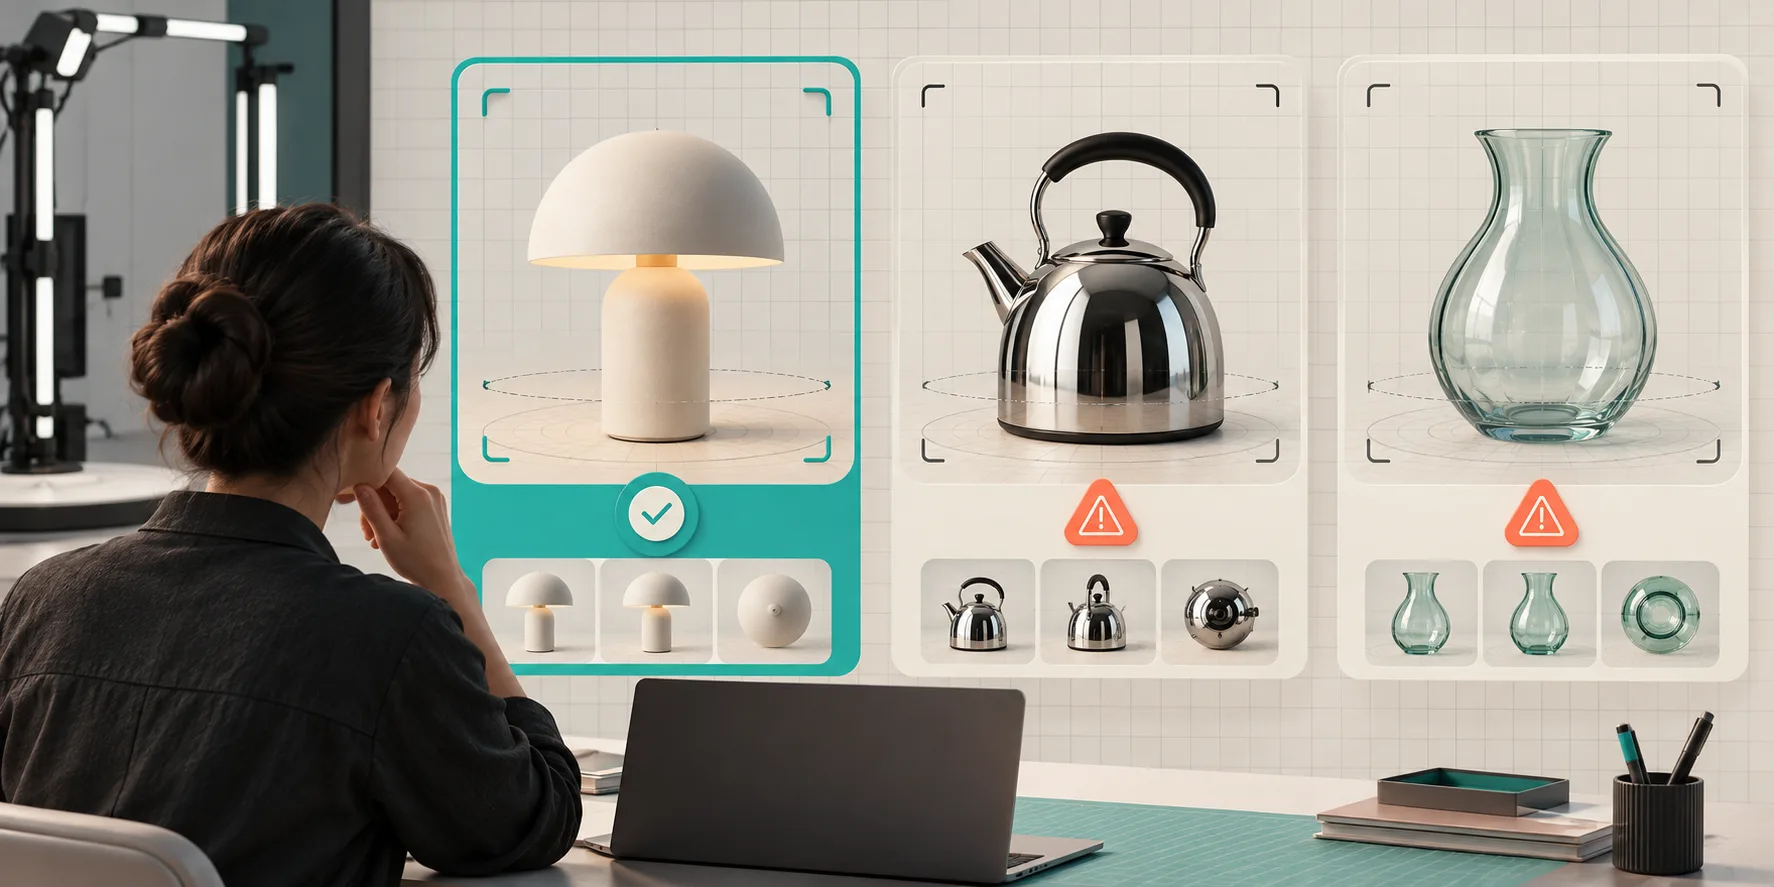
Here is the lightweight checklist I use:
- Shape: Can a shopper learn something by seeing the back, side, or depth?
- Surface: Is it mostly matte, textured, or evenly colored rather than highly reflective or clear?
- Size: Can I circle it with a phone without climbing furniture or constantly moving it?
- Merchandising: Is it a product page where added confidence is more valuable than another lifestyle photo?
- Operations: Can I publish to a test product first and review it on actual phones?
If the answer is yes to four of five, it is a sensible pilot. I keep the hard SKU in a later queue instead of asking it to validate every part of the stack at once.
Make the Capture Boring on Purpose
A good model starts before I open the app. I wipe the product, put it on a plain stable surface, and use broad, even light. The objective is not an art-directed hero shot; it is a repeatable set of angles with minimal harsh shadow and no changing background. If you are still tuning the photo corner, this phone-lighting setup for Shopify 3D capture is a useful companion checklist.
Then I run the guided orbit in Supra 3D Capture. I move myself around the product instead of spinning it between frames, keep roughly the same distance, and make sure every side appears in multiple overlapping photos. The app is designed for a short set of guided phone shots—no LiDAR rig or modeling software required—but a clean capture still beats trying to fix omissions later.
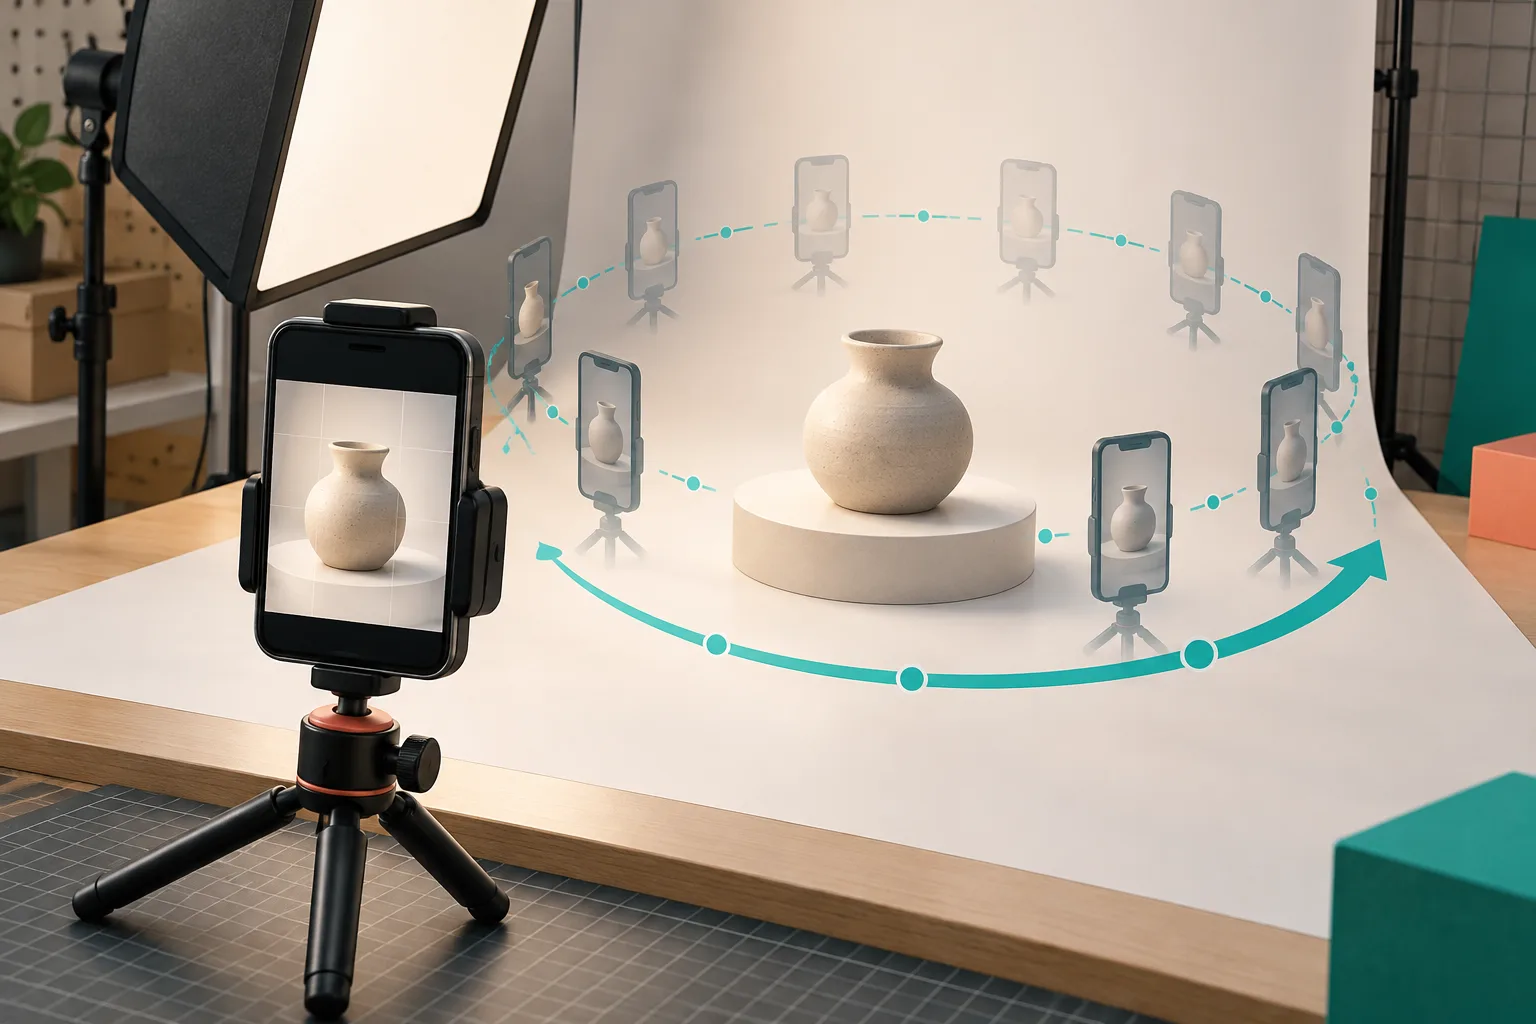
I do one deliberately unglamorous review before uploading: can I trace the product’s silhouette from top to base without a sudden jump in angle? If not, I recapture now. That is faster than treating a weak reconstruction as a Shopify bug.
Separate Model Quality From Theme Quality
Once the photos process into a GLB, I resist the urge to call the project finished. There are two different checks: whether the model is convincing, and whether the product page presents it properly.
For the model, I rotate through the angles customers care about. I look for warped edges, missing surfaces, noisy background fragments, and proportions that make the item feel smaller or larger than it is. The goal is credible shape and scale, not a perfectly cinematic 3D asset.
For the storefront, I publish it to a non-critical product first. Supra 3D Capture can attach the GLB to native Shopify product media or place it through an Online Store 2.0 app block. Before I promote it across the catalog, I use the same compatibility check from my theme-support walkthrough and test the actual product template on mobile.
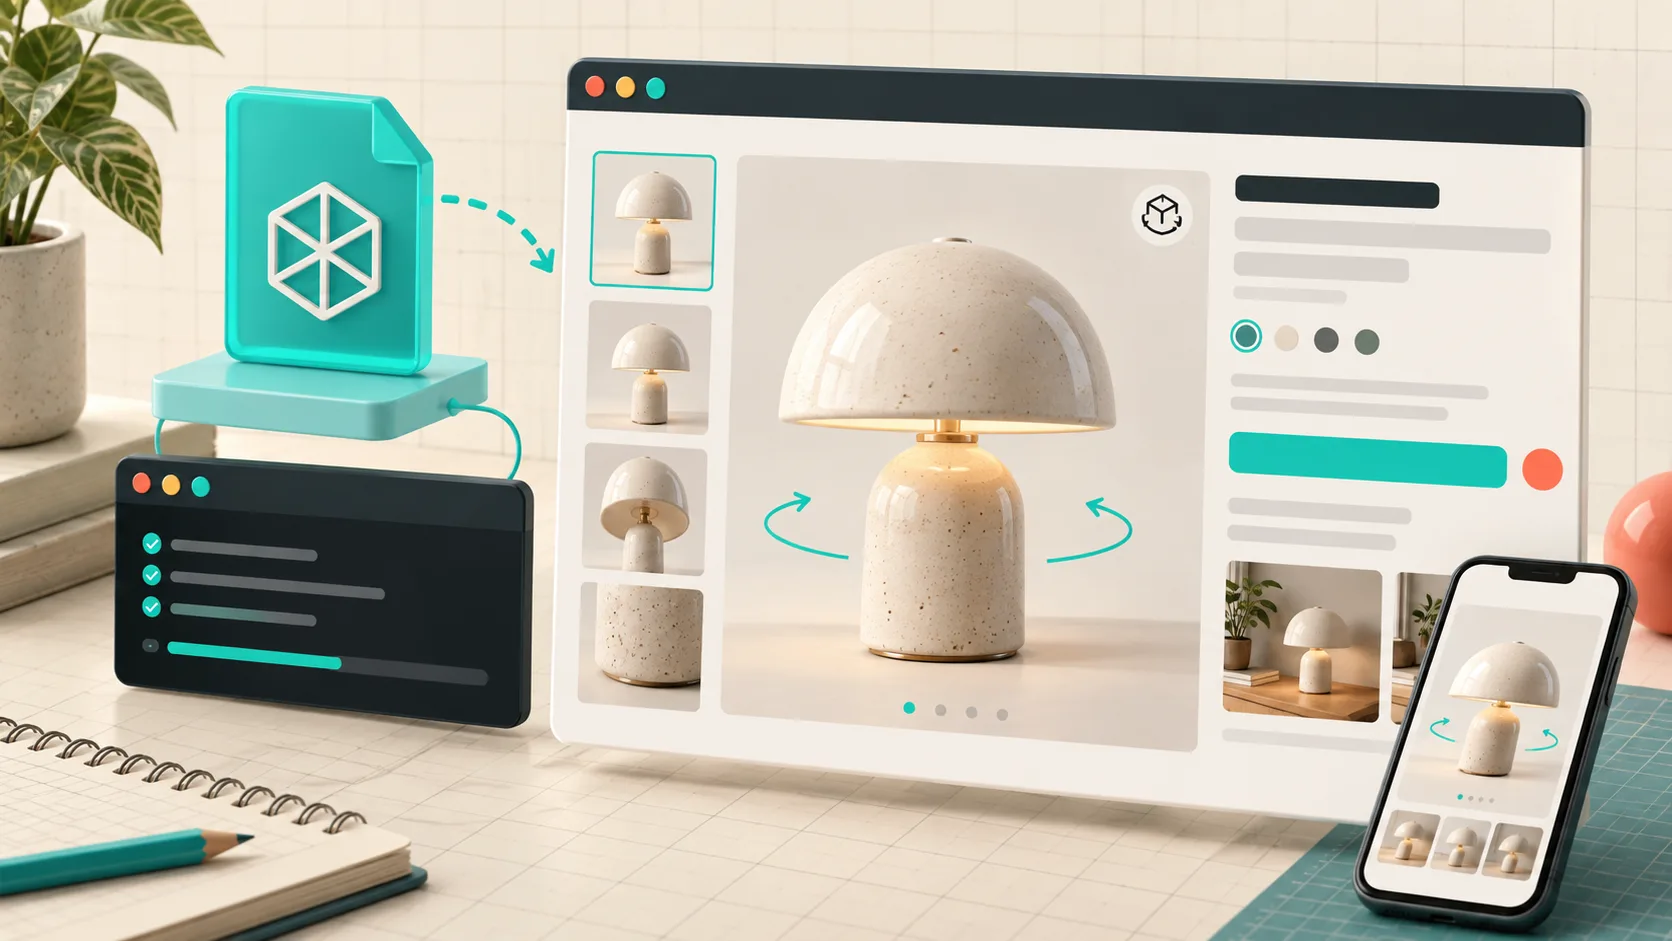
My launch QA is short:
- Does the 3D viewer load without pushing the buy button awkwardly down the page?
- Can I rotate the product smoothly on a phone?
- Does the fallback photo gallery still make sense for a shopper who never touches the model?
- Is the model placed near the decision-making details rather than buried below unrelated content?
This is also why I do not promise conversion miracles from one asset. The practical win is fewer expectation gaps: a shopper can inspect thickness, shape, and proportions on their own terms. That aligns with the return-resistance logic behind auditing a catalog before a 3D rollout, but it still needs an honest product-page test.
Turn One Scan Into a Reusable Decision
The point of the first pilot is a reusable operating note. I write down the SKU, lighting conditions, approximate capture time, anything the model struggled with, and where it appeared on the product page. I also note whether the product was a good fit for an interactive view or merely technically scannable. Those are not the same thing.
If you want a low-cost way to try the path, the Supra 3D Capture Shopify app has a free plan with three scans per month and one saved 3D model. That is enough to validate the capture-to-product-page loop before treating 3D as a catalog-wide project.
My next action is simple: pick one matte, easy-to-handle product with a real need for shape context, capture it in steady light, and publish it to a test template. Once that works, the difficult SKUs become an informed production problem—not the first thing standing between you and native Shopify 3D media.