
July 10, 2026
How I Turn Product Data Into Automated Video Demos With VideoFlow
A practical workflow for turning product data into repeatable video demos with VideoFlow, JSON-first templates, and reusable renderers.
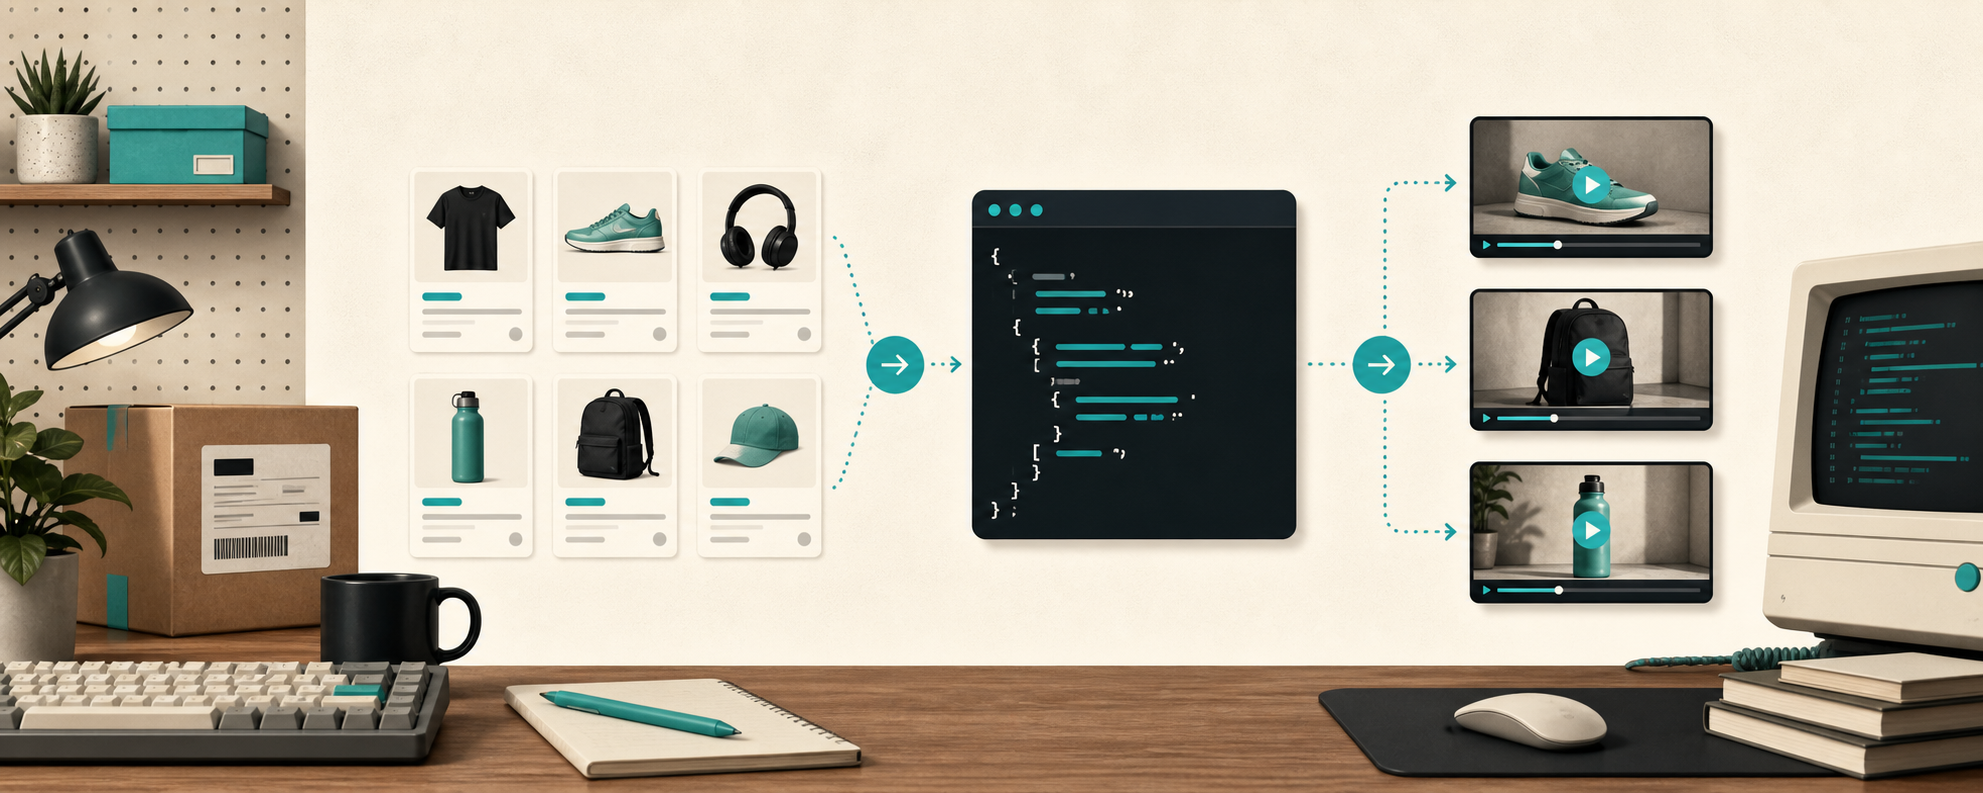
I kept running into the same failure mode: the product team wanted a fresh demo for every launch, but the timeline kept getting rebuilt from scratch. VideoFlow fixed the part that kept breaking for me: I stopped thinking about a video as an editable sequence and started treating it as portable JSON.
That changed the workflow in a useful way. The template becomes reviewable, diffable, and safe to reuse when the product data changes. I can compile one source of truth, render it in the browser or on the server, and still let a non-developer adjust the result in a real editor when they need to.
If you want the broader architecture behind that approach, I would pair this post with How to Preview, Edit, and Export the Same Video JSON Everywhere and How to Build a VideoFlow Project That Keeps Templates and Renderers Separate.
1. Start with product data, not a timeline
The first thing I do is keep the useful business fields in a boring object: product name, hero image, benefit line, CTA copy, and any offer timing. The point is not to make the object fancy. The point is to make the video template reusable when the same product needs a different headline or a different channel format.
Once the content is structured, the scene definition gets much easier to reason about. VideoFlow gives me a fluent TypeScript API, compiles to portable VideoJSON, and keeps the same project available for browser playback, server rendering, and live preview. That matters because I do not want separate implementations for each destination.
import VideoFlow from "@videoflow/core";


const $ = new VideoFlow({

  name: "Product demo",

  width: 1920,

  height: 1080,

  fps: 30,

});


$.addText(

  { text: "New collection", fontSize: 72, fontWeight: 800 },

  { transitionIn: { transition: "overshootPop", duration: "500ms" } }

);


const videoJSON = await $.compile();
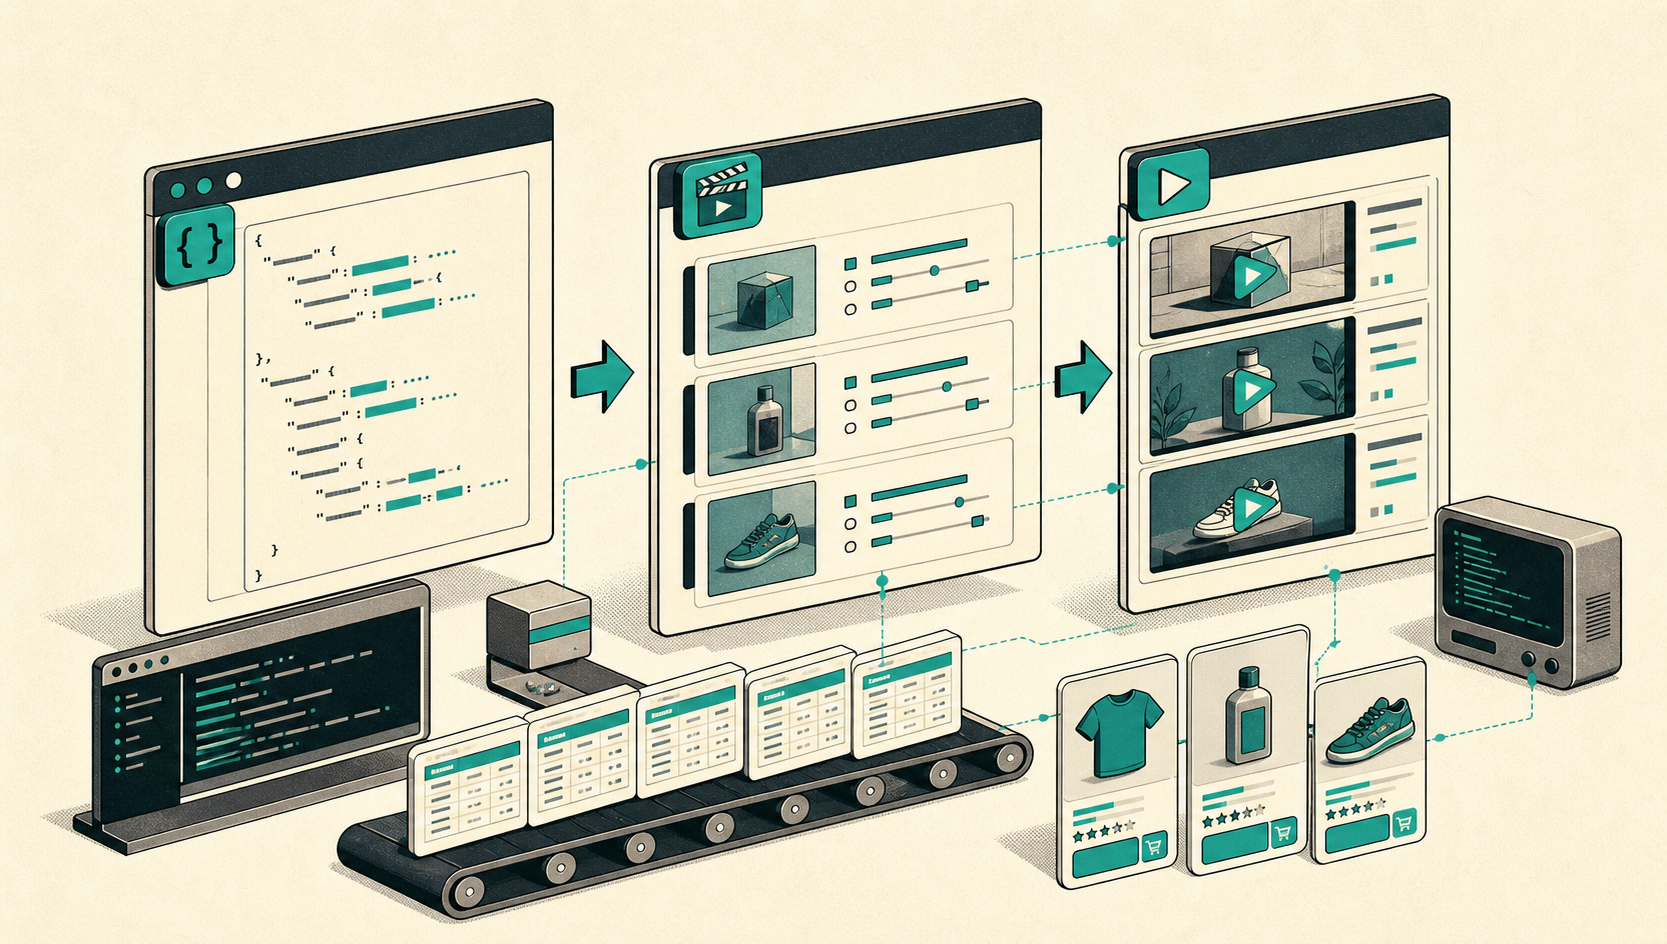
The nice part is that I can keep the template logic small and boring. The business logic lives in data; the motion logic lives in the template. When the catalog changes, I edit the data and leave the scene structure alone.
2. Keep the renderer choice out of the template
I treat the renderer as an implementation detail. If a user clicks export inside the app, the browser renderer is usually the right fit. If I am generating a batch of product demos, the server renderer makes more sense. If I need frame-accurate previewing while designing the template, the DOM renderer is the better choice.
That separation is the main reason I like this stack. The same VideoJSON can drive a browser export path, a Node render path, and a live preview without rewriting the project each time. I went deeper on that boundary in How to Render One Video JSON in Browser, Node, and React, and the template boundary itself in How I Keep Video Templates Maintainable With VideoFlow.
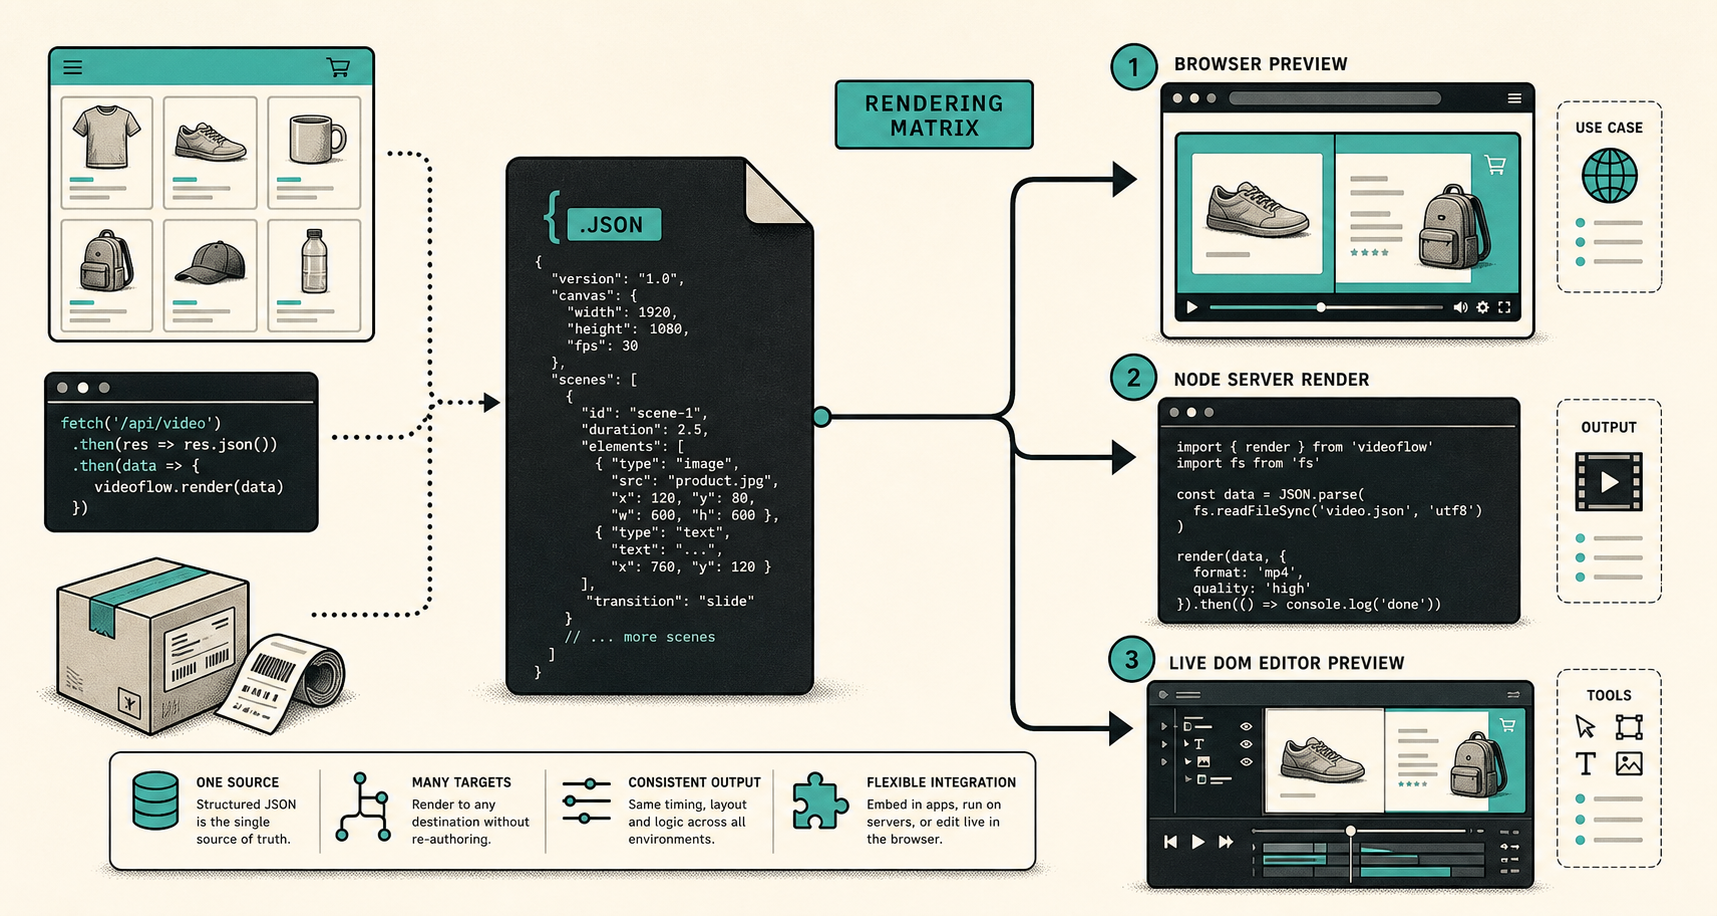
The practical rule is simple: do not let renderer decisions leak into the template. Once the template starts caring about where it will run, you lose the portability that makes VideoFlow useful in the first place.
3. Add a React editor when the team needs control
I do not reach for an editor on every project. I add one when a marketer, operator, or producer needs to trim clips, reorder layers, tweak text, or upload assets without touching code. That is where the optional React video editor is helpful: it wraps the same VideoJSON in a visual interface instead of inventing a separate data model.
import { VideoEditor } from "@videoflow/react-video-editor";

import "@videoflow/react-video-editor/style.css";


export default function App() {

  return (

    <VideoEditor

      video={videoJSON}

      onChange={(next) => saveToServer(next)}

      onSave={async (next) => await persist(next)}

      onUpload={async (file) => await upload(file)}

      theme="dark"

    />

  );

}
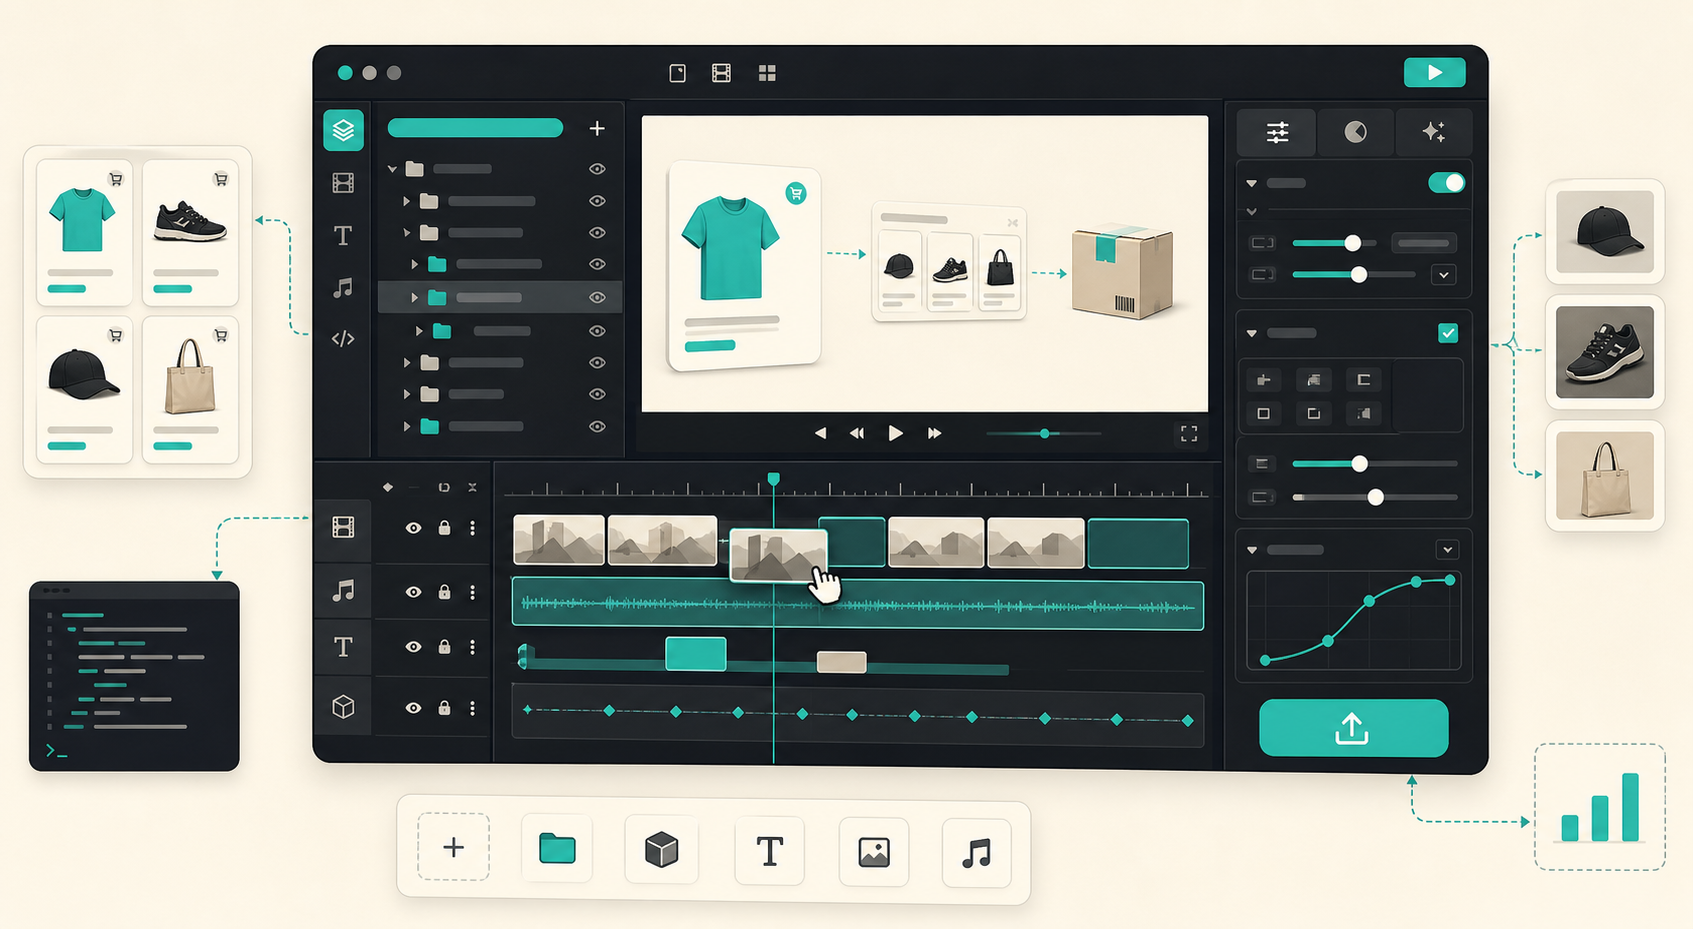
The editor is useful because it stays tied to the same source of truth. I am not maintaining a parallel timeline format just because someone wants a drag handle and a preview window. The editor is a view over the project, not a second project.
4. Ship with a checklist, not a guess
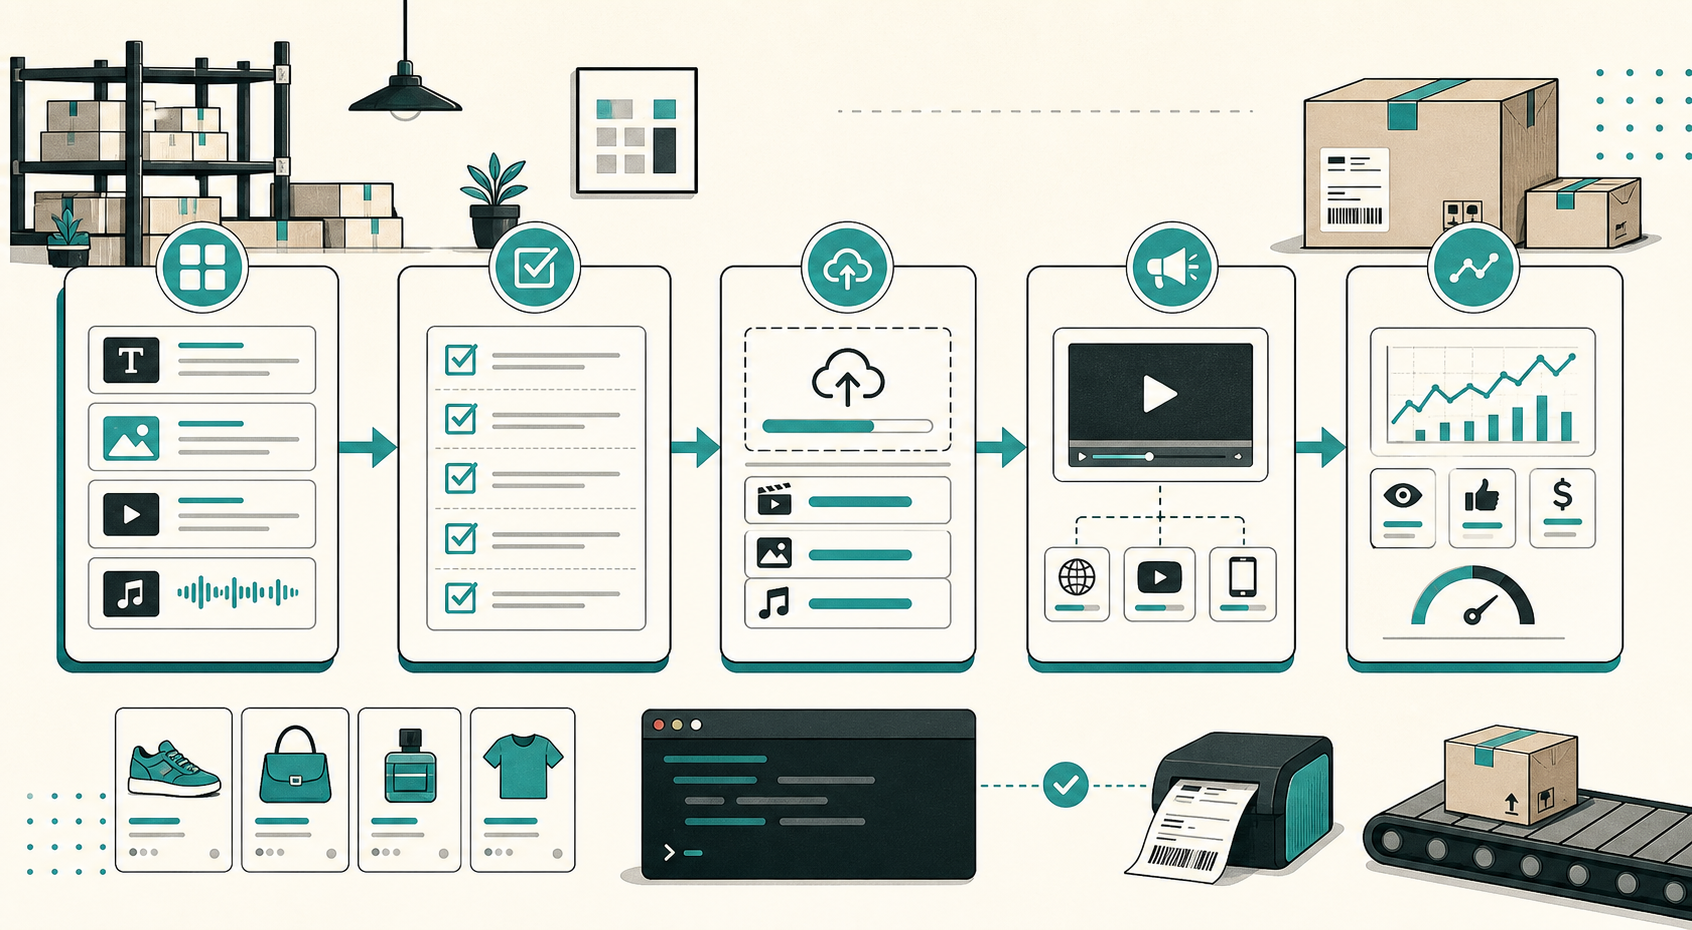
Before I publish anything, I run the same small checklist every time:
-
Confirm the template compiles with the expected dimensions and frame rate.
-
Render the same VideoJSON in the target environment, whether that is browser, Node, or the DOM preview.
-
Check that every asset URL is public and every image is actually reachable.
-
Keep one manual override path for emergency fixes so the system is not brittle when a campaign changes late.
If you want the exact implementation split I use for this, How to Build a VideoFlow Project That Keeps Templates and Renderers Separate, is the follow-up I would read next.
For me, the win is not that VideoFlow makes video magic happen. It is that it makes the workflow legible. Product data stays data. Templates stay versioned. Renderers stay separate. And when the team needs a visual editor, it sits on top of the same project instead of replacing it.
If you want to try the stack yourself, start with the VideoFlow docs, then open the playground and the React video editor once the scene shape feels right. The open-source repo is here: GitHub.