
October 16, 2026
I Build Browser-Ready Product Image Variants Without Starting Over
A practical local-first workflow for turning one editable product photo into accurate marketplace-ready image variants in a browser.
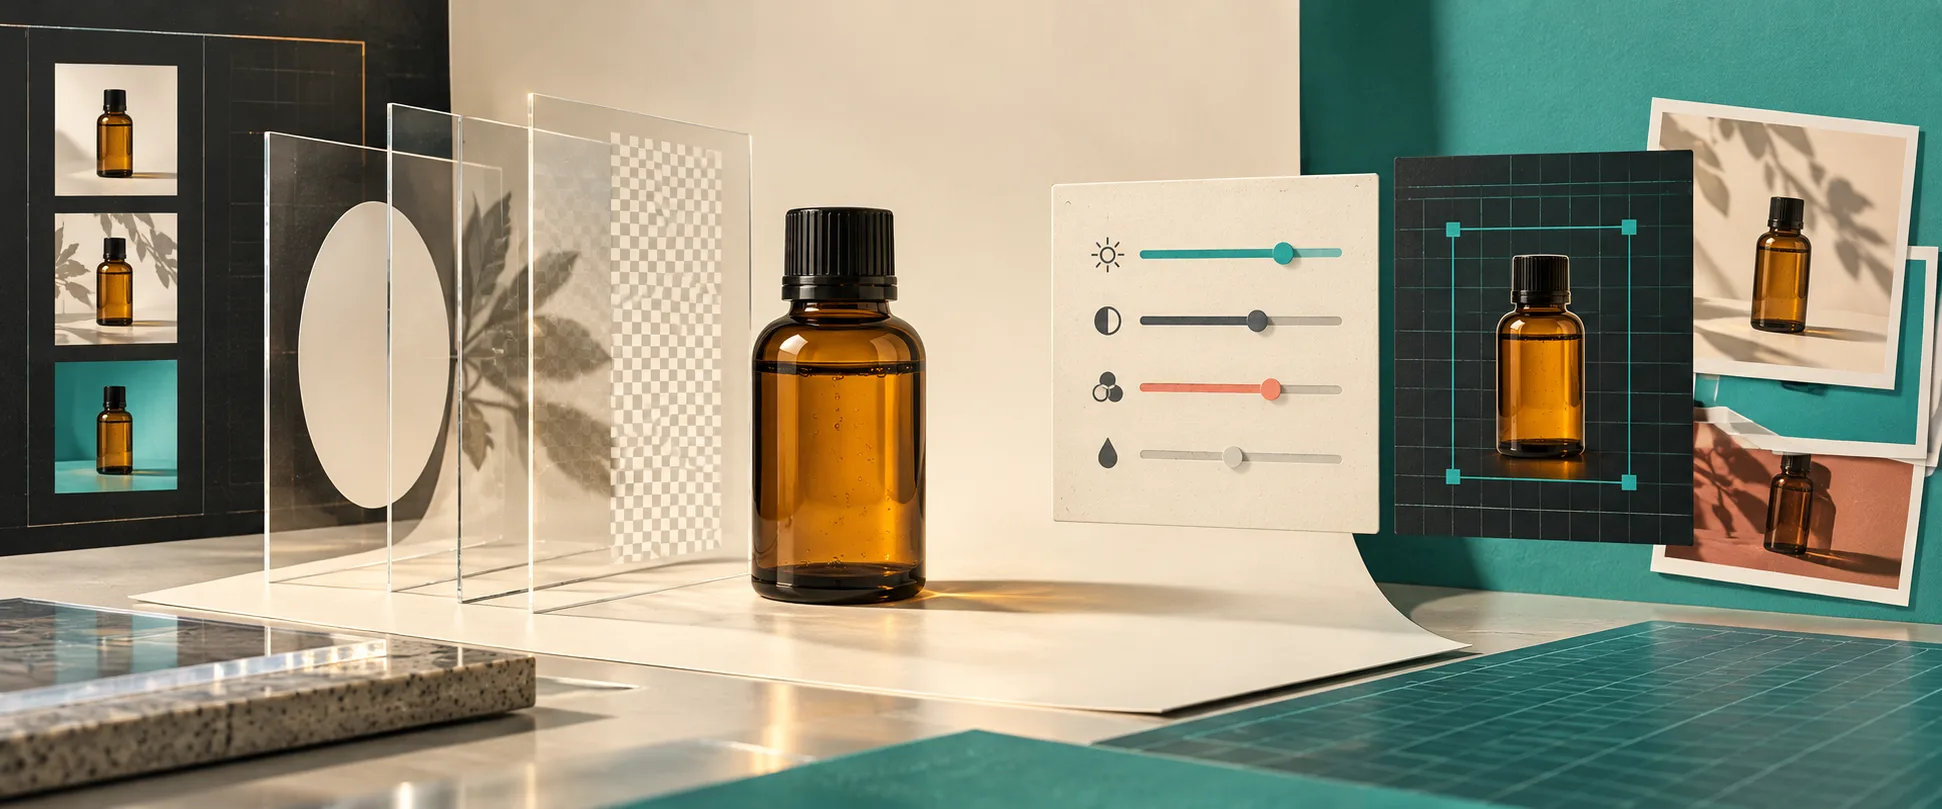
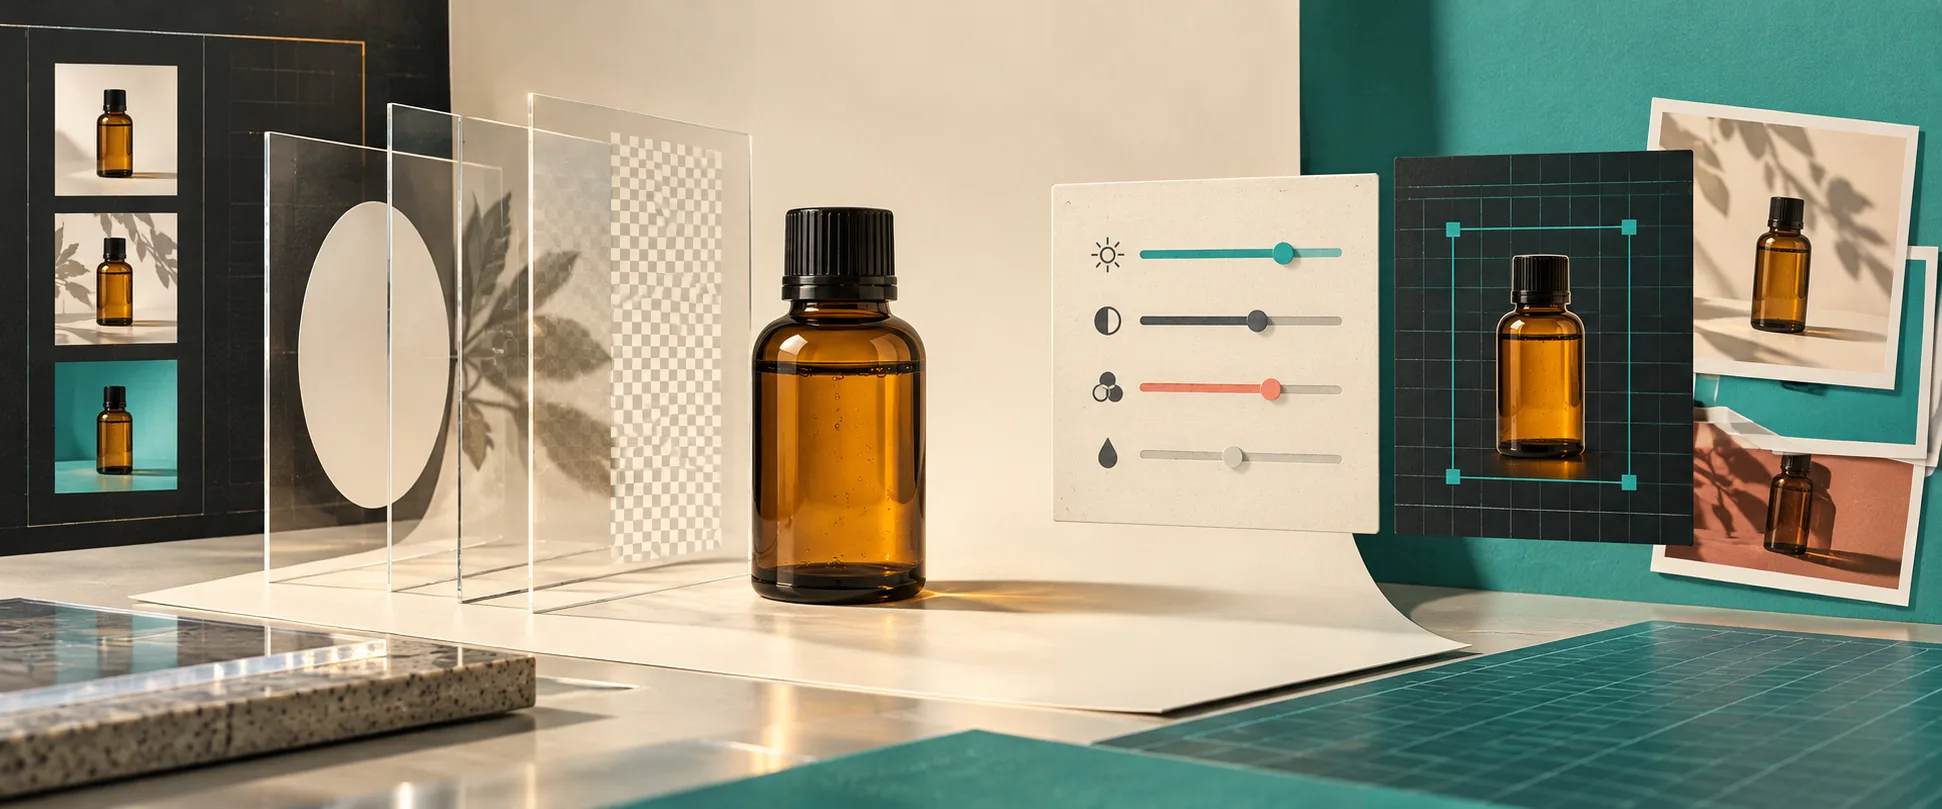
Last week I needed three image crops for the same product: a square marketplace hero, a roomy collection-card version, and a social crop with a little more context. The old pattern was painful: make one destructive edit, export it, reopen the original, then repeat until the product stopped looking consistent.
I changed the workflow to keep one editable master. ImageFlow is useful here because it is a free browser-based editor with layers, masks, adjustment layers, smart objects, PSD/PSB import and export, plus on-device selection and background-removal tools. That does not turn every image into a one-click job. It does mean I can make the small, specific edits in a browser without treating each output as a new source file.
Here is the build note I now use when one product photo needs several accurate variants.
Start with the truth layer
Before I touch a mask, I make a folder with the original capture, the working document, and an exports/ directory. The original is read-only. The working document is the only place I change pixels or layers.
I also write down what is allowed to change. Usually that is background, crop, shadow cleanup, and global exposure. It is not the product color, material texture, included accessories, or any label detail. That distinction sounds fussy, but it prevents a useful cleanup from quietly becoming misleading merchandising.
If the input is already a layered handoff, this is also where a browser editor earns its place. I covered the narrower PSD handoff case in this guide to editing a PSD online without installing Photoshop. For a complicated production PSD, I still test a round trip before promising anyone that it will be my new permanent path.
Build the master as a stack, not a finished JPEG
My working document usually ends up with a boring but effective layer structure:
product-original (locked)
product-mask
cleanup
shadow
color-adjustments
background
export-guides
The important part is that product-original survives untouched and the mask stays separate. I use an adjustment layer for broad exposure or white-balance changes, rather than baking that change into the product pixels. If I need to hide a distracting speck or edge of a prop, I do that in a cleanup layer, then inspect it at 100%.
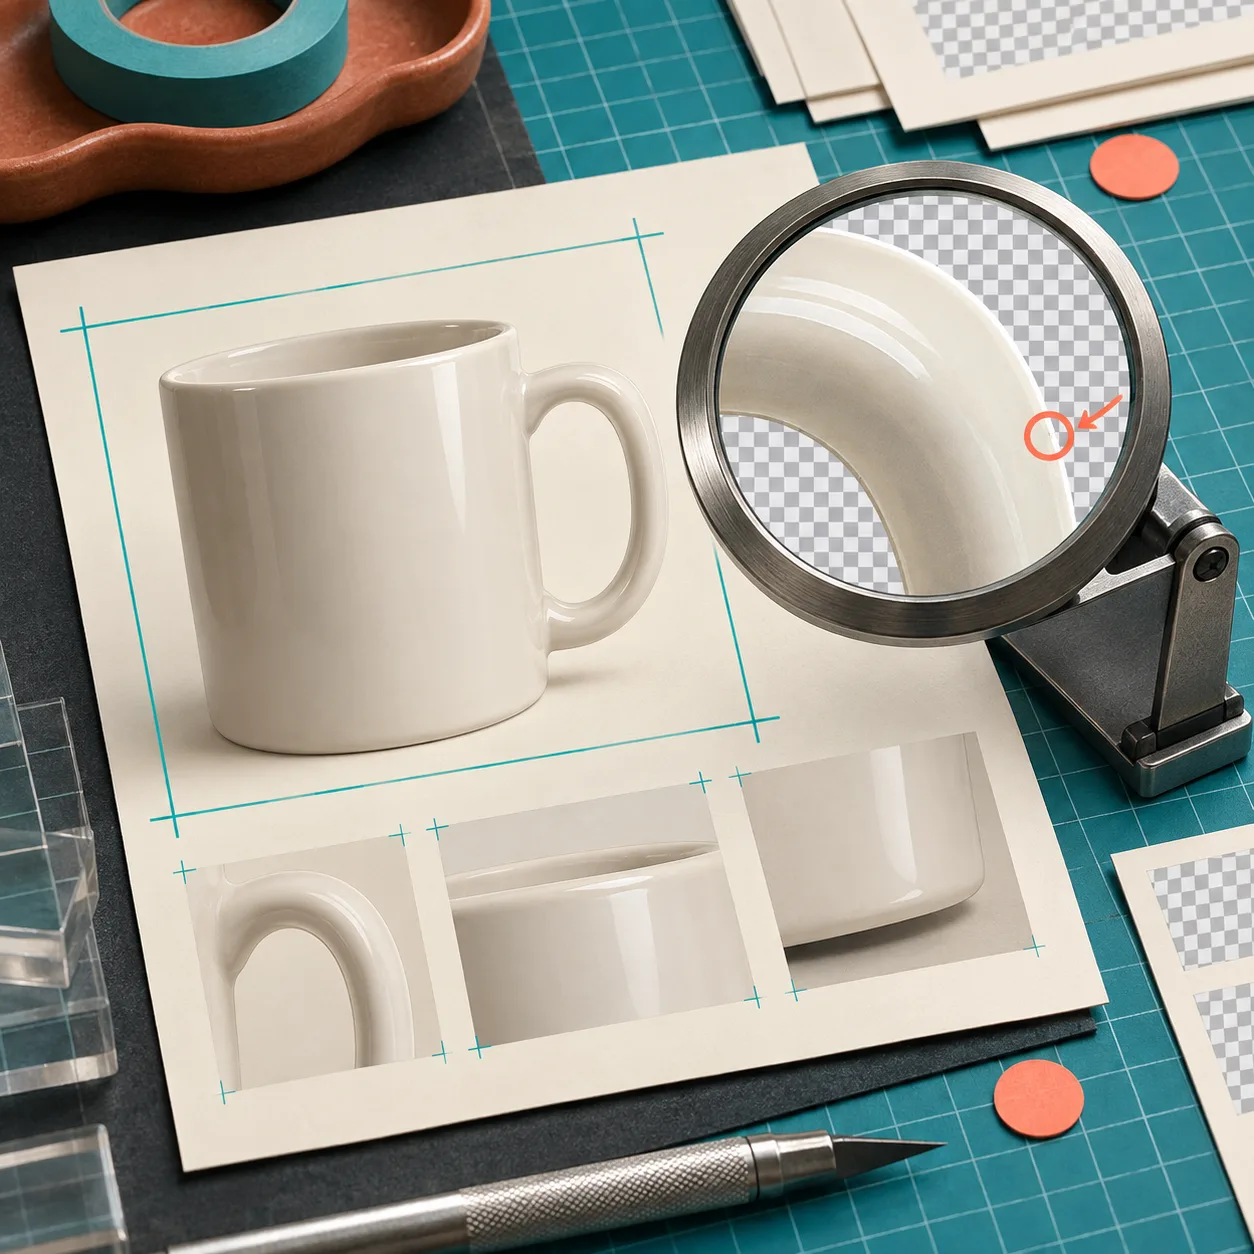
Background removal is a good starting point, not an approval. Zoom into handles, reflective rims, transparent packaging, hair-like fibers, embossed logos, and soft shadows. A selection that looks perfect at fit-to-screen can remove the exact edge a buyer uses to judge shape. The same rule applies to cleaning up a product photo without changing it: preserve the object first, then make the picture quieter.
Make variants from guides, not from memory
Once the master is stable, I add non-exporting guide layers for each destination. My three common presets are simple:
marketplace-square: centered product, generous clean margincollection-card: crop that still reads at small sizesocial-detail: a wider frame only when the surrounding scene proves something useful
I duplicate the document or use saved exports from that master; I do not keep trimming the previous JPEG. This makes it far easier to change a background color later without rebuilding the mask, shadow, and corrections from scratch.

For listings, I keep the hero crop conservative. A product image is not the place to make a dramatic art-directed composition if it hides proportions or changes perceived color. My earlier browser marketplace-listing workflow has the same bias: clarity beats a clever treatment on the first image.
Run an export check before publishing
The last five minutes save the most rework. I open every export next to the original and check:
- The product color still reads correctly on a neutral background.
- No label, corner, handle, or transparent edge was clipped by the mask.
- Shadows make visual sense and do not imply a different shape or floating product.
- The crop matches the destination’s requested dimensions.
- The filename says what the asset is, for example
mug-blue-marketplace-square-v1.jpg.
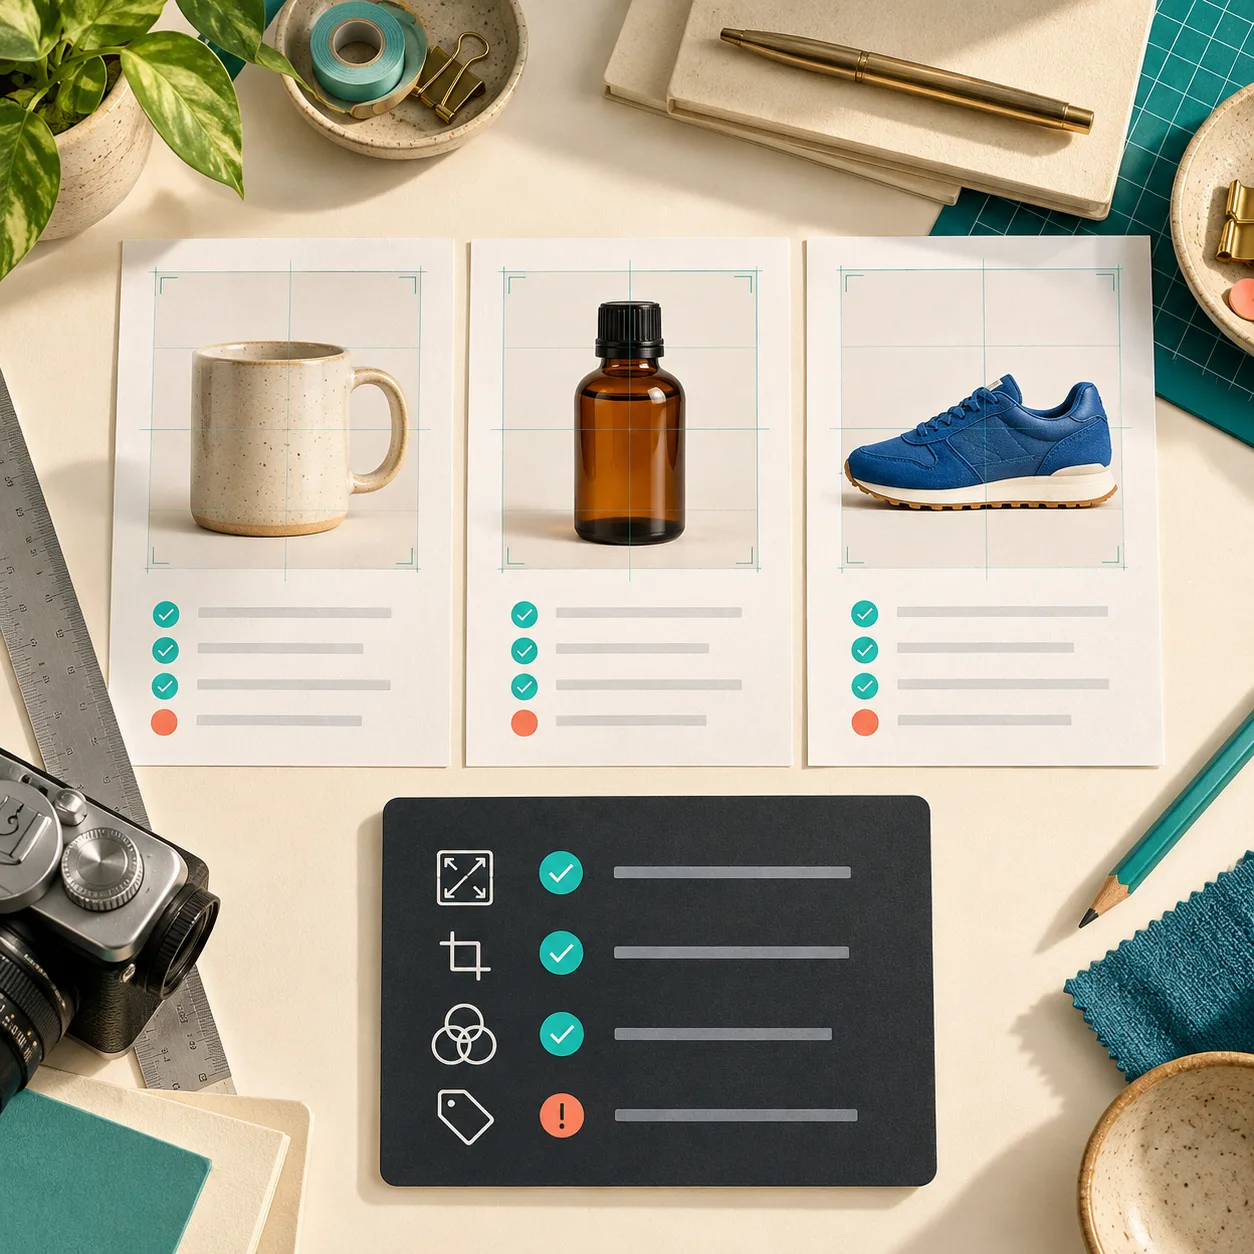
I also view the smallest intended rendering, not just the large file. That is where inconsistent crops and thin halos show up. If a marketplace or store theme will compress the file, upload a test before doing the whole catalog. This is the same small-pilot mentality I use in other product-content work: make one reliable answer, then scale it.
Why I prefer this over a one-shot edit
The point is not to turn every product photo into a design project. It is to keep one reviewable, editable source while making the exact exports each channel needs. Layers, masks, and adjustment layers give me a way to revisit a decision; a flattened result does not. For straightforward browser cleanup, that has been enough of a Photoshop-alternative workflow without installing another desktop app or routinely uploading source images to an editor.
Open ImageFlow with one real product image this week. Make the smallest honest edit, save an editable master, and export just one marketplace crop. If that holds up at full size and thumbnail size, you have a repeatable system rather than another disposable JPEG.