
August 11, 2026
Webflow Static Site Cutover: My Export, Deploy, and QA Runbook
A practical Webflow-to-static cutover runbook: export CMS pages, deploy files, and verify the storefront before switching traffic.

I do not mind paying for a tool that saves time. I do mind treating a hosted site as a black box when it has become part of an ecommerce operation. The moment I needed a portable copy of a Webflow storefront—including the content behind its collection pages—I stopped thinking about an export as a download button. It became a cutover: get the files, put them somewhere I control, then prove the customer-facing paths still work.
That is the runbook I use below. It is deliberately boring. Boring is exactly what you want before DNS, paid traffic, or a launch email points at a new static site.
1. Define what must survive the move
Before exporting, I make a short inventory from the live site. For a typical ecommerce marketing site, that means the homepage, product and collection landing pages, policy pages, CMS detail pages, navigation, forms, media, and the handful of scripts that actually matter. I also write down the URLs that earn traffic or appear in campaigns.
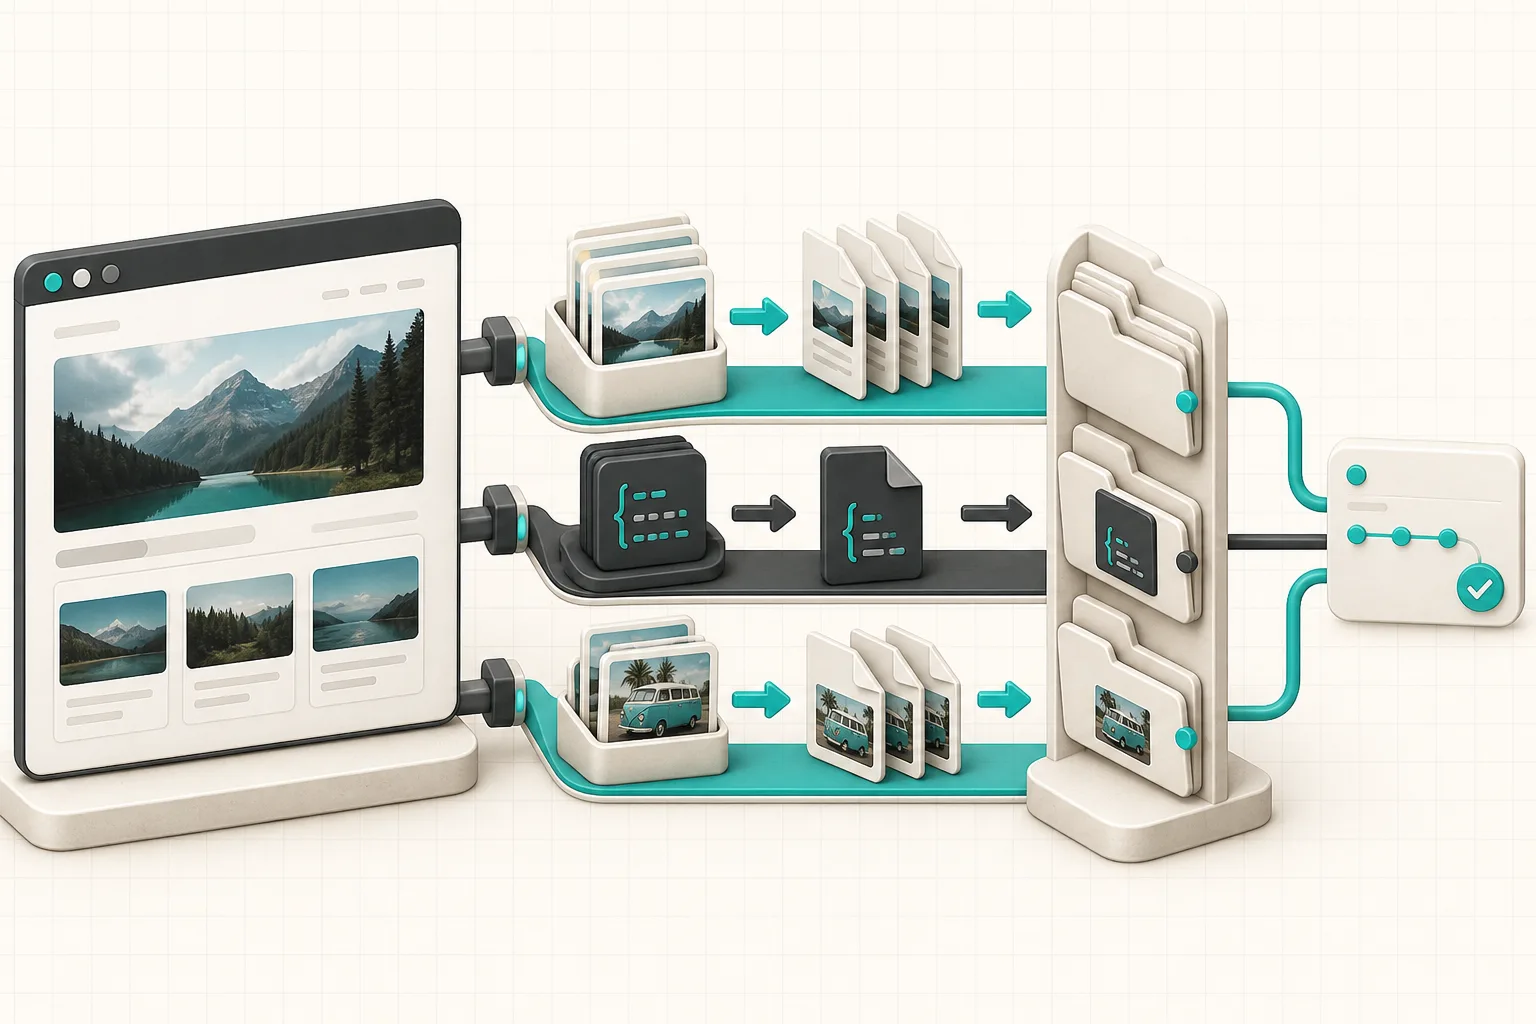
This is where a normal Webflow code export can be limiting: the CMS-backed portion is often the reason you need a portable build in the first place. ExFlow is useful here because it can export a Webflow site as static downloadable content, including all pages, CSS, JavaScript, images, and CMS content. I turn on all pages and media, then keep the .html extension option on while I am validating the raw output.
If you are still choosing the first site to move, my earlier Webflow CMS pre-launch export checklist is a good filter. Start with a site whose CMS templates are valuable but whose application logic is light.
2. Export into a repository, not a mystery ZIP
A ZIP file is a snapshot. A repository is a handoff surface. I download the first export locally so I can inspect it, but I make Git the working destination as soon as the structure looks right. ExFlow can sync an export to Git, S3, or FTP; Git gives me a reviewable change set, a rollback point, and a clean way to deploy.
My first-pass checks are unglamorous:
- Open a CMS detail page and make sure its images and internal links resolve.
- Search the exported HTML for the live domain and note every absolute URL that should change.
- Check that CSS, JavaScript, and media made the trip.
- Keep credentials for Git, S3, or FTP scoped to only the destination they need.
For a deeper comparison of destinations, see my Webflow export notes for Git, S3, and FTP. The right answer is not always Git, but I want every production change to have an obvious owner and a rollback path.
3. Make hosting a separate decision
Exporting and hosting are different jobs. Once the files are in a repository, I can deploy to a static host, synchronize them to an existing server, or use the host included with the exporter. The best option is the one my team can update and debug without remembering a hidden sequence of clicks.
For a simple brochure or editorial site, my default shape is:
Webflow URL → ExFlow export → Git repository → static host → custom domain
That path keeps the source artifact clear. It also means a designer can continue iterating in Webflow while the operational team has a concrete, inspectable output. Put your chosen static host behind a staging URL first, and only then point the custom domain after its build and redirects are verified.

4. Test the storefront like a shopper and an operator
A static site can look correct in a browser while still failing on the routes that matter. I use a staging URL first, then test in two passes.
The shopper pass checks the things that affect confidence: page speed, responsive navigation, product imagery, the primary call to action, collection or campaign links, and any handoff into Shopify. The operator pass checks redirects, canonical tags, tracking scripts, forms, sitemap and robots files, and broken assets in the browser network panel.
I also click the URLs from the inventory I made in step one. If a legacy URL needs to change, I add a redirect before cutover rather than hoping search engines or customers will find the new page. CMS-generated slugs deserve special attention because one missing page can quietly become dozens.

5. Cut over in small, reversible moves
I do not combine a host migration, a visual redesign, and a marketing launch. First, ship the faithful static copy. Then make improvements in separate commits. That separation makes it possible to tell whether a problem came from the export or from a later design decision.
My final checklist is short: production domain attached, HTTPS working, key redirects tested, analytics receiving a page view, media loading from the new host, and a known-good previous deploy ready to restore. Then I monitor the first day of traffic and resolve the boring edge cases—usually an overlooked image, a relative link, or one old campaign URL.
The same ownership mindset applies beyond Webflow. If a vendor move is on your roadmap, this Framer self-hosting guide is a useful adjacent example: export first, understand the artifact, then choose the hosting arrangement that fits the business. For another Webflow perspective, I also documented how I export CMS content to static HTML; the core decision is the same: own a testable artifact before you need an exit plan.
The next action
Pick one low-risk Webflow site and export it with ExFlow into a staging repository today. Do not switch traffic yet. Open five real CMS URLs, inspect the assets, and write down every fix you would need for a calm cutover. Once that list is short, the move stops being a leap of faith and becomes an ordinary deployment.